There is something truly magical about the combination of salty, creamy peanut butter and rich, fudgy chocolate. It is a classic pairing that never goes out of style. If you are looking for the ultimate crowd-pleasing dessert that takes less than 30 minutes to whip up, these Peanut Butter Brownie Bites are about to become your new best friend.
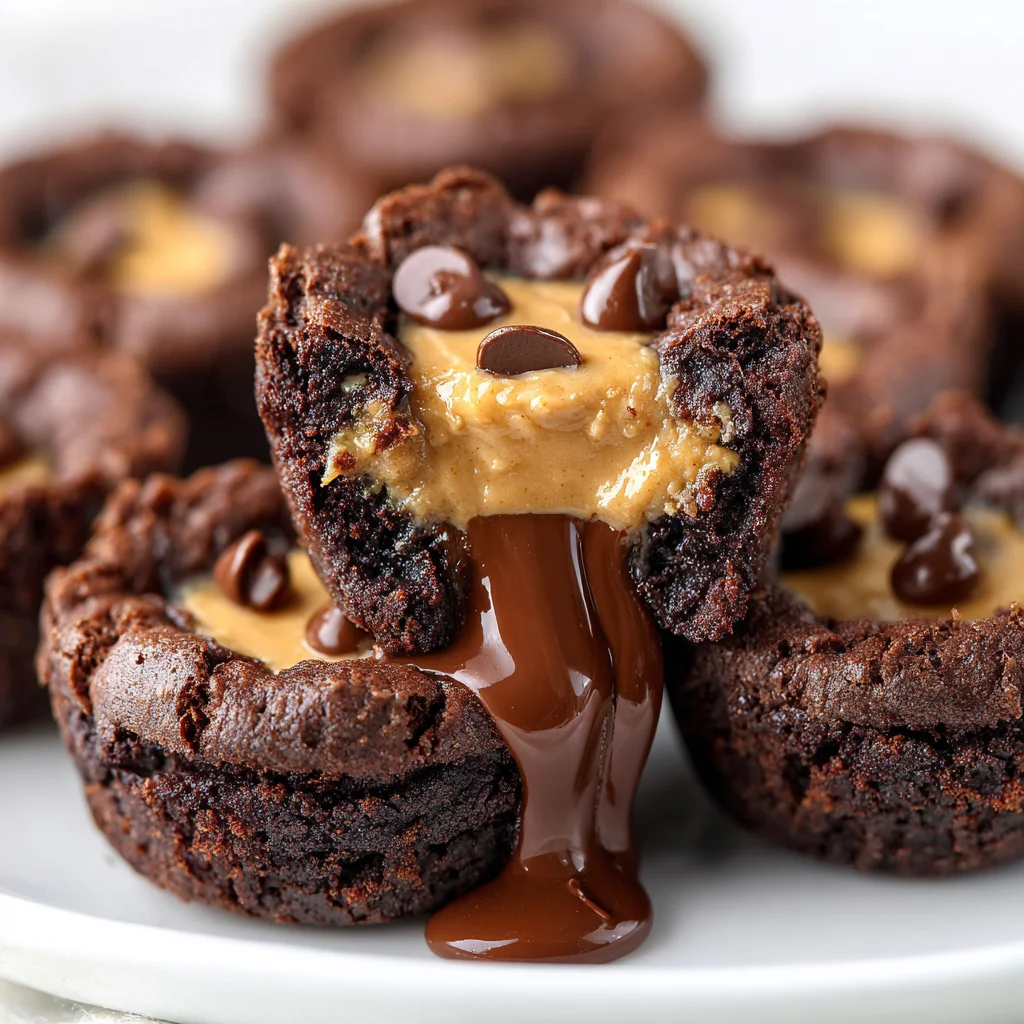
Whether you are hosting a holiday gathering, a game day party, or just need a quick treat for the kids’ lunchboxes, these mini brownie cups are the perfect solution. They are bite-sized, which makes them dangerously easy to pop into your mouth, and the gooey peanut butter center is like a hidden treasure in every bite.
The best part? We are using a simple shortcut with a boxed mix, making this recipe practically foolproof while still tasting like it came from a high-end bakery.
Why You’ll Love This Recipe
- Quick & Easy: Using a boxed brownie mix cuts down on prep time significantly, getting you from kitchen to table in under 25 minutes.
- Perfectly Portioned: These mini bites are ideal for parties where people want just a little something sweet without committing to a full-sized brownie.
- The Texture: You get a chewy brownie edge, a soft fudgy center, and a liquid-gold peanut butter filling.
- Kid-Friendly: Children love helping to “thumbprint” the brownies and sprinkle the chips on top!
- Pantry Staples: Aside from the brownie mix, you likely have all these ingredients in your pantry right now.
Ingredient Notes
To make these Peanut Butter Brownie Bites, you only need a handful of items. Here is what you should keep in mind for the best results:
- Brownie Mix: I typically use a standard 10.25-ounce mix (often labeled as “small batch” or “8×8 size”). If you only have the larger 18-ounce family-size box, simply double the peanut butter and toppings, as you will get many more bites!
- Creamy Peanut Butter: I recommend using standard creamy peanut butter (like Jif or Skippy) rather than the “natural” stir-style peanut butter. The traditional brands stay more stable and provide that nostalgic, silky texture.
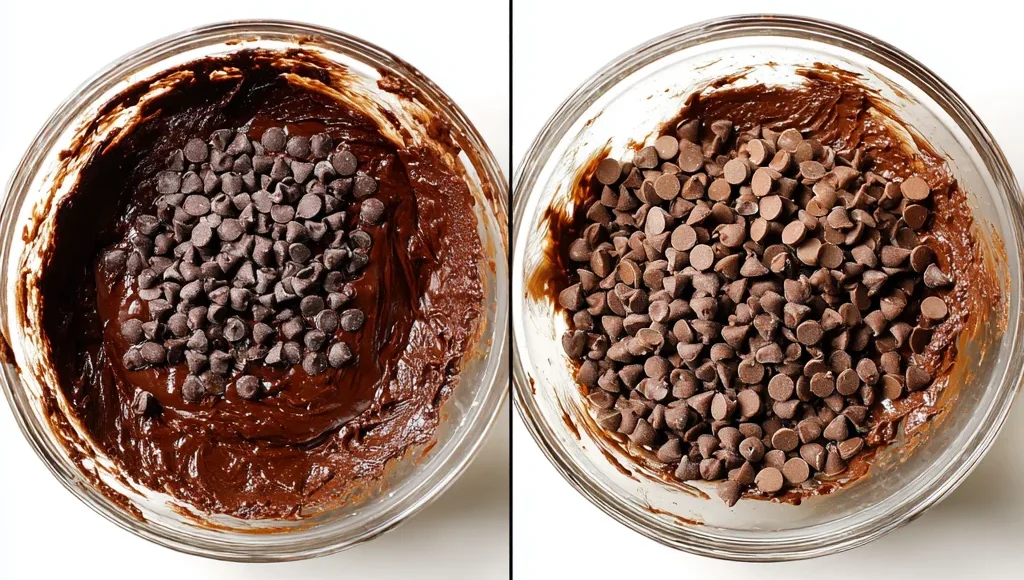
- Mini Chocolate Chips: Mini chips work much better than standard ones here. Because the brownie bites are so small, regular chips can feel a bit overwhelming and don’t melt as elegantly into the warm peanut butter.
- Peanut Butter Chips: These add a double hit of peanut flavor and look beautiful as a garnish.
Step-by-Step Instructions
1. Prep the Oven and Pan
Start by preheating your oven to 350° F. This is a crucial step for getting that immediate lift in the brownies. Spray a mini muffin pan generously with non-stick cooking spray. I prefer the sprays that contain a little flour, but any high-quality oil spray will work.
2. Mix the Batter
In a large mixing bowl, prepare the brownie mix according to the package instructions (usually requiring oil, water, and an egg). Don’t overmix! Stir until just combined to keep the brownies fudgy rather than cake-like.
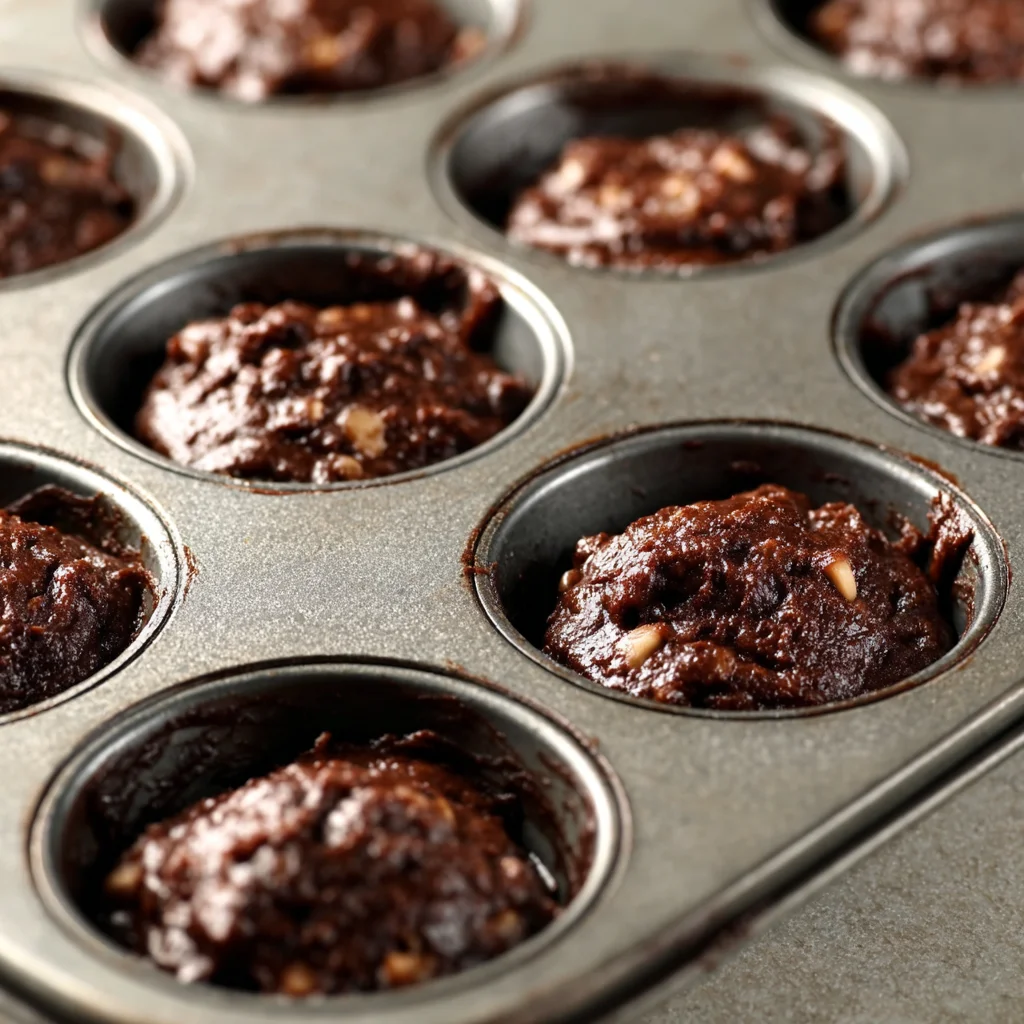
3. Fill and Bake
Scoop the batter into the mini muffin wells. You want them to be about 2/3 full. A small cookie scoop (about 1 tablespoon) is the perfect tool for this—it keeps things mess-free and ensures all your bites are the same size. Bake for 13-15 minutes. You want the edges to be set, but the center should still be a tiny bit soft.
4. Create the Well
This is the most important part! As soon as the brownies come out of the oven, use the back of a measuring teaspoon (or your thumb, if you’re brave!) to gently press an indentation into the center of each brownie. This creates a little “cup” for our peanut butter.
5. The Peanut Butter Center
Heat your peanut butter in the microwave for about 45 seconds. You want it to be thin and pourable. While the brownies are still warm in the pan, spoon about a teaspoon of the melted peanut butter into each well.
6. Toppings
Immediately sprinkle your mini chocolate chips and peanut butter chips over the warm peanut butter. The heat from the brownie and the peanut butter will soften the chips slightly so they stick perfectly.
Expert Tips for Best Results
- Don’t Overbake: Brownies continue to cook for a few minutes after they leave the oven. If a toothpick comes out completely clean, they might end up a bit dry. Look for a few moist crumbs!
- Grease Well: Mini muffin tins can be notorious for sticking. Ensure you get the spray into the bottom and up the sides of each well.
- Piping Bag Hack: If you want to be extra neat, pour your melted peanut butter into a Ziploc bag, snip the corner, and pipe the filling into the brownie centers.
- Wait to Remove: Let the bites cool in the pan for at least 10-15 minutes before trying to take them out. This allows the structure to set so they don’t crumble.
Variations and Substitutions
- Nut Butter Alternatives: Not a fan of peanut butter? You can easily swap this for Almond Butter, SunButter (for a nut-free version), or even Nutella!
- Homemade Brownie Base: If you have a favorite from-scratch brownie recipe, feel free to use it. Just adjust the bake time down since mini muffins cook much faster than a standard pan.
- Salted Version: A tiny pinch of flaky sea salt on top of the peanut butter before the chips go on adds a sophisticated touch that cuts through the sweetness.
- Crunchy Factor: If you love texture, use crunchy peanut butter or top the bites with some crushed roasted peanuts.
Storage and Freezing
To Store: Keep your Peanut Butter Brownie Bites in an airtight container at room temperature for up to 3 days. If you prefer a firmer peanut butter center, you can store them in the refrigerator for up to a week.
To Freeze: These freeze beautifully! Place the cooled bites in a single layer on a baking sheet to flash-freeze for an hour, then transfer them to a freezer-safe bag. They will stay fresh for up to 2 months. Simply thaw at room temperature for about 20 minutes before serving.
FAQ
Can I make these in a regular-sized muffin tin?
Yes, but you will need to increase the bake time to approximately 18-22 minutes. You will also need more peanut butter for the larger wells.
Why did my brownie bites sink in the middle?
Actually, for this recipe, sinking a little is a good thing! It makes more room for the peanut butter. If they sink excessively, they may be slightly underbaked.
Can I use a different flavored cake mix instead?
While chocolate and peanut butter are the stars here, you could use a yellow cake mix to make “blondie” bites with the same peanut butter filling.
A Final Sweet Thought
These Peanut Butter Brownie Bites are the kind of recipe that reminds us that dessert doesn’t have to be complicated to be spectacular. With just a few minutes of prep and a handful of ingredients, you have a treat that looks and tastes like you spent hours in the kitchen.
If you make these, be sure to leave a comment and let me know how they turned out! Happy baking!
PrintPeanut Butter Brownie Bites (Easy 4-Ingredient Upgrade!)
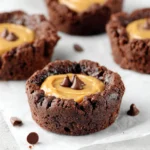
Peanut Butter Brownie Bites are the ultimate mini indulgence. Chewy, bite-sized chocolate brownie cups filled with a warm, melty peanut butter center and topped with double chips. Perfect for parties and lunchboxes!
Ingredients
10.25 ounce brownie mix + ingredients called for on package
¾ cup creamy peanut butter, melted
½ cup peanut butter chips
½ cup mini chocolate chips
Instructions
1. Preheat oven to 350° F. Spray a mini muffin pan with non-stick spray and set aside.
2. In a large bowl, prepare the boxed brownie mix as directed.
3. Scoop the brownie batter evenly into the muffin wells.
4. Bake for 13-15 minutes or until tops are set and a toothpick inserted into center comes out slightly wet.
5. After brownies are out of the oven, indent each brownie with your thumb or the back of a teaspoon.
6. Place peanut butter in a small microwave-safe bowl. Microwave on high for 45 seconds then stir. The peanut butter should be thin and runny.
7. While the brownies are still warm, spoon about a teaspoon of peanut butter into the center of each brownie bite.
8. Sprinkle with mini chocolate chips and peanut butter chips.
Notes
Don’t overbake! The brownies will continue to firm up as they cool in the pan. If you overbake them, they won’t be as chewy.
Use a cookie scoop for the brownie batter to ensure even-sized bites.
Wait until the brownies are completely cooled before removing them from the pan to ensure they hold their shape.