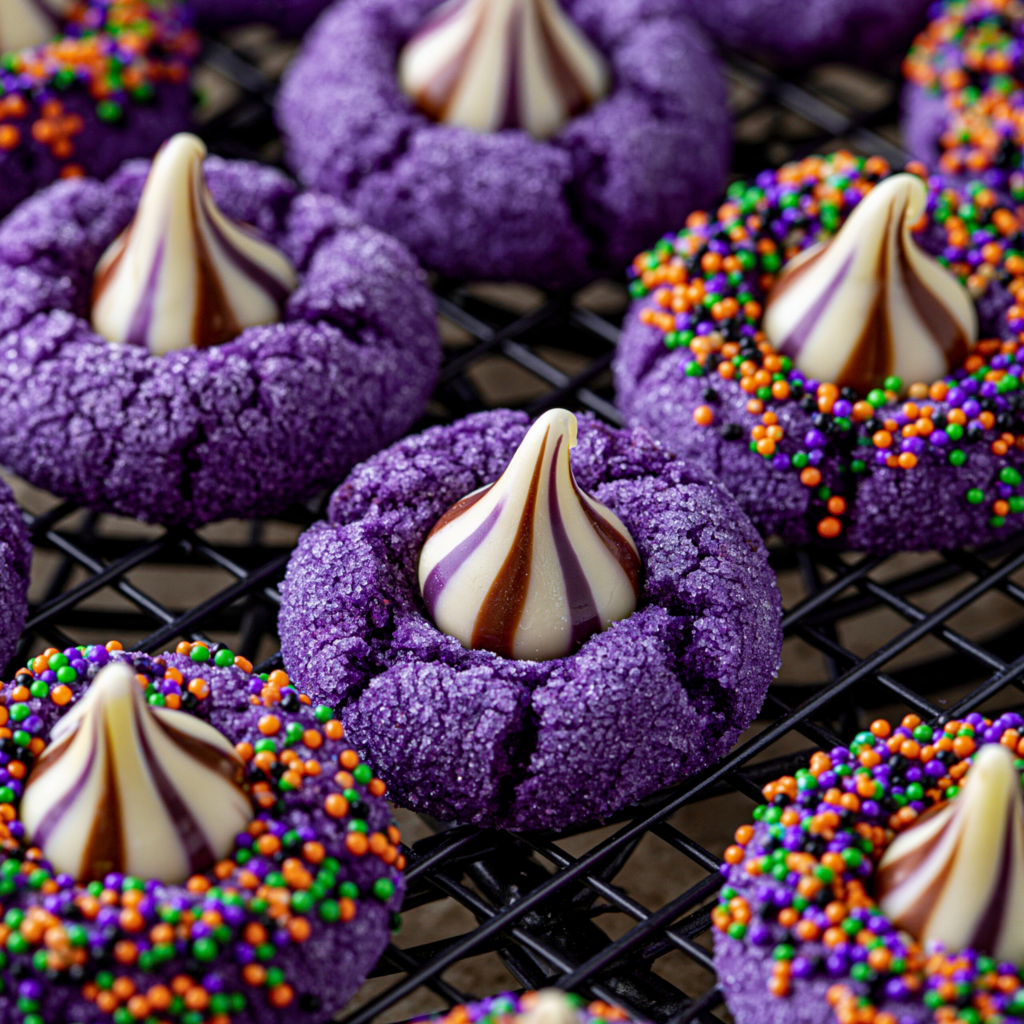
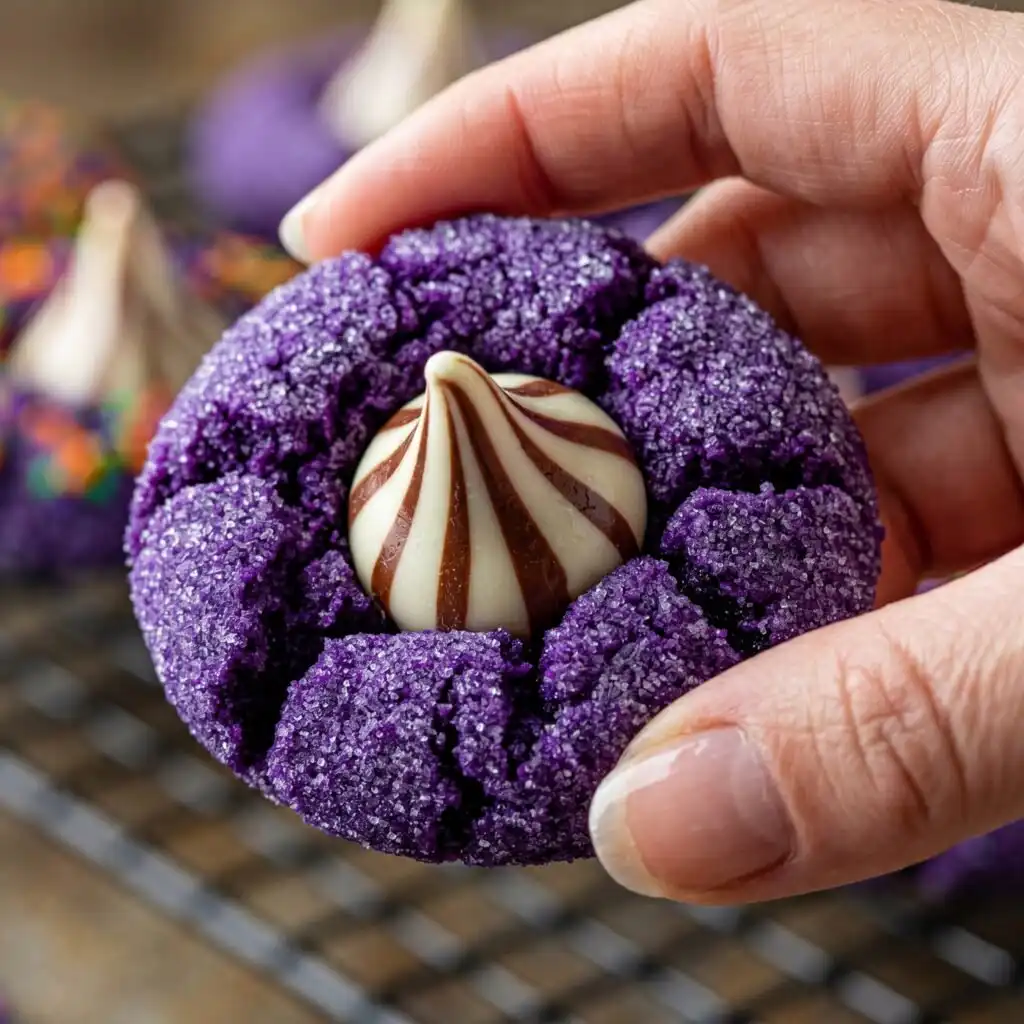
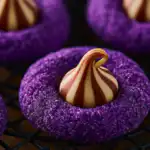
Witch Hat Cookies are the perfect sweet treat to celebrate Halloween or any fun gathering. These delightful cookies combine a soft peanut butter base with a whimsical chocolate kiss on top, making them both playful and delicious.
Why You’ll Love This Witch Hat Cookies
- Soft and chewy texture with a delightful crunch from the sugar coating.
- Simple to make, even for beginners.
- Rich peanut butter flavor complemented by chocolate kisses.
- Perfect for Halloween parties or as a festive treat.
Table of Contents
Ingredient Notes & Substitutions
- All-purpose flour: Essential for structure; do not substitute with self-rising flour.
- Cornstarch: Helps keep the cookies soft and tender.
- Creamy peanut butter: Provides the classic flavor; do not use crunchy peanut butter.
- Purple gel food coloring: Gives the cookies a festive look; adjust for desired color intensity.
How to Make It
Start by whisking together the dry ingredients: flour, cornstarch, baking soda, baking powder, and salt. In another bowl, beat the softened butter and sugar until fluffy, then add the egg, followed by the peanut butter and vanilla. Mix until smooth before incorporating the dry ingredients to form a dough. Add the purple gel food coloring for a festive touch, and mix until the color is evenly distributed. Scoop the dough onto a lined tray, cover, and chill for at least two hours, or overnight if you prefer.
Preheat your oven to 350°F. Roll the chilled dough balls in your choice of sprinkles or sanding sugar, then place them on a baking sheet, spacing them 2 inches apart. Bake for 9 to 11 minutes until they’re puffed and cracked. After a short cooling period on the tray, press a chocolate kiss into the center of each cookie, and place the tray in the freezer for 10 minutes to set the chocolate. Let them cool completely before serving.
Tips for Best Results
- Ensure the butter is softened to mix well with sugar.
- Chill the dough to prevent spreading during baking.
- Use a gel food coloring for vibrant color without altering texture.
- Press the chocolate kisses into warm cookies for easy adherence.
- Freeze briefly to set the chocolate and prevent melting.
Common Mistakes to Avoid
- Skipping the chill time: This can lead to flat cookies. Always chill as directed.
- Overbaking: Cookies should be puffed and just starting to crack. Overbaking results in dry cookies.
- Using natural peanut butter: This can alter the texture. Stick to creamy processed peanut butter.
- Not setting the chocolate: Without the freezer step, the chocolate may melt.
How to Store & Make Ahead
- Room temperature: Store in an airtight container for up to 5 days.
- Fridge: Dough can be chilled for up to 2 days before baking.
- Freezer: Baked cookies can be frozen for up to 2 months. Thaw before serving.
Frequently Asked Questions
Can I use crunchy peanut butter?
No, creamy peanut butter is recommended for the best texture.
How do I adjust the color intensity?
Add more or less purple gel food coloring to achieve your desired shade.
Can these cookies be made gluten-free?
You can try using a gluten-free flour blend, but results may vary.
What if I don’t have cornstarch?
Cornstarch helps with texture; if omitted, cookies might be less tender.
Can I skip the freezer step?
Freezing helps set the chocolate; skipping could cause it to melt.
These Witch Hat Cookies are a delightful way to add magic to your celebrations. Their playful appearance and delicious taste will surely be a hit. Try them and bring some festive fun to your table!
PrintWitch Hat Cookies
These playful Witch Hat Cookies are soft peanut butter treats topped with chocolate kisses, perfect for Halloween.
- Prep Time: 20
- Cook Time: 11
- Total Time: 31
- Yield: 33 cookies
- Category: Dessert
- Method: Baking
- Cuisine: American
- Diet: Vegetarian
Ingredients
- 1½ cups all-purpose flour
- 2 teaspoons cornstarch
- ½ teaspoon baking soda
- ¼ teaspoon baking powder
- ⅛ teaspoon fine sea salt
- ½ cup unsalted butter, softened
- 1 cup granulated sugar
- 1 large egg
- ¾ cup creamy peanut butter
- 1 teaspoon vanilla extract
- Purple gel food coloring
- Halloween sprinkles or purple sanding sugar
- 33 Hershey’s Kisses or Hugs candies, unwrapped
Instructions
- Whisk flour, cornstarch, baking soda, baking powder, and salt together.
- Beat butter and sugar until fluffy. Add egg; beat again.
- Mix in peanut butter and vanilla until smooth.
- Add dry ingredients; stir to form a dough. Tint with purple gel coloring.
- Scoop 1-tablespoon portions onto a lined tray. Cover and chill at least 2 hours or overnight.
- Preheat oven to 350°F.
- Roll chilled dough balls in sprinkles or sanding sugar. Place 2 inches apart on a baking sheet.
- Bake 9–11 minutes until puffed and cracked.
- Cool on the tray for 5 minutes.
- Press a chocolate kiss into the center of each cookie.
- Immediately place the tray in the freezer for 10 minutes to set the chocolate.
- Cool completely before serving.
Notes
Ensure butter is softened for easy mixing
Chill dough to prevent spreading
Freeze to set chocolate and prevent melting
Use creamy peanut butter for best texture