There’s something truly magical about baking your own bread. The smell filling your kitchen, the satisfying crackle of the crust, and that first warm bite – it’s an experience that feels deeply comforting and incredibly rewarding. For a long time, sourdough felt like this mystical, unattainable thing, but I promise you, it’s not! I started my own sourdough journey a while back, and discovering how simple it can be to create a beautiful loaf right at home was a game-changer. That’s why I’m so excited to share my guide to Sourdough Bread: A Beginner’s Guide with you today.
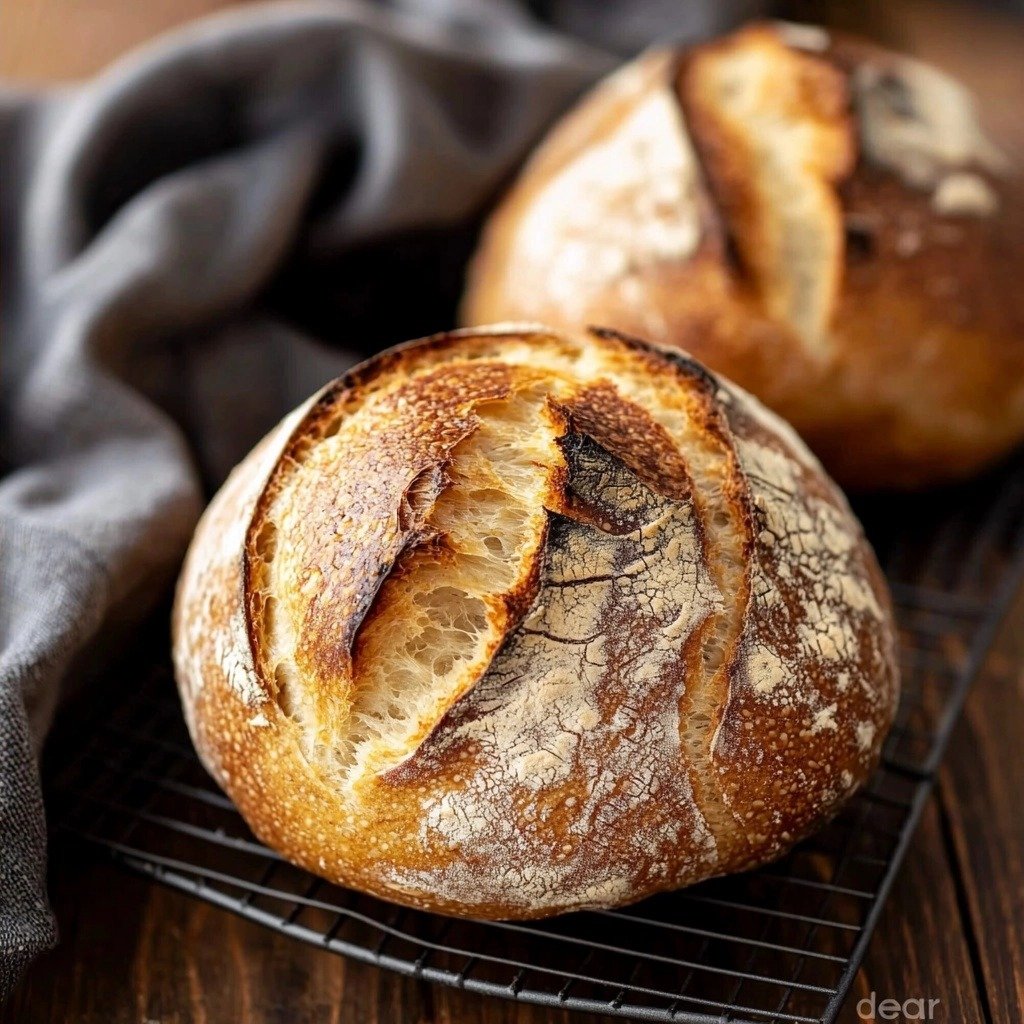
Why You’ll Love This Sourdough Bread: A Beginner’s Guide
- You’ll get that incredible tangy flavor and chewy texture that only sourdough can deliver.
- It’s surprisingly simple, even if you’re new to bread baking – no fancy equipment needed beyond a Dutch oven.
- The process is so satisfying, turning simple ingredients into something truly special.
- Perfect for toast, sandwiches, or just slathered with butter for a comforting snack.
Ingredients You’ll Need
- Bubbly, Active Sourdough Starter: This is the heart of your bread! Make sure it’s fed and active, meaning it’s full of bubbles and has recently risen and fallen.
- Warm Water: Helps activate your starter and brings the dough together. Aim for around 70-75°F (21-24°C).
- Olive Oil: Adds a lovely richness and helps with the dough’s texture and elasticity.
- Bread Flour: This is crucial! Bread flour has a higher protein content than all-purpose flour, which develops stronger gluten for that classic chewy bread structure. Do not substitute with all-purpose.
- Fine Sea Salt: Enhances flavor and controls fermentation. Don’t skip it!
- Fine Ground Cornmeal or Non-Stick Parchment Paper: You’ll need one of these to prevent sticking during the second rise if you’re using a Dutch oven.
How to Make Sourdough Bread: A Beginner’s Guide Step by Step
First things first, let’s get that dough started! Grab a large bowl and add your bubbly starter, warm water, and olive oil. Give it a good mix with a fork until they’re all combined. Then, add your bread flour and salt. Keep mixing until the dough starts to stiffen up. Now, get your hands in there and squish it all together to make sure every bit of flour is incorporated. Don’t worry if it looks a bit rough and shaggy – that’s perfectly normal at this stage!
Once your dough is shaggy, cover the bowl tightly with plastic wrap, a reusable wrap, or a very damp kitchen towel. Let it rest for 30 minutes to an hour. This resting period, called autolyse, allows the flour to fully hydrate and the gluten to start developing naturally. After its rest, gently work the dough into a rough ball, which should only take about 15 seconds. Now, cover it again, this time with lightly oiled plastic wrap, and let it rise in a warm spot, ideally around 70-75°F (21-24°C). This is your bulk rise, or first fermentation. The dough is ready when it no longer looks dense and has almost doubled in size.
During the bulk fermentation, you can do a few “stretch and folds” to build strength in your dough. About 30-45 minutes into the rise, lift a portion of the dough, stretch it upwards, and fold it over itself. Rotate your bowl a quarter turn and repeat this process until you’ve come full circle. Do 1-2 more sets, about an hour apart. This is where the magic happens, developing that beautiful chewy texture! Once your bulk rise is complete, gently turn the dough out onto a lightly floured surface. Starting at the top, fold the dough toward the center, then turn it slightly and fold the next section. Repeat this until you’ve worked your way around. Flip the dough over so the seam is down, and gently cup the sides, rotating it in a circular motion to create tension on the surface. This helps it hold its shape.
My Top Tips for Success
- I always recommend weighing your ingredients with a digital scale for the most accurate and consistent results. Baking is a science!
- In my experience, watching the dough, not the clock, is key for the bulk rise. Temperature and humidity really affect timing.
- Trust me on this one: don’t be afraid to get your hands a little messy during the stretch and folds. It’s part of the fun!
- If your dough feels too stiff during stretch and folds, let it rest a bit longer between sets. It just needs a moment to relax.
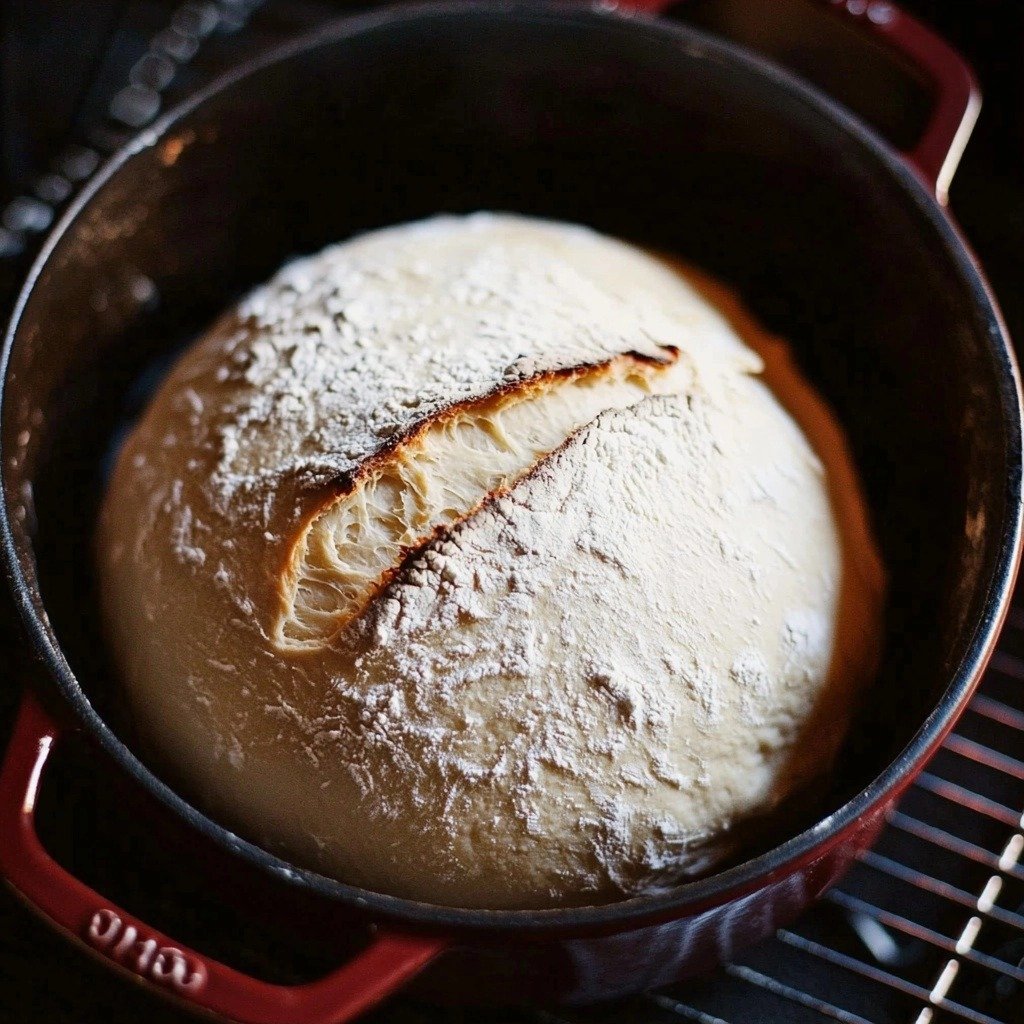
- For a beautiful golden crust, make sure your Dutch oven is fully preheated before placing the dough inside.
Common Mistakes to Avoid
- Using inactive starter: If your starter isn’t bubbly and active, your dough won’t rise properly. This happens when it’s hungry; feed it and wait for it to peak.
- Substituting all-purpose flour: All-purpose flour doesn’t have enough protein for the strong gluten network needed in sourdough. Use bread flour for best results.
- Not letting the dough rest enough during autolyse: Skipping or shortening this step means your flour won’t fully hydrate, leading to a less pliable dough. Give it the full 30 minutes to an hour.
- Over-proofing during the bulk rise: If your dough rises too much, it can collapse in the oven. Watch for it to almost double in size, but still look dense.
- Not building enough surface tension when shaping: A loose shape will result in a flatter loaf. Gently cup and rotate to create a tight ball.
How to Store Sourdough Bread: A Beginner’s Guide
- Countertop: 2-3 days. Store in a bread box or a paper bag to maintain the crust. Avoid airtight containers, which can make the crust soft.
- Wrapped: 3-5 days. Once cooled, wrap tightly in plastic wrap or foil, then place in a large zip-top bag.
- Freezer (whole loaf): Up to 3 months. Once completely cooled, wrap the entire loaf tightly in plastic wrap, then in foil. Thaw at room temperature.
- Freezer (sliced): Up to 3 months. Slice the cooled bread, then freeze individual slices on a baking sheet before transferring to a freezer bag. Toast directly from frozen.
Frequently Asked Questions
What does “bubbly, active starter” mean?
It means your starter has been recently fed and is at its peak activity, full of visible bubbles and having recently doubled or tripled in size before starting to fall.
Can I use whole wheat flour?
This recipe was developed with bread flour. Using whole wheat flour will change the hydration needs and texture significantly, so it’s not recommended for this beginner recipe.
What if my dough is too sticky to handle?
A little stickiness is normal for sourdough. Lightly flour your hands and work surface, but avoid adding too much flour as it can make the dough tough.
Do I really need a Dutch oven?
A Dutch oven helps trap steam, which creates a beautiful, crispy crust and allows for maximum oven spring. While not strictly mandatory, it’s highly recommended for best results.
How do I know when the bulk rise is finished?
The dough should have almost doubled in size and no longer appear dense. You can also do a “poke test” – gently poke the dough with a wet finger; if the indentation slowly springs back, it’s ready.
I hope this guide to Sourdough Bread: A Beginner’s Guide makes the process feel approachable and fun for you! There’s nothing quite like pulling a warm, crusty loaf from your oven. Give it a try, and please let me know how your sourdough journey goes in the comments below!
PrintSourdough Bread: A Beginner’s Guide

Bake a beautiful, crusty sourdough loaf from scratch with this easy-to-follow beginner’s guide.
- Prep Time: 60
- Cook Time: 30
- Total Time: 360
- Yield: 1 loaf
- Category: Baking
- Method: Baking
- Cuisine: American
- Diet: Vegetarian
Ingredients
- 150g bubbly, active sourdough starter
- 250g warm water
- 25g olive oil
- 500g bread flour
- 10g fine sea salt
- fine ground cornmeal or non-stick parchment paper
Instructions
- Add the sourdough starter to a large bowl.
- Add the warm water to the bowl.
- Add the olive oil to the bowl.
- Mix the starter, water, and olive oil with a fork to combine them.
- Add the bread flour to the bowl.
- Add the fine sea salt to the bowl.
- Continue mixing until the dough becomes stiff.
- Squish the dough together with your hands to incorporate all the flour.
- Cover the bowl with plastic wrap, reusable wrap, or a very damp kitchen towel.
- Let the dough rest for 30 minutes to 1 hour for autolyse.
- Return to the bowl after resting.
- Work the dough into a rough ball for about 15 seconds.
- Cover the bowl with lightly oiled plastic wrap.
- Alternatively, transfer the dough to a high-sided dough tub.
- Let the dough rise in a warm place, ideally 70-75 F (21-24 C).
- Allow the dough to rise until it no longer looks dense and has almost doubled in size (this can take 2-12 hours depending on temperature).
- OPTIONAL: After 30-45 minutes into the bulk fermentation, lift a portion of the dough.
- OPTIONAL: Stretch the dough upwards.
- OPTIONAL: Fold the dough over itself.
- OPTIONAL: Rotate the bowl ¼ turn.
- OPTIONAL: Repeat the stretch and fold process until you’ve come full circle (1 set).
- OPTIONAL: Do 1-2 additional sets of stretch and folds, spaced about 1 hour apart.
- Remove the dough onto a lightly floured surface.
- Starting at the top, fold the dough over toward the center.
- Turn the dough slightly.
- Fold over the next section of dough.
- Repeat folding until you have come full circle.
- Flip the dough over, seam side down.
- Gently cup the sides of the dough.
- Rotate the dough in a circular motion to tighten its shape and build surface tension.
- Line a 5 1/2 or 6 quart Dutch oven with a piece of parchment paper or coat it with cornmeal.
- Place the shaped dough inside the Dutch oven.
- Cover the Dutch oven.
- Let the dough rise for about 30 minutes to 1 hour (second rise).
- Preheat your oven to 450 F (232 C) while the dough is in its second rise.
Notes
Always weigh ingredients using a digital scale for accuracy.
Watch the dough’s progress, not just the clock, as rise times vary.
Ensure your sourdough starter is active and bubbly before beginning.
Use bread flour for best results; all-purpose flour will yield a different texture.