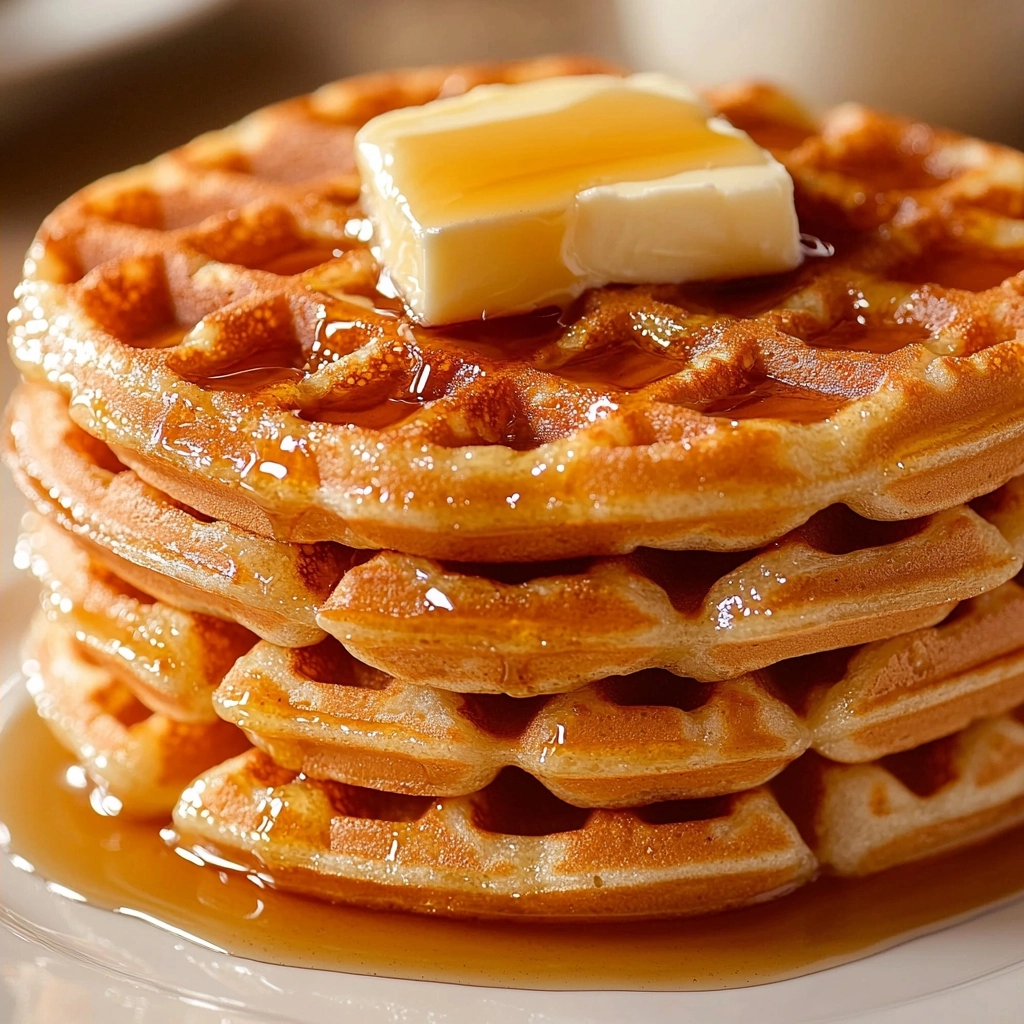
Oh, friends, let me tell you about my morning ritual! Before I found this recipe, my breakfasts were… well, a bit of a scramble. I wanted something hearty and satisfying that would keep me going, but also quick and delicious. That’s when I started playing around with protein powders and my trusty waffle iron, and after a few tries, this amazing Protein Waffles Recipe was born!
Why You’ll Love This Protein Waffles Recipe
- They’re super quick to whip up on a busy morning.
- You get a satisfying boost of protein to start your day right.
- The texture is just perfect – crispy on the outside, fluffy on the inside.
- They’re endlessly customizable with your favorite toppings!
Ingredients You’ll Need
- Protein Powder: This is our star ingredient! It adds that much-needed protein boost. I typically use a whey or plant-based vanilla protein.
- Flour: You can use spelt flour, white flour, or even an all-purpose gluten-free blend. I haven’t tested almond or coconut flour with this recipe, so stick to the recommended types for best results.
- Baking Powder: This little helper is what makes our waffles light and fluffy.
- Salt: Just a tiny pinch to enhance all the flavors.
- Water: Our main liquid to bring the batter together.
- Egg Whites or Additional Water: This adds a bit more structure and moisture. If you don’t have egg whites, extra water works perfectly!
- Yogurt or Applesauce: This is key for moisture and a tender crumb. Plain yogurt or unsweetened applesauce are great choices.
- Sweetener of Choice: Use your favorite! If you opt for a liquid sweetener like maple syrup or honey, just remember to reduce the water by two tablespoons.
- Oil: A little oil in the batter makes for extra crispy waffles. Totally optional, but I highly recommend it for that perfect crunch!
How to Make Protein Waffles Recipe Step by Step
First things first, you’ll want to get your dry ingredients ready. Grab a medium bowl and add your protein powder, flour, baking powder, and salt. Give these a really good whisk until everything is super well combined. This is important to make sure your waffles rise evenly!
Next, it’s time for the wet ingredients. In that same bowl, pour in your water, egg whites (or extra water), yogurt (or applesauce), sweetener, and the optional oil. Stir everything together until you have a smooth batter. Don’t worry if it seems a little thick at first; different protein powders absorb liquid differently. If your batter seems too thick, just add a tablespoon of water at a time until it’s the consistency of a traditional pancake or waffle batter.
Now for the fun part! Preheat your waffle maker according to its manufacturer’s instructions. Once it’s hot, make sure to grease it really, really well. This is crucial to prevent sticking! Pour your batter into the center of the hot, greased iron. Close the lid and let it cook until it’s light and crispy, following your waffle maker’s directions. And here’s a pro tip: remember to re-grease the iron between each waffle to keep them from sticking. You’ll be enjoying delicious, crispy Protein Waffles Recipe in no time!
My Top Tips for Success
- I always whisk the dry ingredients thoroughly first; it makes for light and evenly cooked waffles.
- In my experience, greasing the waffle iron really, really well before each waffle is the secret to no-stick success.
- Trust me on this one: adjust the liquid slowly. Different protein powders can make your batter thicker or thinner, so add water a tablespoon at a time until it’s just right.
- Don’t peek too early! Let your waffle maker do its thing until the steam subsides and the light indicates it’s done for the crispiest results.
Common Mistakes to Avoid
- Overmixing the Batter: This can lead to tough waffles. Mix just until combined, a few small lumps are totally fine.
- Not Greasing the Waffle Iron Enough: Your waffles will stick and tear. Always grease well, especially between batches.
- Using the Wrong Flour Type: Almond or coconut flour behave very differently. Stick to spelt, white, or an all-purpose gluten-free blend for this recipe.
- Under-cooking: This results in soggy waffles. Cook until golden brown and crispy, following your waffle maker’s instructions.
How to Store Protein Waffles Recipe
- Refrigerator: Store cooled waffles in an airtight container for up to 3-4 days.
- Freezer: Place cooled waffles in a single layer on a baking sheet to flash freeze for 30 minutes. Then transfer to a freezer-safe bag or container for up to 2-3 months.
- Reheating: Pop frozen waffles directly into a toaster, toaster oven, or even a preheated oven (350°F/175°C) until warm and crispy.
Frequently Asked Questions
Can I make these waffles gluten-free?
Yes, you can! The recipe works well with some brands of all-purpose gluten-free flour. Just make sure it’s a blend designed for baking.
What kind of protein powder should I use?
I usually use a whey or plant-based protein powder, typically vanilla flavored. Different brands absorb liquid differently, so you might need to adjust the water slightly.
Can I use milk instead of water?
You can! Using milk will make the waffles a bit richer. If you do, you might need to slightly adjust the amount of liquid to get the right batter consistency.
What if I don’t have a waffle iron?
You can easily turn this into a Protein Pancakes Recipe! Just cook the batter on a lightly greased griddle over medium heat, flipping once bubbles appear.
How do I make my waffles extra crispy?
Adding the optional 2 teaspoons of oil to the batter really helps with crispiness. Also, make sure your waffle iron is fully preheated and well-greased, and don’t open it too early!
I truly hope this Protein Waffles Recipe becomes a favorite in your kitchen, just like it has in mine. It’s such a simple way to start your day with something delicious and nourishing. If you give them a try, please let me know how they turn out!
PrintProtein Waffles Recipe

Start your day right with these easy, fluffy, and protein-packed waffles, perfect for a quick and satisfying breakfast.
- Prep Time: 5
- Cook Time: 10
- Total Time: 15
- Yield: 2-3 waffles
- Category: Breakfast
- Method: Waffling
- Cuisine: American
- Diet: Vegetarian
Ingredients
- 1/3 cup protein powder (32g)
- 1/4 cup flour (35g)
- 1 tsp baking powder
- 1/8 tsp salt
- 1/2 cup water
- 1/4 cup egg whites or additional water
- 1/4 cup yogurt or applesauce
- 2 tbsp sweetener of choice
- 2 tsp oil (optional for crispy waffles)
Instructions
- Whisk protein powder, flour, baking powder, and salt together in a medium bowl until well combined.
- Stir in water, egg whites (or additional water), yogurt (or applesauce), sweetener, and optional oil to the dry ingredients.
- Mix until a smooth batter forms. If too thick, add more water one tablespoon at a time until it reaches a pancake or waffle batter consistency.
- Preheat your waffle iron according to its instructions.
- Once hot, grease the waffle iron very well.
- Pour batter into the center of the hot, greased iron.
- Close the lid and cook according to your waffle maker's directions until the waffle is light and crispy.
- Re-grease the iron between each waffle to prevent sticking.
Notes
Different protein powders absorb liquid differently, so adjust water as needed.
For a richer waffle, you can substitute milk for water.
If using a liquid sweetener, decrease the water by two tablespoons.
Grease your waffle iron generously before each waffle for best results.