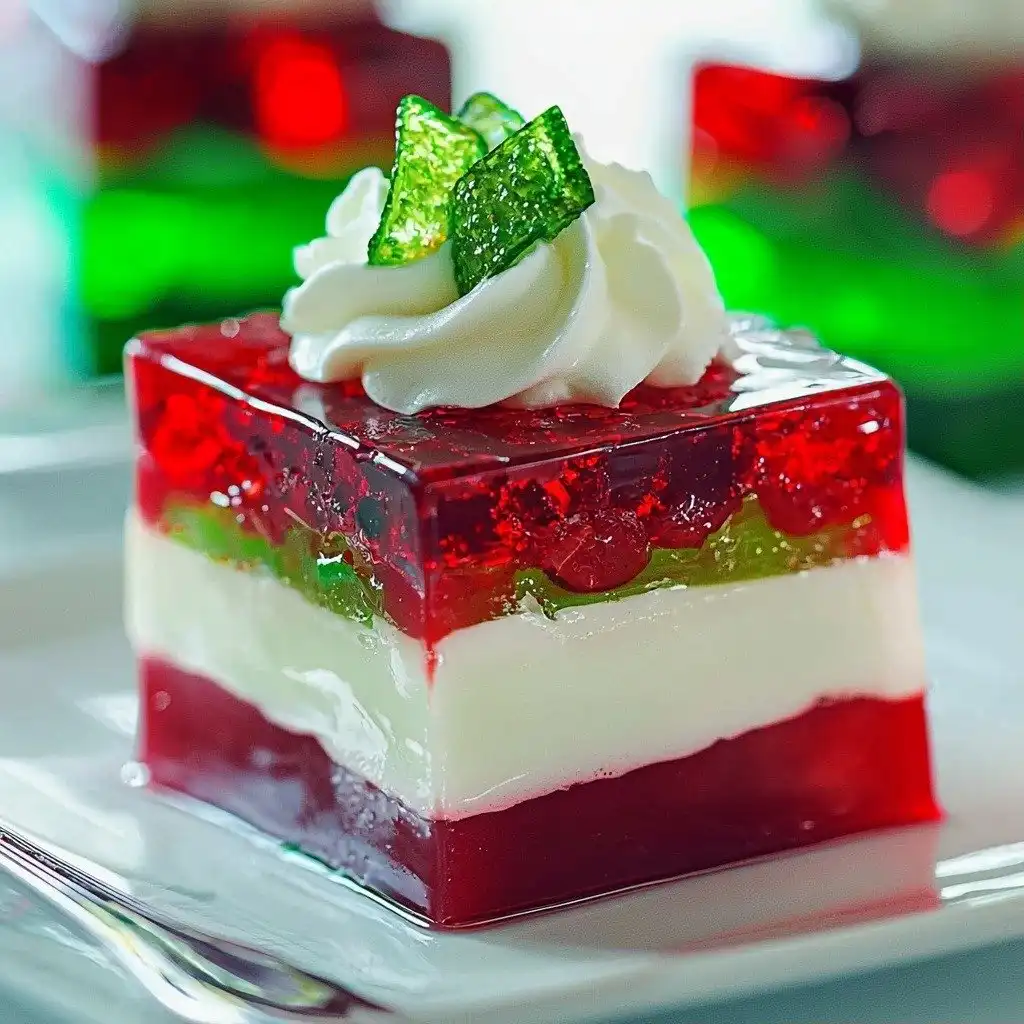
There’s just something magical about Christmas, isn’t there? The twinkling lights, the cozy gatherings, and of course, all the delicious treats! For me, holiday baking and making is all about creating those special, festive moments. And this year, I’m absolutely delighted to share one of my all-time favorite holiday showstoppers: this gorgeous Layered Christmas Jello. It’s vibrant, it’s fun, and it always brings a smile to everyone’s face!
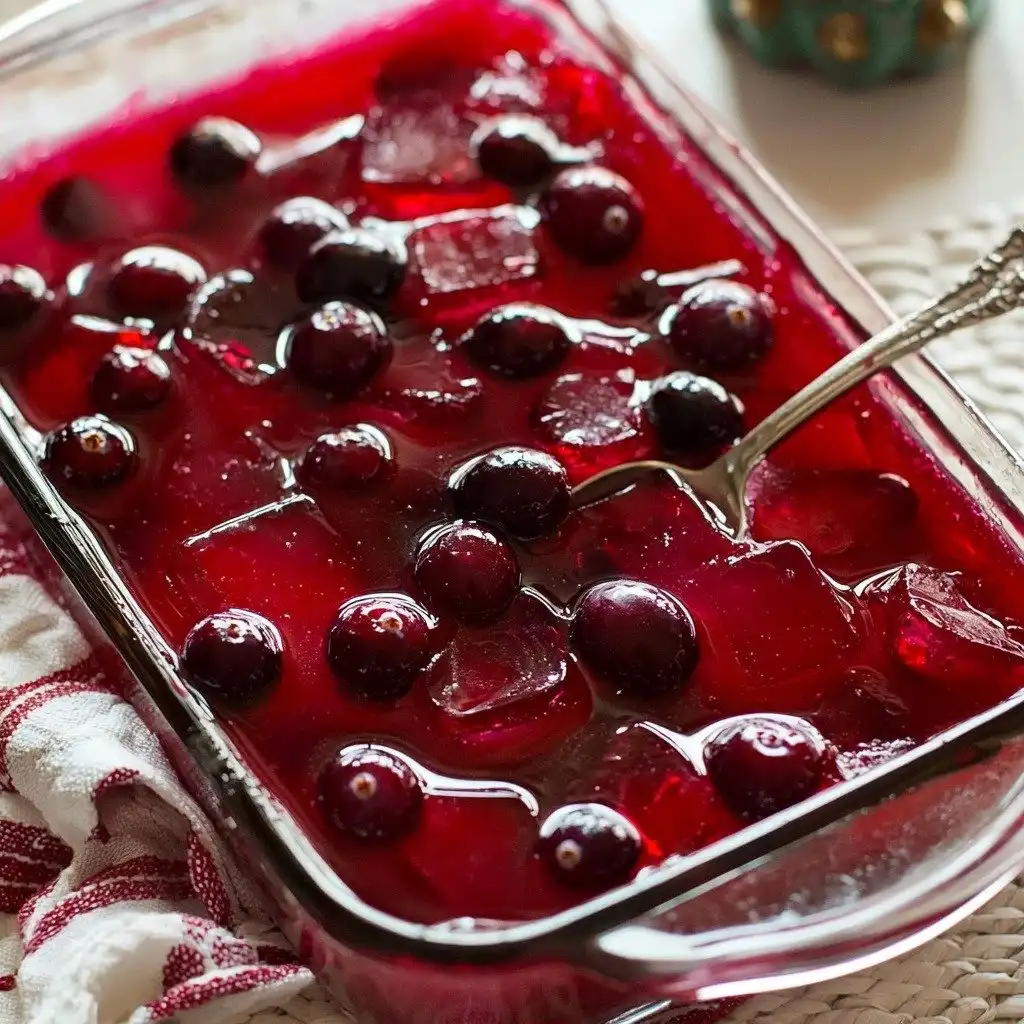
Why You’ll Love This Layered Christmas Jello
- It’s incredibly festive with those beautiful red and green layers!
- The texture is so wonderfully smooth and jiggly, a real treat.
- It’s surprisingly simple to make, even for beginners.
- It’s a refreshing dessert that’s perfect after a big holiday meal.
Ingredients You’ll Need
- Lime Jello: This gives us that vibrant green layer. Don’t swap this out if you want the classic Christmas look!
- Pineapple Juice: Chilled pineapple juice helps the lime jello set beautifully and adds a lovely fruity tang.
- Crushed Pineapple: Make sure it’s well-drained! It adds a fantastic texture contrast to the smooth jello.
- Unflavored Gelatin: This is key for our creamy white layer. It helps everything set up perfectly.
- Sour Cream: Chilled sour cream gives the middle layer its wonderful tang and creamy texture. No substitutions here for that signature taste!
- Whole Milk: Chilled whole milk helps create the smooth consistency of the white layer.
- Vanilla: A touch of vanilla extract really enhances the creamy flavor of the white layer.
- Cherry Jello: This delivers our beautiful red layer. You could also use strawberry, raspberry, or even cranberry jello if you prefer!
- Whole-Berry Cranberry Sauce: Chilled cranberry sauce adds a lovely tartness and a beautiful speckled appearance to the red layer.
How to Make Layered Christmas Jello Step by Step
First things first, grab a deep 11×7-inch glass dish. Give it a good spray with nonstick spray – this little step makes serving so much easier later on! Now, for our first layer, the green. In a small bowl, you’ll dissolve your lime jello with boiling water. Stir it really well until it’s completely dissolved, then stir in the cold pineapple juice. This helps cool it down and speeds up the setting process. Carefully pour this mixture into your prepared dish and pop it into the fridge for about 45-60 minutes. You want it set, but not super firm.
While your green layer is chilling, it’s time for the creamy white layer. In a small pot, sprinkle the unflavored gelatin over ice-cold water. Let it sit for just a minute to bloom. Then, gently heat it over low heat, stirring constantly, until all the gelatin dissolves. This is where the magic happens! Transfer this dissolved gelatin to a bowl, then whisk in your chilled sour cream, milk, and vanilla until everything is smooth and combined. Spread this lovely white mixture over your lime layer and send it back to the fridge for another 45-60 minutes.
Finally, the festive red layer! In a medium bowl, dissolve your cherry jello in boiling water, just like you did with the lime. Stir it until it’s totally smooth, then mix in the cold whole-berry cranberry sauce. This is where you get those pretty little cranberry flecks! Now, this next part is important: carefully spoon the cherry mixture over your set sour cream layer. Don’t just pour it, or you might break through the layer below! Once it’s all in, back into the fridge it goes until it’s completely set, which will take at least 4 hours. Trust me, the wait is worth it!
My Top Tips for Success
- I always make sure my pineapple juice, sour cream, and milk are super cold before adding them. It helps the jello set faster!
- When adding a new layer, make sure the previous layer is set but still a little sticky. This helps the layers adhere better.
- Trust me on this one: use a glass dish so you can see those beautiful layers. It’s part of the fun!
- For easy cutting, run a thin knife under hot water before slicing each piece.
- I like to chill my serving dish in the fridge before I start, just to give everything a head start.
Common Mistakes to Avoid
- Not chilling layers enough: If a layer isn’t set before adding the next, they’ll bleed together. Make sure each layer is firm enough to support the next.
- Adding hot liquid to a set layer: This will melt the layer underneath. Always make sure your jello mixtures are cooled before adding them.
- Skipping the nonstick spray: This can make it really hard to get clean slices out of the dish. Don’t forget that little step!
- Overheating the unflavored gelatin: Don’t boil it! Just gently heat until it dissolves, otherwise, it can lose its gelling power.
How to Store Layered Christmas Jello
- Refrigerator: Up to 3-4 days in an airtight container.
Can I make this ahead of time?
Absolutely! This Layered Christmas Jello is a fantastic make-ahead dessert. You can prepare it up to 2-3 days in advance and keep it covered in the refrigerator.
Why is my white layer not setting?
The most common reason is that the unflavored gelatin wasn’t fully dissolved or wasn’t added at the correct temperature. Ensure it’s completely dissolved and mixed thoroughly with the other ingredients.
Can I use sugar-free jello?
Yes, you can substitute sugar-free jello for the flavored Jell-O boxes. The texture and setting times should remain similar.
What if I don’t have an 11×7-inch dish?
You can use a similar-sized dish, like an 8×8-inch square pan, but your layers will be thicker. Adjust chilling times slightly if your dish is significantly different.
How do I get clean cuts?
For the cleanest cuts, use a sharp knife and wipe it clean and warm it with hot water between each slice. This prevents sticking and dragging.
I really hope this Layered Christmas Jello becomes a new favorite in your holiday traditions. It’s such a joyful and delicious treat! If you make it, I’d absolutely love to hear how it turns out and see your beautiful creations. Happy holidays and happy jiggling!
PrintLayered Christmas Jello
A festive and fun dessert featuring vibrant red, white, and green layers, perfect for holiday gatherings.
- Prep Time: 30
- Cook Time: 5
- Total Time: 305
- Yield: 8-10 servings
- Category: Dessert
- Method: No-Bake
- Cuisine: American
- Diet: Vegetarian
Ingredients
- GREEN LAYER
- 1 box (3 ounces) lime jello
- 1 cup boiling water
- 1/3 cup pineapple juice, chilled
- 1 cup crushed pineapple, drained
- WHITE LAYER
- 2 teaspoons unflavored gelatin
- 3 tablespoons ice cold water
- 8 ounces sour cream, chilled
- 1/3 cup whole milk, chilled
- 1 teaspoon vanilla
- RED LAYER
- 2 boxes (3 ounces each) cherry jello
- 2 cups boiling water
- 1 can (14 ounce) whole-berry cranberry sauce, chilled
- FOR SERVING
- pipped whipped cream
- lime zest
Instructions
- Coat a deep 11×7-inch glass dish with nonstick spray.
- In a small mixing bowl, dissolve lime jello in 1 cup boiling water.
- Stir in the 1/3 cup chilled pineapple juice.
- Carefully pour the lime mixture into the prepared dish.
- Transfer the dish to the fridge for 45-60 minutes, until set but not completely firm.
- In a small pot, sprinkle 2 teaspoons unflavored gelatin over 3 tablespoons ice cold water.
- Let the gelatin stand for 1 minute.
- Heat the gelatin mixture over low heat, stirring until the gelatin dissolves completely.
- Transfer the dissolved gelatin to a bowl.
- Add 8 ounces chilled sour cream, 1/3 cup chilled whole milk, and 1 teaspoon vanilla to the bowl.
- Whisk until combined and smooth.
- Spread the sour cream mixture evenly over the set lime layer.
- Place the dish back in the fridge for another 45-60 minutes.
- In a medium mixing bowl, dissolve 2 boxes cherry jello in 2 cups boiling water.
- Stir in 1 can chilled whole-berry cranberry sauce.
- Carefully spoon the cherry mixture over the set sour cream layer.
- Transfer the dish to the fridge until completely set, at least 4 hours.
- Cut into squares.
- Serve with fresh piped whipped cream and a sprinkle of lime zest.
Notes
Ensure each jello layer is set but still slightly tacky before adding the next.
Chill your ingredients like pineapple juice, sour cream, and milk beforehand for faster setting.
Use a glass dish to showcase the beautiful layers.
For clean slices, run your knife under hot water and wipe it clean between cuts.