Every fall, as soon as the leaves start to turn and there’s a crispness in the air, my kitchen just has to smell like pumpkin and spice. It’s a tradition! I love baking classic pumpkin pie, but sometimes you want something a little easier, a little more bite-sized, and definitely packed with flavor. That’s exactly how these Gingersnap Pumpkin Pie Bites came to be. They’re like a cozy, spiced hug in a tiny square, and they disappear so fast whenever I make them!
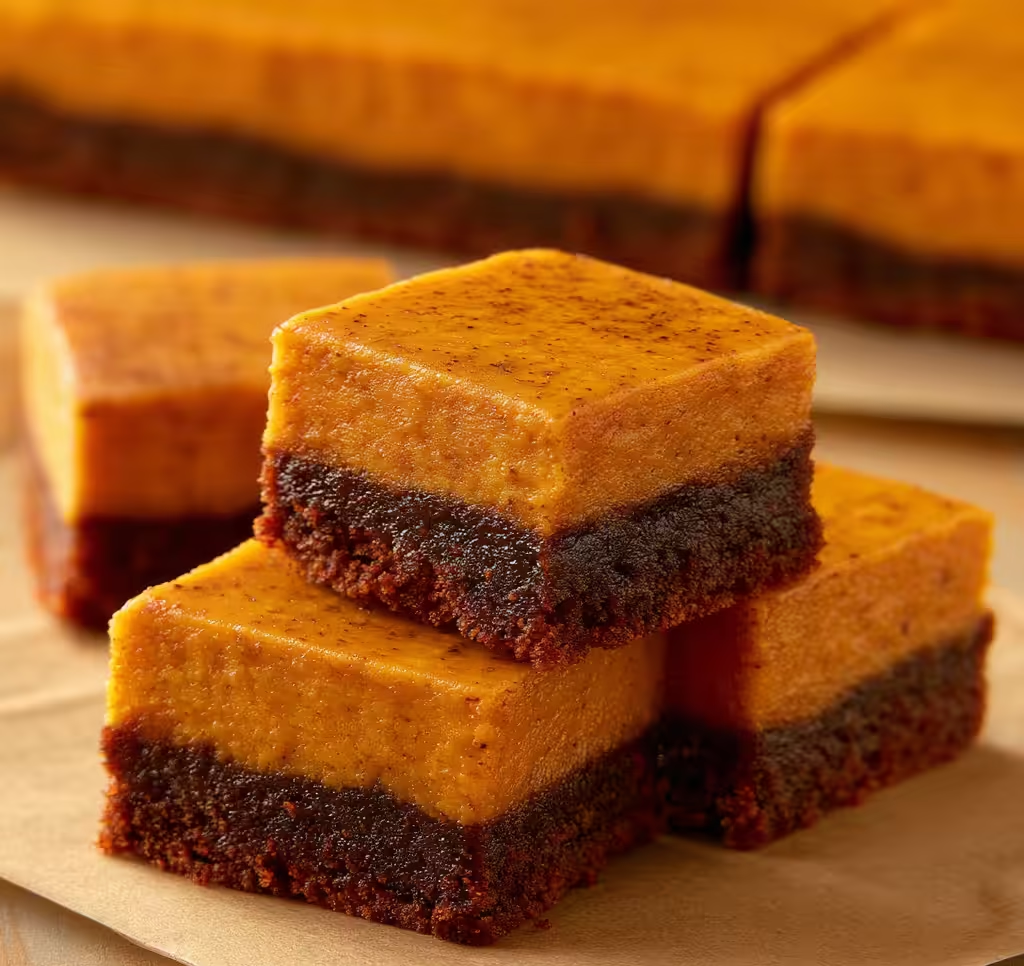
Why You’ll Love This Gingersnap Pumpkin Pie Bites
- They’re perfectly portioned, so no need for plates or forks!
- The gingersnap crust adds an amazing, spicy crunch that’s just divine.
- Super easy to make, even if you’re new to baking.
- They’re a crowd-pleaser for any fall gathering, from casual potlucks to holiday tables.
Ingredients You’ll Need
- Gingersnap Cookies: These are the star of our crust! They give that lovely spicy kick and a fantastic crunch. You can use store-bought gingersnaps for convenience.
- Butter: Melted butter helps bind the gingersnap crumbs together for a sturdy, flavorful crust. Don’t skip it!
- Dark Brown Sugar: This adds a deep, molasses-like sweetness to the crust that pairs wonderfully with the gingersnaps.
- Sweetened Condensed Milk: This is key for a super creamy, rich pumpkin filling without needing extra sugar. It’s already sweet and thick!
- Pumpkin Puree: Make sure you grab pure pumpkin puree, not pumpkin pie filling. They’re different!
- Eggs: Eggs help set the pumpkin filling, making it smooth and sliceable.
- Cinnamon, Nutmeg, Ginger, and Salt: These spices create that classic, warm pumpkin pie flavor we all adore. Don’t be shy with them!
How to Make Gingersnap Pumpkin Pie Bites Step by Step
First things first, you’ll want to get your oven preheated to 350°F. While that’s warming up, grab an 8×8-inch pan. Trust me on this one, lining it with foil, making sure the foil goes up the sides, will make your life so much easier when it’s time to lift out the finished bites. If you have a silicone pan, that works wonderfully too!
Now for the crust! In a medium bowl, combine your crushed gingersnap cookies, melted butter, and dark brown sugar. Stir it all together until it looks like wet sand. This is where the magic happens for that flavorful base! Press this mixture firmly and evenly into the bottom of your prepared pan. Pop it into the preheated oven for just 10 minutes. This little bake time sets the crust beautifully. Once it’s done, take it out and let it cool completely while you get the filling ready. Don’t worry if it seems a little soft; it will firm up as it cools.
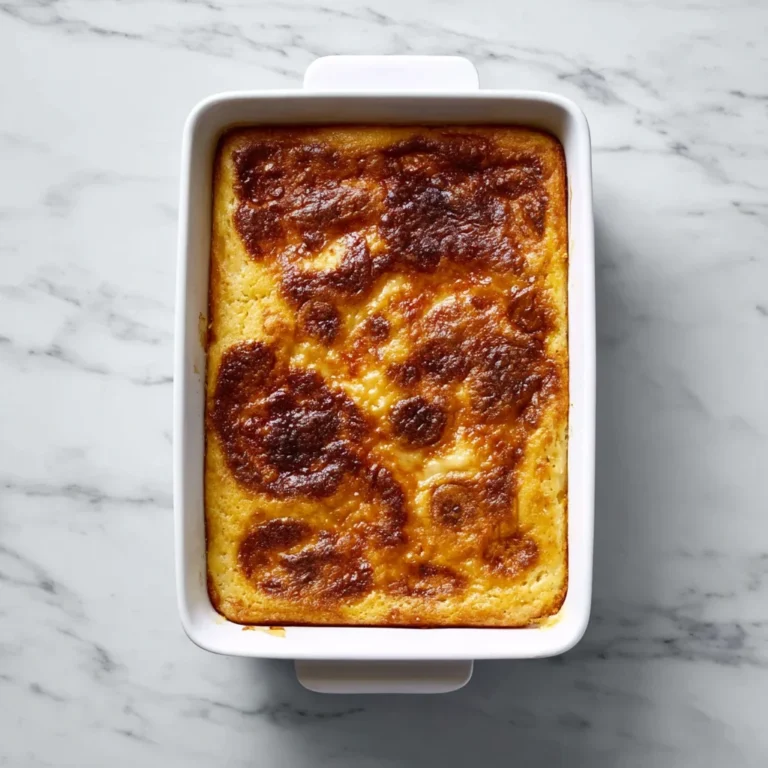
For the filling, grab another bowl and combine the sweetened condensed milk, pumpkin puree, eggs, cinnamon, nutmeg, ginger, and a pinch of salt. Use an electric mixer to beat everything until it’s super smooth. Pour this creamy pumpkin mixture right over your cooled gingersnap crust. Place the pan back into the oven, on the center rack, and bake for about 1 hour. You’ll know it’s done when the center is mostly set. Let it cool for about 20 minutes before you carefully lift it out of the pan using that foil lining. Then, all that’s left to do is cut it into delicious little bites and enjoy!
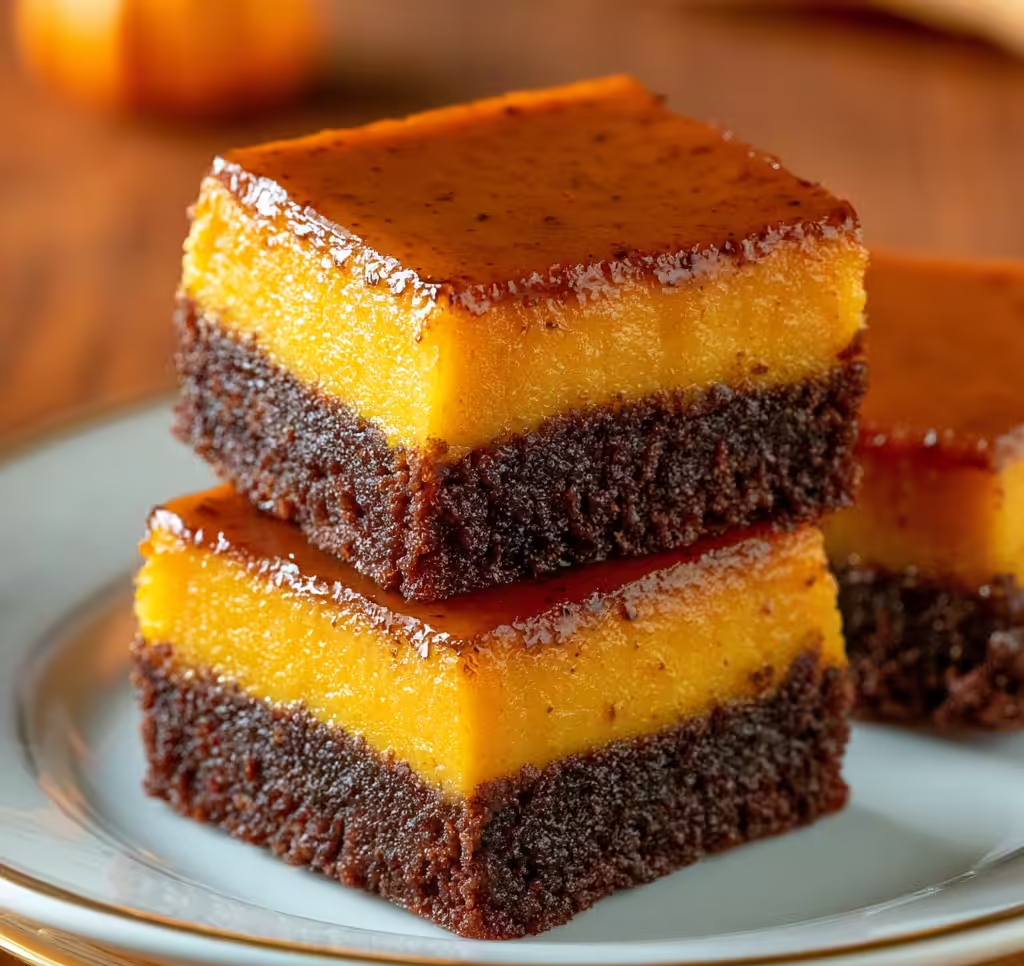
My Top Tips for Success
- I always use a food processor to crush my gingersnap cookies into fine crumbs; it makes the crust super uniform.
- In my experience, pressing the crust down really firmly helps it hold together beautifully. Use the bottom of a glass or your knuckles!
- Trust me on this one: let the crust cool completely before adding the filling. This prevents a soggy bottom.
- Don’t overbake the pumpkin filling! It should still have a slight jiggle in the center when you take it out; it will continue to set as it cools.
- For clean cuts, let the baked pie cool completely, or even chill it, before slicing into squares. A warm knife helps too!
Common Mistakes to Avoid
- Using pumpkin pie filling instead of pumpkin puree: Pumpkin pie filling is pre-spiced and sweetened, which will throw off the flavor balance of this recipe. Always use pure pumpkin puree.
- Not lining the pan: If you don’t line your pan with foil (or use a silicone pan), it will be incredibly difficult to remove the bites cleanly. The foil acts as a sling!
- Over-processing the gingersnap crust: While you want crumbs, don’t turn them into a paste. Just process until fine crumbs form.
- Not letting the crust cool: Pouring the filling onto a hot crust can make the crust soggy. Patience is key for a perfect base.
- Cutting too soon: If you try to cut the bites while they are still warm, they might crumble or not hold their shape well. Let them cool down first.
How to Store Gingersnap Pumpkin Pie Bites
- Countertop: These bites are best enjoyed fresh, but can be left at room temperature for up to 2 hours.
- Refrigerator: Store leftover bites in an airtight container in the refrigerator for up to 3-4 days.
- Freezer: You can freeze these bites! Place them in a single layer on a baking sheet to freeze solid, then transfer to an airtight freezer-safe container or bag for up to 1 month. Thaw in the refrigerator before serving.
Frequently Asked Questions
What kind of gingersnap cookies should I use?
You can use any brand of crunchy gingersnap cookies you prefer! Just make sure they are crisp enough to crush into fine crumbs for the crust. Store-bought gingersnaps work perfectly here.
Can I make these ahead of time?
Absolutely! These Gingersnap Pumpkin Pie Bites are a fantastic make-ahead dessert. You can prepare them a day or two in advance and store them in the refrigerator until you’re ready to serve.
Why is my crust crumbly?
A crumbly crust usually means there wasn’t enough melted butter to bind the gingersnap crumbs. Make sure your butter is fully melted and thoroughly mixed into the crumbs until they resemble wet sand.
Can I use a different size pan?
While an 8×8-inch pan is ideal for the thickness and baking time, you could use a 9×9-inch pan for thinner bites, but you might need to adjust the baking time slightly. Keep an eye on it! For more pumpkin goodness, you might also like these Instant Pot Pumpkin Bites.
How do I know when the pumpkin filling is set?
The pumpkin filling is set when the edges are firm and slightly puffed, but the very center still has a slight jiggle when you gently shake the pan. It will continue to set as it cools, so don’t overbake it.
I hope these Gingersnap Pumpkin Pie Bites become a new fall favorite in your home, just like they are in mine. They’re such a perfect little treat, full of all those warm, cozy flavors we love this time of year. Give them a try, and let me know how they turn out – I just know you’ll love them!
PrintGingersnap Pumpkin Pie Bites
Delicious, bite-sized pumpkin pie squares with a spicy gingersnap crust, perfect for fall gatherings.
- Prep Time: 15
- Cook Time: 70
- Total Time: 85
- Yield: 16-20 bites
- Category: Dessert
- Method: Baking
- Cuisine: American
- Diet: Vegetarian
Ingredients
- 2 cups gingersnap cookies crumbed
- 4 tablespoons butter melted
- 1/4 cup dark brown sugar
- 1 can sweetened condensed milk
- 1 can 15 oz pumpkin puree
- 2 eggs
- 1 teaspoon cinnamon
- 1/2 teaspoon nutmeg
- 1/4 teaspoon ginger
- 1/8 teaspoon salt
Instructions
- Preheat the oven to 350°F.
- Line an 8×8 glass pan or light-colored metal baking pan with foil, ensuring foil covers the sides.
- In a bowl, stir together the crushed gingersnap cookies, melted butter, and dark brown sugar.
- Mix until completely combined.
- Press the mixture evenly into the bottom of the prepared pan.
- Bake for 10 minutes in the preheated oven.
- Remove from oven.
- Let the crust cool completely while preparing the filling.
- In a separate bowl, combine sweetened condensed milk, pumpkin puree, eggs, cinnamon, nutmeg, ginger, and salt.
- Beat with an electric mixer until the mixture is smooth.
- Pour the pumpkin mixture onto the cooled gingersnap crust.
- Bake on the center rack at 350°F for 1 hour.
- Allow to cool for 20 minutes.
- Cut into bites.
- Serve immediately or store.
Notes
Use a food processor for fine gingersnap crumbs.
Press the crust firmly into the pan for a stable base.
Ensure the crust is fully cooled before adding the filling.
Do not overbake the pumpkin filling; it will set more as it cools.