

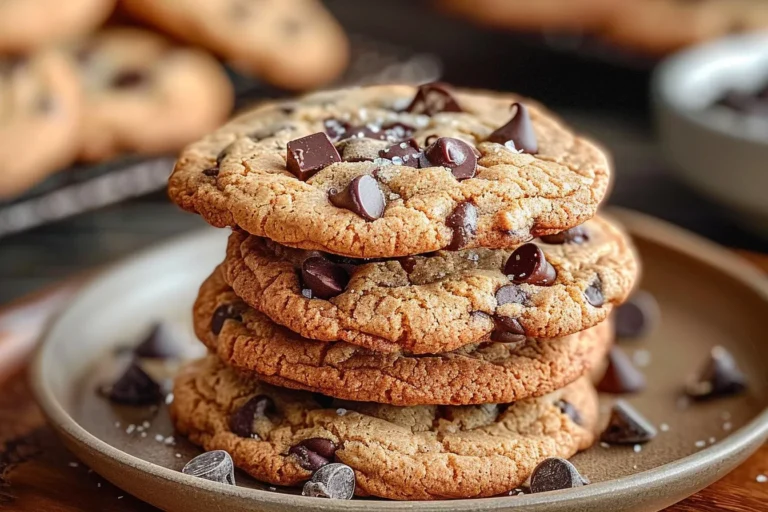
There’s just something about a warm, soft cookie that brings me right back to my grandma’s kitchen. She always had a plate of something delicious cooling on the counter, and her Classic Peanut Butter Blossoms were legendary. The way the chocolate kiss melted just so into the warm peanut butter cookie… pure bliss! I love making these for family gatherings, especially around the holidays, because they always bring back those sweet memories and create new ones.
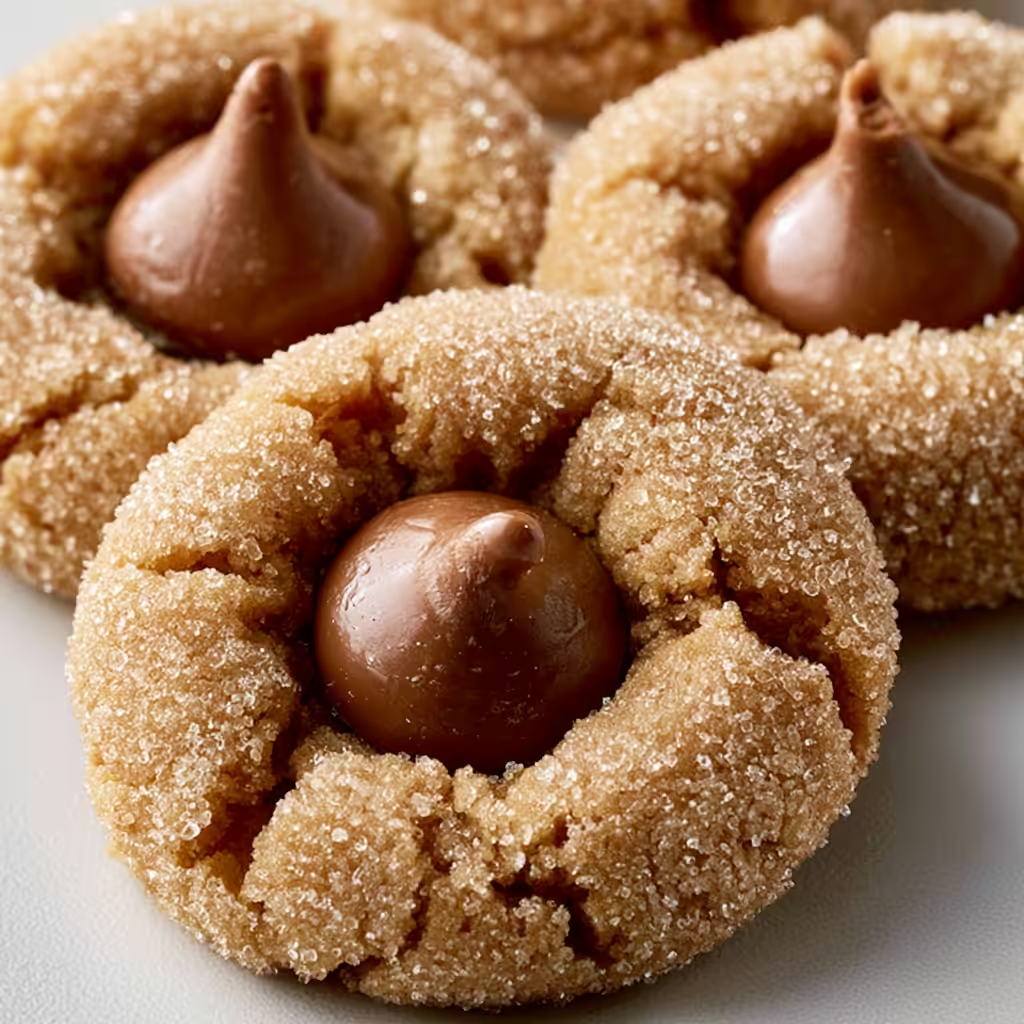
Why You’ll Love This Classic Peanut Butter Blossoms
- They’re incredibly easy to make, even for beginner bakers.
- That perfect combination of soft, chewy peanut butter cookie and melty chocolate is irresistible.
- They’re a classic for a reason – everyone loves them!
- Perfect for holiday cookie platters, potlucks, or just a cozy night in.
Ingredients You’ll Need
- All-Purpose Flour: This is your cookie’s structure. No special flours needed here!
- Baking Soda: Our leavening agent! It helps the cookies rise and get that lovely texture.
- Salt: Don’t skip the salt! It balances the sweetness and enhances all the flavors.
- Creamy Peanut Butter: Use a classic creamy peanut butter like Jif or Skippy for the best results. Natural peanut butter can be too oily and change the texture.
- Unsalted Butter: Make sure it’s at room temperature so it creams easily with the sugars.
- Granulated Sugar & Light Brown Sugar: The combination gives you both sweetness and that lovely chewiness. Brown sugar adds moisture!
- Large Egg: Binds everything together.
- Milk: Just a touch of milk adds moisture and helps with the dough’s consistency.
- Vanilla Extract: Always enhances the flavor of baked goods.
- Hershey Kisses: The iconic chocolate topping! Make sure you have them unwrapped and ready to go.
How to Make Classic Peanut Butter Blossoms Step by Step
First things first, grab a medium bowl and whisk together your dry ingredients: the all-purpose flour, baking soda, and salt. Just set that aside for a moment. This ensures everything is evenly distributed before you add it to the wet ingredients.
Now for the fun part! In a larger mixing bowl, using either a hand mixer or a stand mixer with the paddle attachment, you’re going to cream together the creamy peanut butter, softened unsalted butter, granulated sugar, and light brown sugar. Beat it on medium-high speed until it’s lovely and well blended – it should look light and fluffy. This is where the magic happens for that perfect cookie texture! Then, add in your egg, milk, and vanilla extract. Don’t forget to scrape down the sides of the bowl as needed to make sure everything gets mixed in.
Reduce your mixer speed to low, and gradually add that dry flour mixture you set aside earlier. Mix just until everything is completely blended – you don’t want to overmix! Once your dough is ready, pop it into a well-sealed food container or cover your mixing bowl tightly with plastic wrap. You’ll want to chill this dough for at least 1 hour. This step is super important for preventing your cookies from spreading too much. When your dough is nice and chilled, line two baking sheets with parchment paper or silicone mats, adjust your oven rack to the second level (just above the center), and preheat your oven to 375°F. Trust me, having everything ready makes baking so much smoother!
My Top Tips for Success
- I always make sure my butter is truly at room temperature. It creams so much better and makes for a smoother dough.
- In my experience, chilling the dough for the full hour (or even longer!) is key. It helps prevent the cookies from spreading too flat.
- Trust me on this one: unwrap your Hershey Kisses *before* you start baking. You’ll want them ready to go the moment the cookies come out of the oven!
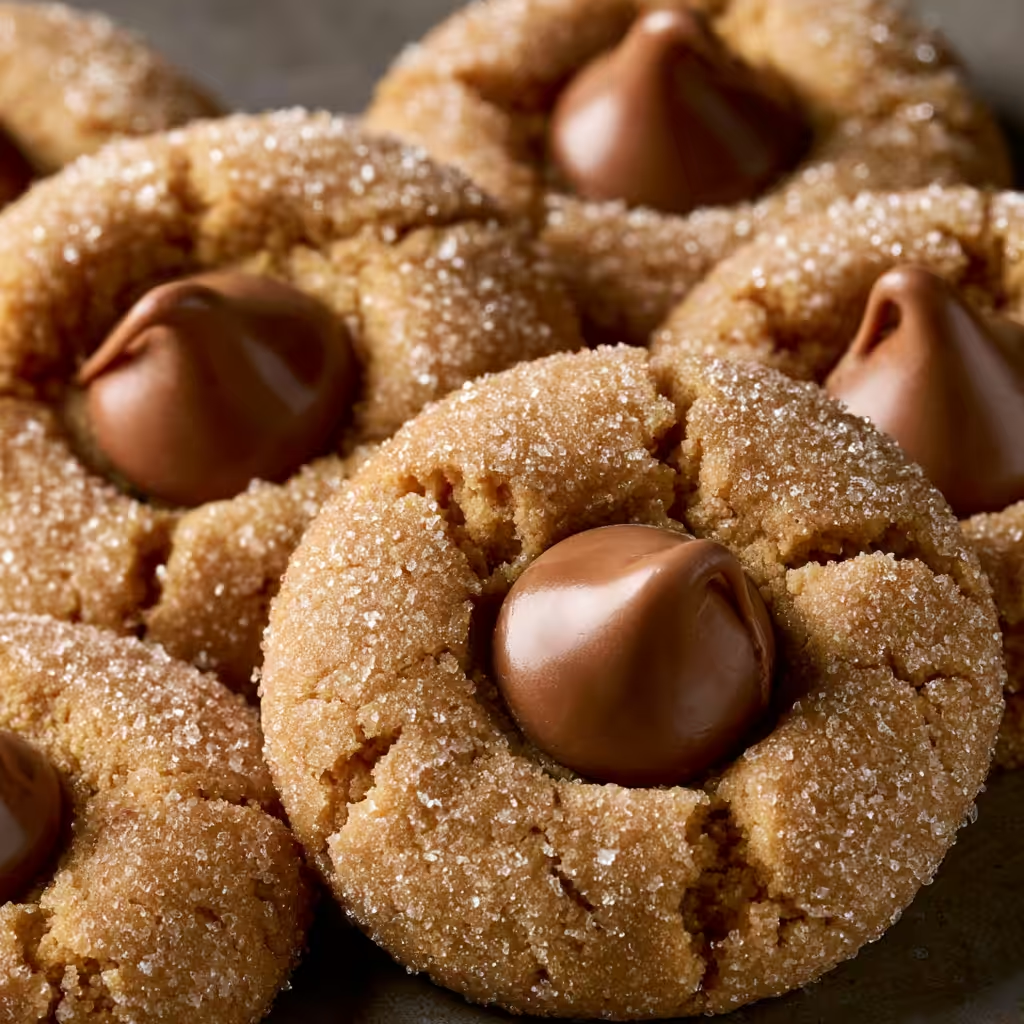
- I like to press the chocolate kisses down just enough to create those lovely crackly edges on the cookies. Don’t press too hard, or they might split.
- Don’t overbake! The cookies might look slightly underdone when you pull them out, but they’ll set up as they cool.
Common Mistakes to Avoid
- Not chilling the dough: If you skip chilling, your cookies will likely spread too much and be flat. The cold butter helps them hold their shape.
- Overmixing the dry ingredients: Once you add the flour mixture, mix only until just combined. Overmixing can lead to tough cookies.
- Using natural peanut butter: Natural peanut butter often separates and has a different oil content, which can drastically change the cookie’s texture. Stick to creamy, processed peanut butter for this recipe.
- Baking at the wrong temperature: An oven that’s too cool will cause spreading, while one that’s too hot can burn the edges before the center cooks. Use an oven thermometer if you’re unsure!
- Not unwrapping Hershey Kisses in advance: Trying to unwrap them while the cookies are hot out of the oven is a messy race against time. Have them ready!
How to Store Classic Peanut Butter Blossoms
- Countertop: Up to 1 week in an airtight container with a slice of bread. The bread helps keep them soft!
Frequently Asked Questions
What kind of peanut butter should I use?
For these Classic Peanut Butter Blossoms, I highly recommend using a creamy, processed peanut butter like Jif or Skippy. Natural peanut butter tends to be oilier and can change the texture of the cookies, making them spread more.
Can I use a different type of chocolate?
Absolutely! While Hershey Kisses are traditional, you could use mini peanut butter cups, unwrapped chocolate stars, or even a small square of your favorite chocolate bar. Just make sure it’s something that melts nicely and is small enough for the cookie.
Why do my cookies spread too much?
The most common reason for cookies spreading too much is not chilling the dough long enough, or your butter being too warm. Make sure to chill the dough for at least 1 hour, and ensure your butter isn’t melted before you start creaming it.
Can I freeze the cookie dough?
Yes, you can! Roll the dough into balls, then freeze them on a baking sheet until solid. Transfer them to a freezer-safe bag or container and freeze for up to 3 months. When ready to bake, you might need to add a minute or two to the baking time.
How do I keep the cookies soft?
Storing the cookies in an airtight container with a slice of plain white bread is my go-to trick. The cookies absorb moisture from the bread, keeping them wonderfully soft for days.
I hope these Classic Peanut Butter Blossoms bring a little extra joy and warmth to your kitchen, just like they do for mine. There’s nothing quite like that perfect blend of peanut butter and chocolate! Give them a try, and let me know how they turn out – I’d love to hear about your baking adventures!
PrintClassic Peanut Butter Blossoms

These classic peanut butter cookies topped with a melty chocolate kiss are a nostalgic favorite and perfect for any occasion.
- Prep Time: 25
- Cook Time: 10
- Total Time: 85
- Yield: 36-40 cookies
- Category: Dessert
- Method: Baking
- Cuisine: American
- Diet: Vegetarian
Ingredients
- 1 3/4 cup All-Purpose Flour
- 1 tsp Baking Soda
- 1/2 tsp Salt
- 1/2 cup Creamy Peanut Butter
- 1/2 cup Unsalted Butter room temperature
- 1/2 cup Granulated Sugar
- 1/2 cup Light Brown Sugar lightly packed
- 1 Large Egg
- 2 tbsp Milk
- 1 tsp Vanilla Extract
- 1/2 cup Granulated Sugar additional amount for coating cookies
- 11 oz Bag of Hershey Kisses
Instructions
- Whisk together the all-purpose flour, baking soda, and salt in a medium bowl.
- Set the dry mixture aside.
- Cream together the peanut butter, unsalted butter, granulated sugar, and light brown sugar in a stand mixer or with a hand mixer on medium-high speed until well blended.
- Add in the egg, milk, and vanilla extract.
- Scrape down the sides of the bowl as needed to ensure everything is incorporated.
- Reduce the mixer speed to low.
- Gradually add in the dry flour mixture until completely blended.
- Place the cookie dough in a well-sealed food container or tightly wrap the top of the mixing bowl with plastic wrap.
- Chill the cookie dough for a minimum of 1 hour.
- After the dough has chilled, line 2 baking sheets with parchment paper or silicone mats.
- Adjust the oven rack to the 2nd level mark (just above center).
- Preheat the oven to 375°F.
- Shape the cookie dough into 1-inch balls using a spoon and your clean hands.
- Roll each dough ball in the additional granulated sugar.
- Place the coated dough balls about 1 1/2 – 2 inches apart on the lined baking sheets.
- Bake for 7-8 minutes.
- Remove the baking sheets from the oven.
- Place a milk chocolate kiss on top of each cookie, pressing down gently to create the crackly cookie edges.
- Return the baking sheets to the oven.
- Bake for 2 minutes longer.
- Cool cookies on the baking sheet for 5-10 minutes.
- Transfer cookies to a cooling rack to cool completely.
Notes
Ensure butter is at room temperature for easy creaming.
Chill the dough for at least 1 hour to prevent spreading.
Unwrap Hershey Kisses before you start baking for quick placement.
Store cookies with a slice of bread to keep them soft.













1 thought on “Classic Peanut Butter Blossoms”