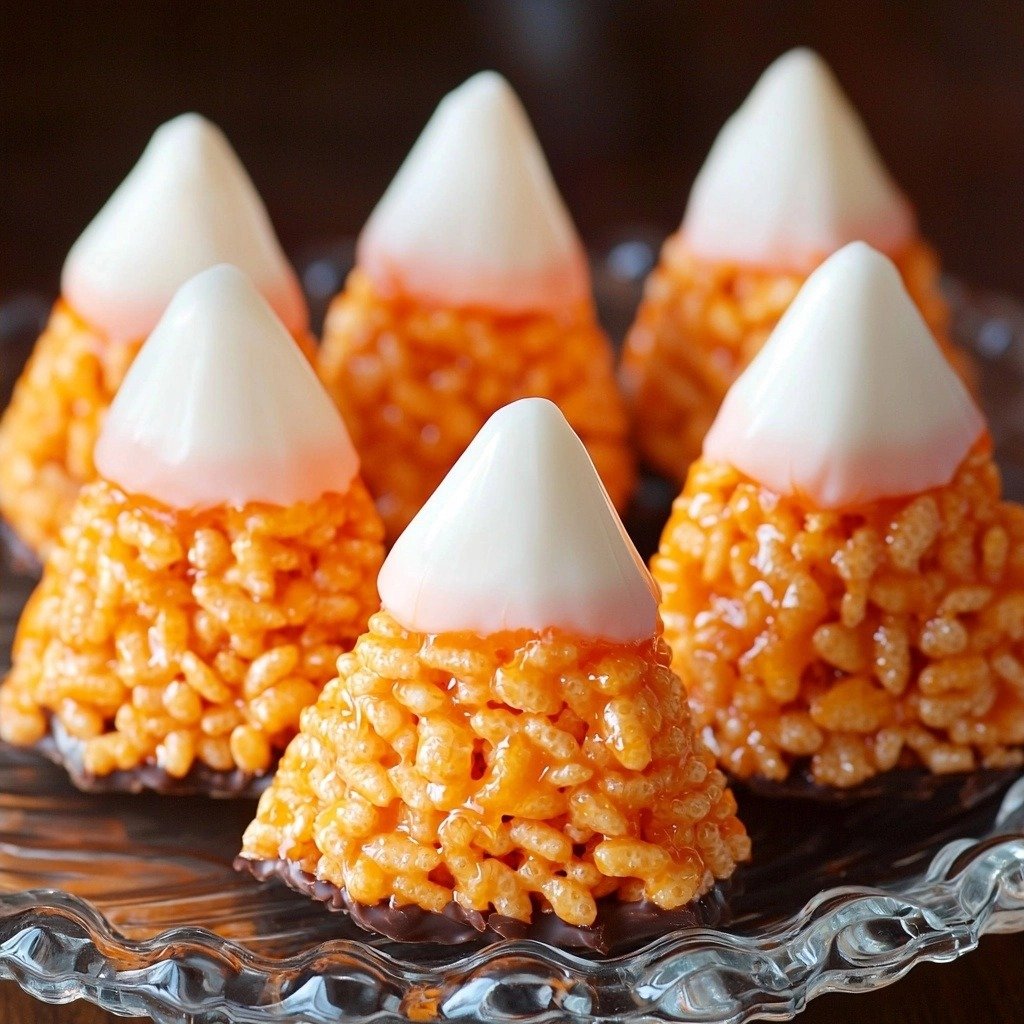
There’s something so magical about Halloween, isn’t there? The crisp air, the costumes, and of course, all the fun treats! Every year, I love whipping up something festive for my family, and this year, I decided to put a fun spin on a classic. These Candy Corn Rice Krispie Treats are just the thing—they’re bright, cheerful, and oh-so-delicious!
Why You’ll Love This Candy Corn Rice Krispie Treats
- They’re super easy to make, even for beginners! No baking required.
- The texture is perfectly chewy and crispy, just like a classic Rice Krispie Treat.
- They’re incredibly festive with those vibrant candy corn colors.
- They’re a fantastic, kid-friendly activity for Halloween parties or just a fun afternoon.
Ingredients You’ll Need
- Mini Marshmallows: These are the star of the show, creating that gooey, irresistible binder. Mini marshmallows melt more evenly than large ones.
- Butter: Unsalted or salted works here; it adds richness and helps with the texture.
- Vanilla Extract: Just a touch enhances all the sweet flavors.
- Chocolate Chips or Chocolate Melting Wafers: You can use either! Chocolate chips might need a little coconut oil to thin them out for dipping, but melting wafers are usually good to go as is.
- White Chocolate Chips or Melting Wafers: Similar to the regular chocolate, choose what you prefer.
- Coconut Oil: This is our secret weapon for making chocolate chips melt smoothly for dipping.
- Orange Food Coloring: This is how we get that iconic candy corn color! Gel food coloring gives a more vibrant hue than liquid.
How to Make Candy Corn Rice Krispie Treats Step by Step
First things first, grab a really big saucepan. You’ll want to melt your marshmallows and butter in there over low heat. Keep stirring so nothing sticks to the bottom. Once it’s all melty and smooth, it’s time for the fun part: add a few drops of orange food coloring and a splash of vanilla extract. Stir it until you get that beautiful, vibrant orange color. Don’t worry if it seems a little sticky; that’s exactly what we want!
Now, pour that warm, orange marshmallow mixture into a large mixing bowl with your Rice Krispies cereal. Stir, stir, stir until every single piece of cereal is coated in that delicious marshmallow goodness. This is where the magic happens! Then, carefully divide this mixture between two disposable pie pans. Press it down gently but firmly. Now, pop them in the fridge for 1 to 2 hours to chill and set up completely. Patience is key here!
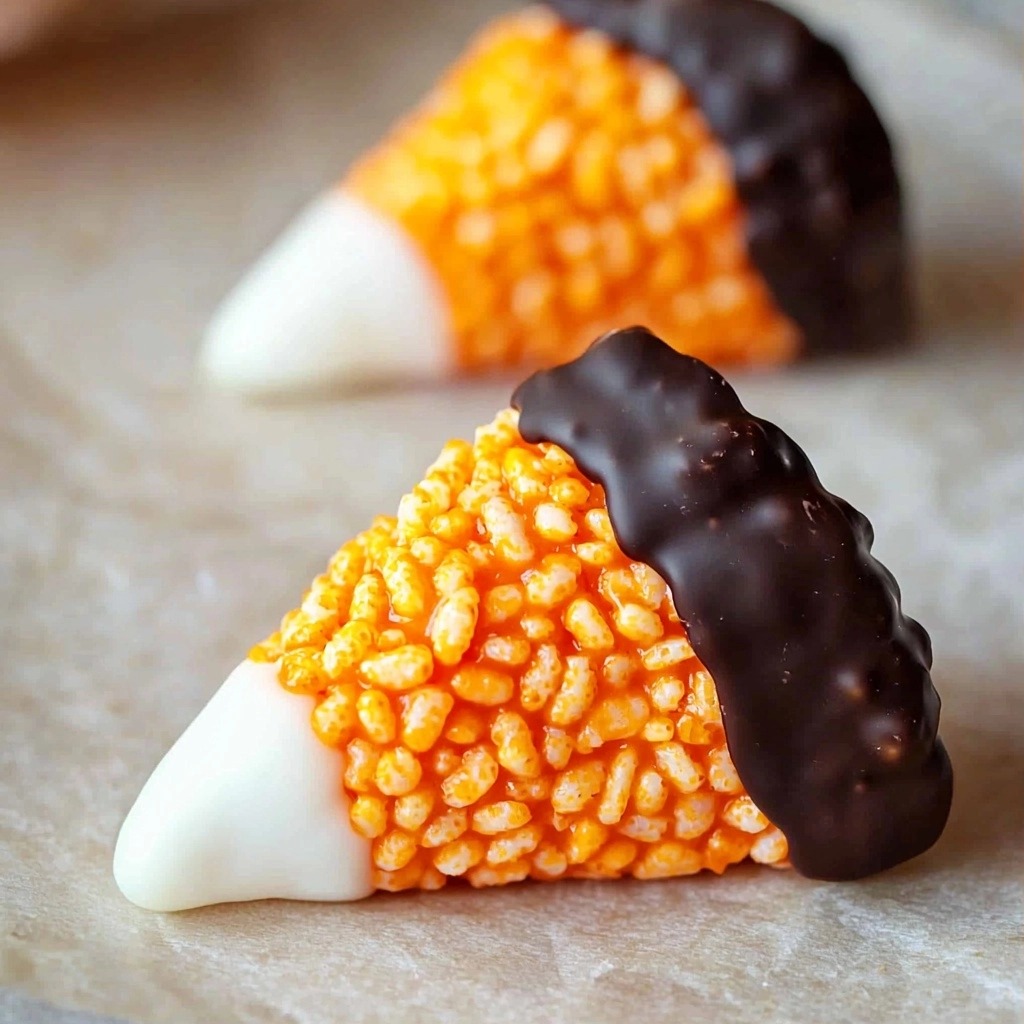
Once your treats are firm, take them out of the pans and cut each one into 8 triangles. This is how we get that candy corn shape! Next, it’s chocolate dipping time. Melt your white chocolate in the microwave, stirring every 15 seconds until it’s smooth. If you’re using chocolate chips, stir in a little coconut oil to make it nice and dippable. Repeat the same process for your regular chocolate. Dip the pointed tips of your triangles into the white chocolate, set them on parchment paper for 10 minutes, and then dip the opposite (wider) ends into the regular chocolate. Let them dry completely, and then they’re ready to enjoy!
My Top Tips for Success
- I always use fresh marshmallows; older ones don’t melt as smoothly.
- Trust me on this one: use a non-stick saucepan for melting the marshmallows. It makes cleanup so much easier!
- When pressing the mixture into the pie pans, lightly grease your hands with butter or cooking spray to prevent sticking.
- In my experience, gel food coloring gives a much more vibrant and true-to-color orange than liquid food coloring.
- Don’t rush the chilling time! Letting them set completely ensures clean cuts and less mess during dipping.
Common Mistakes to Avoid
- Overheating Marshmallows: This can make your treats hard. Melt them over low heat and stir constantly until just melted and smooth.
- Not Pressing Firmly Enough: If the mixture isn’t pressed firmly into the pans, your treats might crumble when you cut them.
- Skipping the Coconut Oil for Chocolate Chips: If you’re using chocolate chips for dipping, they can be too thick. The coconut oil helps thin them out for a smooth, even coating.
- Dipping Before Treats are Fully Set: This can lead to misshapen treats and a messy dipping process. Make sure they are firm before cutting and dipping.
How to Store Candy Corn Rice Krispie Treats
- Countertop: Store in an airtight container for up to 2-3 days.
- Refrigerator: Store in an airtight container for up to 1 week. Bring to room temperature before serving for best texture.
- Freezer: Wrap individual treats tightly in plastic wrap, then place in a freezer-safe bag for up to 4-6 weeks. Thaw at room temperature.
Frequently Asked Questions
What kind of food coloring should I use?
I recommend using gel food coloring for a more vibrant, concentrated orange color. Liquid food coloring can sometimes make the mixture too wet and the color less intense.
Can I use different types of chocolate for dipping?
Absolutely! Feel free to use dark chocolate, milk chocolate, or even colored candy melts for different effects. Just follow the melting instructions for your chosen chocolate.
My treats are too hard. What went wrong?
This usually happens if the marshmallows were overheated, or if too much cereal was added. Make sure to melt the marshmallows gently over low heat and measure your ingredients accurately.
Can I make these ahead of time for a party?
Yes, these are great for making ahead! You can store them in an airtight container at room temperature for a couple of days, or in the fridge for up to a week.
Do I have to use disposable pie pans?
Not at all! Any 8 or 9-inch round cake pan or pie dish will work. Just make sure to grease it well before pressing in the mixture.
I hope these Candy Corn Rice Krispie Treats bring a little extra sparkle and sweetness to your Halloween celebrations! They’re so much fun to make and even more fun to eat. If you give them a try, I’d absolutely love to hear how they turned out in the comments below!
PrintCandy Corn Rice Krispie Treats

These festive no-bake treats are shaped and colored like candy corn, perfect for a fun Halloween snack or party dessert.
- Prep Time: 20
- Cook Time: 5
- Total Time: 145
- Yield: 16 treats
- Category: Dessert
- Method: No-Bake
- Cuisine: American
- Diet: Vegetarian
Ingredients
- 6 cups rice krispies cereal
- 10 oz mini marshmallows
- 1/2 cup butter (1 stick)
- 1 teaspoon vanilla extract
- 2 cups chocolate chips or chocolate melting wafers
- 1 cup white chocolate chips or melting wafers
- 2 teaspoon coconut oil separated
- Orange food coloring as needed
Instructions
- Add marshmallows to a large saucepan.
- Add butter to the same large saucepan.
- Heat the saucepan over low heat until the marshmallows and butter are fully melted, stirring occasionally.
- Stir in the orange food coloring until the marshmallow mixture is a uniform orange color.
- Stir in the vanilla extract.
- Pour the marshmallow mixture into a large mixing bowl.
- Add the rice krispies cereal to the mixing bowl.
- Mix until the cereal is well incorporated and coated with the marshmallow mixture.
- Divide the mixture evenly among two disposable pie pans.
- Press the mixture down gently into each pie pan.
- Allow to chill in the refrigerator until set, about 1-2 hours.
- Remove the set treats from the pie pans.
- Cut each round of treats into 8 triangular slices.
- Place white chocolate in a microwave-safe bowl.
- Heat the white chocolate in the microwave for 1 minute.
- Stir the white chocolate.
- Continue to heat the white chocolate in 15-second intervals, stirring after each, until fully melted and smooth.
- If using white chocolate chips, stir in 1 teaspoon of coconut oil until smooth.
- Repeat the melting process for the milk chocolate in a separate microwave-safe bowl.
- If using milk chocolate chips, stir in the remaining 1 teaspoon of coconut oil until smooth.
- Dip the pointed tips of each triangular rice krispie treat into the melted white chocolate.
- Place the white chocolate-dipped treats on parchment paper.
- Allow the white chocolate to set for 10 minutes.
- Dip the opposite (wider) ends of the treats into the melted milk chocolate.
- Allow the chocolate-dipped treats to dry completely on parchment paper before serving.
Notes
Use fresh marshmallows for the best gooey texture.
Grease your hands lightly when pressing the mixture into the pans to prevent sticking.
Gel food coloring provides a more vibrant orange color than liquid.
Ensure the treats are fully chilled before cutting to get clean, crisp slices.
If chocolate seems too thick for dipping, add a tiny bit more coconut oil (1/4 tsp at a time) until it reaches the desired consistency.