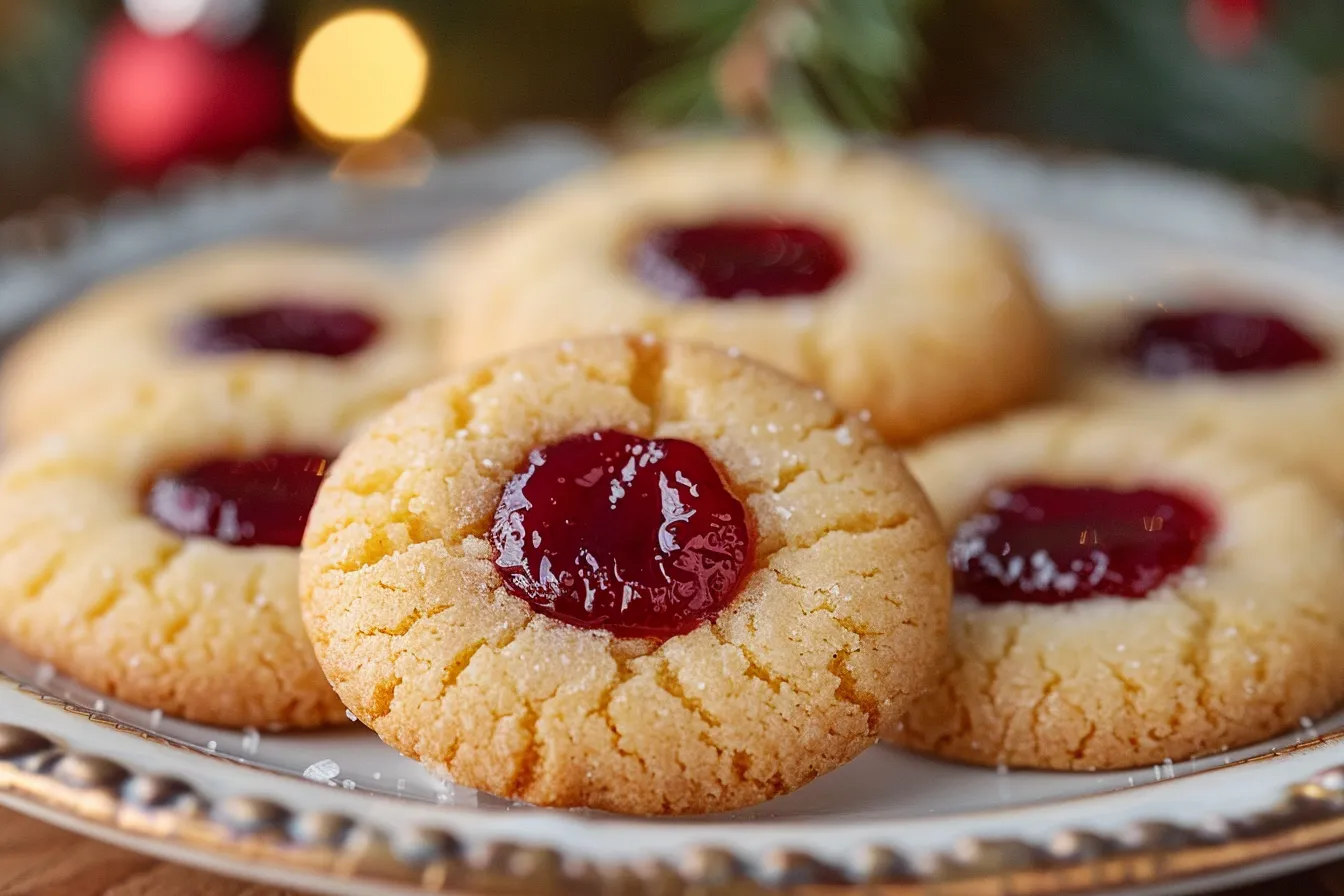
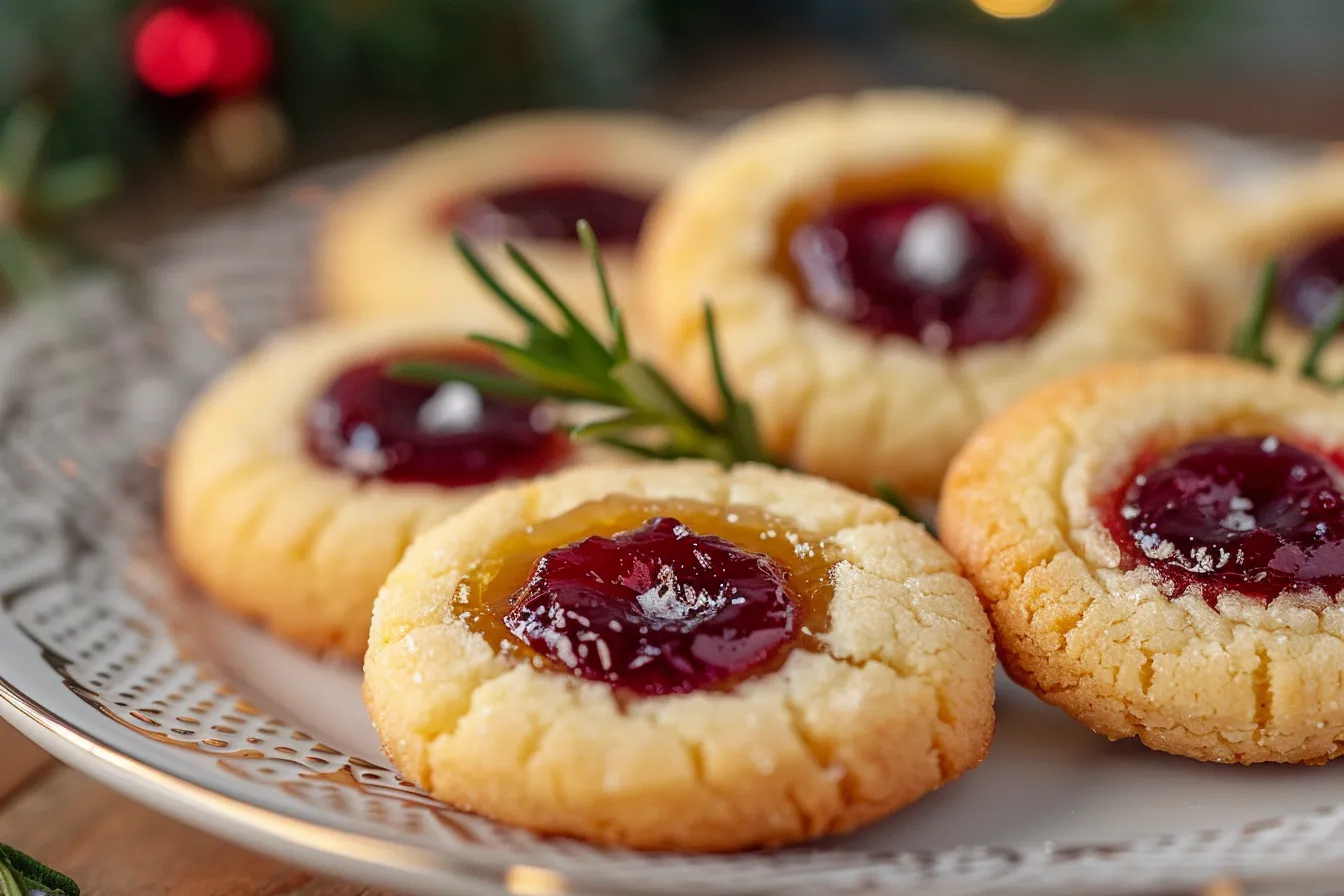
The aroma of freshly baked cookies wafting through the house is practically synonymous with Christmas. And what better way to embrace the holiday spirit than with a batch of classic Christmas thumbprint cookies? These delightful little treats, with their soft, buttery centers and a vibrant dollop of jam, are not only delicious but also incredibly fun to make, especially with family and friends. It’s time to bake up some holiday magic, share the love, and create lasting memories, one thumbprint cookie at a time!
For years, my grandmother’s Christmas thumbprint cookies have been the star of our holiday dessert table. Each year I tweak it to improve texture, taste, and visual presentation. This recipe is a culmination of those years of trial and error, ensuring a perfectly tender crumb, a melt-in-your-mouth texture, and that iconic jam-filled center we all crave. And don’t worry this is a completely approachable recipe perfect for all skill levels. Let’s embark on this festive baking adventure together!
Ingredients for Perfect Thumbprint Cookies
Mastering the art of Christmas thumbprint cookies begins with understanding the role of each ingredient and how they interact. Choosing high-quality ingredients will impact the final cookie.
- All-Purpose Flour: Forms the structure of the cookie. I recommend using unbleached all-purpose flour for a slightly softer texture. For a gluten-free option, use a 1:1 gluten-free flour blend, but be prepared for a slightly denser cookie.
- Unsalted Butter: The foundation of flavor and tenderness. Make sure it’s softened to room temperature for optimal creaming, creating air pockets for a light cookie. Avoid using melted butter, as it will result in flat cookies.
- Granulated Sugar: Adds sweetness and contributes to the cookie’s crispy edges. Consider using caster sugar for an even finer texture.
- Egg Yolks: Provide richness and binding power, contributing to the cookie’s tender crumb. Using only the yolks creates a more delicate texture.
- Vanilla Extract: Enhances the overall flavor profile. Use pure vanilla extract for the best taste. A tiny amount of almond extract can also add a nice holiday flavor.
- Salt: Balances the sweetness and enhances the other flavors. Use a pinch of sea salt or kosher salt.
- Jam or Preserves: The iconic filling! Use your favorite flavors. Raspberry, strawberry, apricot, and cherry are classic choices. Ensure the jam is seedless for a smoother texture.
Ingredient Substitution Tips
- Butter: For a dairy-free option, substitute with a vegan butter stick that is formulated for baking.
- Granulated Sugar: Coconut sugar or brown sugar can be used as a substitute, but they will alter the flavor and color of the cookies.
- Egg Yolks: In a pinch, you can use 1 whole egg instead of two egg yolks, but the cookies will be slightly less tender.
- Jam: Nutella, peanut butter, or even a chocolate ganache can be used as alternative fillings for those who don’t prefer jam.
Expert Tips for Baking Thumbprint Perfection
I’ve learned so much from years of baking Christmas thumbprint cookies. These tips will help you avoid common pitfalls and achieve cookie perfection.
- Chill the Dough: Don’t skip this step! Chilling the dough for at least 30 minutes prevents the cookies from spreading too much in the oven and allows the flavors to meld together.
- Don’t Overbake: Overbaked cookies will be dry and crumbly. Bake until the edges are lightly golden brown, and the centers are still slightly soft. They will continue to firm up as they cool.
- Use a Consistent Thumbprint: Use your thumb (or the back of a small spoon) to create a uniform indentation in each cookie. This ensures that the jam fills evenly and the cookies bake consistently.
- Add Jam After Baking (Optional): For the most vibrant jam color, you can bake the cookies with the indentation and add the jam immediately after they come out of the oven. The heat from the cookie will soften the jam.
- Prevent Spreading: If your cookies are spreading too much, make sure your butter is not too soft and that you have chilled the dough sufficiently. Adding a tablespoon of flour to the dough can also help.
Storage & Easy Swaps
Proper storage will keep your Christmas thumbprint cookies fresh and delicious for days, while smart substitutions let you customize the recipe to your liking.
Storage Instructions
- Room Temperature: Store cooled cookies in an airtight container at room temperature for up to 3-4 days.
- Freezing: For longer storage, freeze baked cookies in an airtight container for up to 2 months. Thaw at room temperature before serving. You can also freeze the unbaked dough balls for up to 2 months. Thaw in the refrigerator overnight before baking.
Creative Cookie Swaps
- Different Jams: Experiment with different jam flavors such as fig, blackberry, or orange marmalade for a unique twist.
- Nut Coatings: Roll the dough balls in finely chopped nuts (pecans, walnuts, or almonds) before baking for added texture and flavor.
- Chocolate Drizzle: Drizzle melted chocolate over the cooled cookies for an extra touch of indulgence.
- Spiced Dough: Add a pinch of cinnamon, nutmeg, or cardamom to the dough for a warm, festive flavor.
Frequently Asked Questions (FAQ)
Here are some common questions people ask when baking Christmas thumbprint cookies.
Why are my thumbprint cookies spreading?
Cookie spreading can be due to several factors, including using butter that is too soft, not chilling the dough long enough, or overmixing the dough. Make sure your butter is softened but still cool to the touch, chill the dough for at least 30 minutes, and avoid overmixing. You can also try adding a tablespoon or two of flour to the dough.
Can I make thumbprint cookies ahead of time?
Yes, you can absolutely make thumbprint cookies ahead of time! The dough can be made and chilled for up to 2 days before baking. You can also bake the cookies and store them in an airtight container at room temperature for up to 3-4 days, or freeze them for longer storage.
What is the best type of jam to use for thumbprint cookies?
The best type of jam to use is a matter of personal preference! Raspberry, strawberry, apricot, and cherry are classic choices. However, any seedless jam or preserve will work well. Ensure the jam is thick enough to hold its shape during baking; if it’s too runny, it may bubble over.
How do I prevent the jam from bubbling over during baking?
To prevent the jam from bubbling over, make sure the indentation in the cookie is deep enough to hold the jam without overflowing. Also, avoid overfilling the cookies with jam. If the jam starts to bubble, you can try reducing the oven temperature slightly.
Can I freeze thumbprint cookie dough?
Yes, thumbprint cookie dough freezes very well. Shape the dough into balls, place them on a baking sheet lined with parchment paper, and freeze until solid. Then, transfer the frozen dough balls to an airtight container or freezer bag and store them in the freezer for up to 2 months. When ready to bake, thaw the dough in the refrigerator overnight and proceed with the recipe.
How do I keep my thumbprint cookies soft?
To keep your thumbprint cookies soft, avoid overbaking them. Bake until the edges are lightly golden brown, and the centers are still slightly soft. Store the cooled cookies in an airtight container to prevent them from drying out. Adding a small piece of bread to the container can also help keep them soft.
Can I use a different extract besides vanilla?
Yes, you can definitely experiment with different extracts! Almond extract, lemon extract, or even a hint of peppermint extract can add a unique and delicious flavor to your thumbprint cookies. Just be sure to use extracts sparingly, as they can be quite potent.
Bake and Share the Holiday Cheer
With their buttery goodness and festive jam centers, Christmas thumbprint cookies are more than just a dessert; they’re a symbol of holiday joy and togetherness. This recipe is more than just instructions; it’s an invitation to create lasting memories with loved ones.
Now that you’re armed with the knowledge and tips to bake the perfect batch of thumbprint cookies, it’s time to preheat that oven and get baking! Don’t forget to share your creations with friends and family – after all, the best part of baking is sharing the love. And be sure to snap a photo of your festive cookies and tag us on social media! Happy baking and happy holidays!
PrintEasy Christmas Thumbprint Cookies Recipe

Xmas thumbprint cookies recipe Easy steps festive treats Simple holiday baking tech Get delish Christmas cookies recipe now 143 chars
- Prep Time: 30 minutes
- Cook Time: 12 minutes
- Total Time: 42 minutes
- Yield: 24 cookies
- Category: Cookie
- Cuisine: American
Ingredients
- 1 1/2 cups All-Purpose Flour
- 1/2 cup Unsalted Butter, softened
- 1/3 cup Granulated Sugar
- 2 large Egg Yolks
- 1 teaspoon Vanilla Extract
- 1/4 teaspoon Salt
- 1/2 cup Seedless Jam or Preserves (Raspberry, Strawberry, Apricot, or Cherry)
- Powdered Sugar (for dusting, optional)
Instructions
- In a large bowl, cream together the softened butter and granulated sugar until light and fluffy.
- Beat in the egg yolks and vanilla extract until well combined.
- In a separate bowl, whisk together the flour and salt.
- Gradually add the dry ingredients to the wet ingredients, mixing until just combined. Do not overmix.
- Cover the dough and chill for at least 30 minutes.
- Preheat oven to 350°F (175°C).
- Roll the dough into 1-inch balls and place them on a baking sheet lined with parchment paper.
- Use your thumb or the back of a small spoon to make an indentation in the center of each cookie.
- Fill each indentation with about 1/4 teaspoon of jam or preserves.
- Bake for 10-12 minutes, or until the edges are lightly golden brown and the centers are set.
- Let the cookies cool on the baking sheet for a few minutes before transferring them to a wire rack to cool completely.
- Dust with powdered sugar, if desired. Store in an airtight container.
