
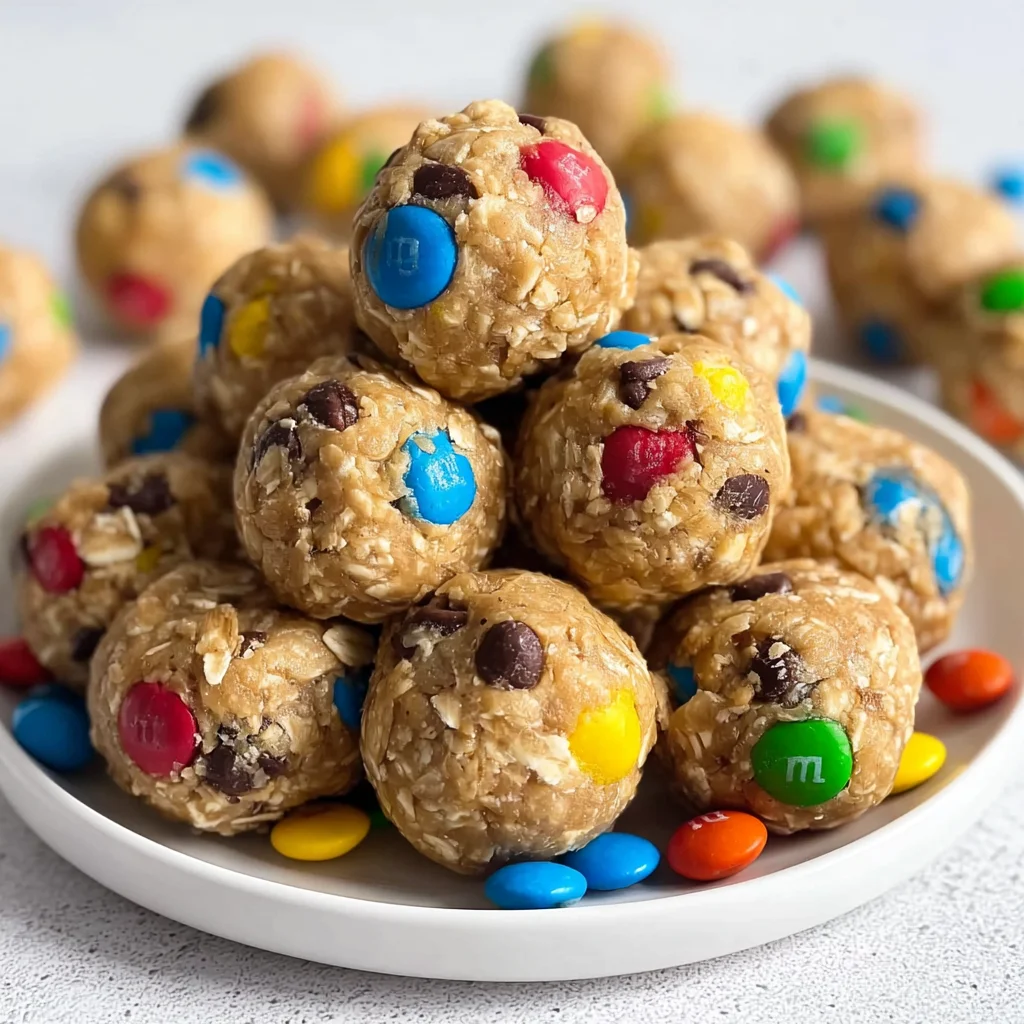
We have all been there: it’s 3:00 PM, your energy is flagging, and your sweet tooth is starting to demand attention. Instead of reaching for a processed vending machine candy bar, imagine having a stash of homemade Monster Cookie Energy Balls waiting for you in the fridge. These little bites are the perfect marriage of a classic, chewy monster cookie and a functional, protein-packed snack.
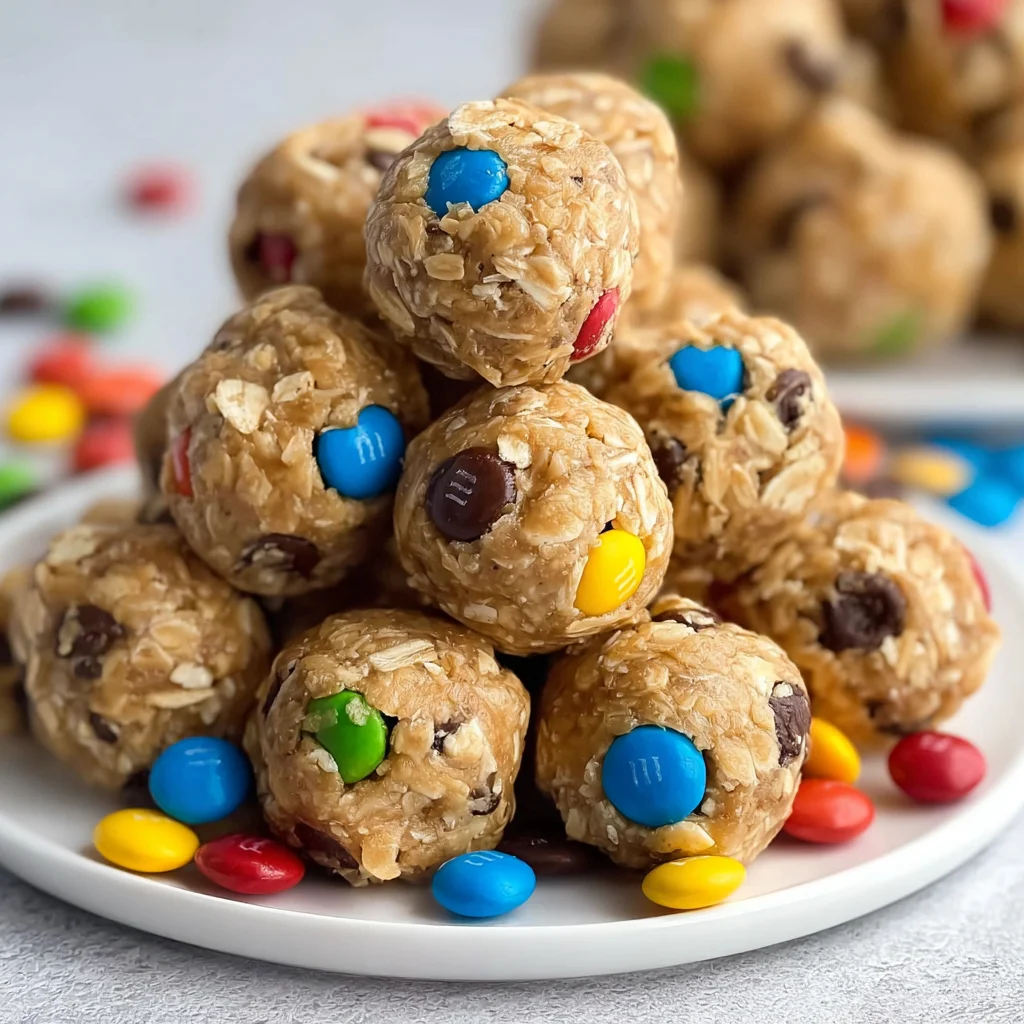
This recipe is designed for busy families, meal-preppers, and anyone who needs a quick hit of flavor and fuel. Made with hearty oats, creamy peanut butter, and just enough colorful M&Ms to make them feel like a treat, these are a guaranteed hit with kids and adults alike. Best of all? No oven is required, and you likely have all the ingredients in your pantry right now.
Why You’ll Love This Recipe
There is a reason this recipe consistently goes viral on social media and remains a staple in lunchboxes everywhere. First, the convenience factor is unmatched. With just 15 minutes of prep and zero cooking time, you can have a week’s worth of snacks ready to go.
Second, the texture and flavor profile hits every note: salty peanut butter, sweet honey, chewy oats, and crunchy chocolate. Because we use quick oats and a hand mixer, the consistency is perfectly uniform—no crumbly bites here. They are also incredibly portable, making them the ideal solution for pre-workout fuel, hiking trips, or a mess-free car snack for the kids on the way to soccer practice.
What Is a Monster Cookie Energy Ball?
Traditional monster cookies are famous for their “everything but the kitchen sink” approach, usually containing peanut butter, oats, chocolate chips, and M&Ms. A Monster Cookie Energy Ball takes those exact flavor profiles and transforms them into a raw, no-bake format.
Unlike the baked cookie version, which relies on flour, butter, and white sugar, these energy balls use honey as a natural binder and peanut butter as the primary fat and protein source. This makes them “energy-dense,” providing a sustained release of fuel thanks to the complex carbohydrates in the oats and the healthy fats in the nut butter. It’s essentially a portable, bite-sized version of your favorite cookie, optimized for a modern, active lifestyle.
Ingredients Overview
To get the best results, the quality and type of ingredients you use matter. Here is what you will need:
- Quick Oats (2 ½ cups): Quick oats are essential here because they have a finer texture than rolled oats. This allows the balls to hold together better without being overly “grainy” or dry.
- Creamy Peanut Butter (1 cup): It is crucial to use standard creamy peanut butter (like Jif or Skippy) rather than “all-natural” varieties. Natural PB is often too oily and runny, which can cause the balls to fall apart.
- Honey (1/2 cup): This acts as our “glue.” It provides sweetness and ensures the oats and peanut butter bind together perfectly.
- Vanilla Extract (1 teaspoon): A small amount of high-quality vanilla elevates the flavor, making these taste more like a traditional baked good.
- Mini Chocolate Chips (1/2 cup): Mini chips are superior to regular chips in this recipe because they distribute more evenly throughout each small ball.
- Mini M&M’s (1/2 cup): These provide that iconic monster cookie look and a satisfying crunch in every bite.
Ingredient Substitutions & Tips
We understand that dietary needs vary. Here are a few ways to customize your Monster Cookie Energy Balls:
- Nut-Free Option: Swap the peanut butter for sunflower seed butter (SunButter). The flavor will be slightly different, but the binding properties are very similar.
- Vegan Option: Use maple syrup or agave nectar instead of honey. Note that maple syrup is slightly thinner, so you may need to add an extra ¼ cup of oats to compensate.
- Gluten-Free: Ensure your quick oats are certified gluten-free to make this recipe safe for those with Celiac disease or gluten sensitivities.
- Lower Sugar: Use dark chocolate mini chips or sugar-free M&M alternatives to reduce the overall glycemic load.
Step-by-Step Instructions
Follow these simple steps to create perfectly uniform energy balls every time.
1. The Mixing Process:
Begin by placing your quick oats, peanut butter, honey, and vanilla into a large mixing bowl. While you can use a wooden spoon, I highly recommend using a handheld electric mixer. This ensures the peanut butter and honey are completely emulsified with the oats, creating a dough that is tacky and easy to roll. Once the base is combined, fold in the mini chocolate chips and mini M&Ms by hand so you don’t break the candy shells.
2. Shaping the Balls:
The goal is to create 1-inch spheres. A small cookie scoop (about 1 tablespoon size) is the best tool for this. Scoop the mixture and then roll it between your palms to smooth out the edges. If the mixture feels too sticky to roll, place the entire bowl in the fridge for 10-15 minutes to firm up the fats.
3. Chilling for Success:
Technically, you can eat these immediately. However, they are significantly better after chilling. Place the balls on a tray or in a container and refrigerate for at least 30 minutes. This “sets” the honey and peanut butter, giving the balls a firm, fudge-like texture that is incredibly satisfying.
4. Final Storage:
Once set, transfer them to an airtight container. They should be stored in the refrigerator to maintain their shape and freshness.
Expert Baking/Cooking Tips
For the ultimate “pro” snack, keep these tips in mind:
- Dampen Your Hands: If you find the dough is sticking to your palms while rolling, lightly dampen your hands with water. This prevents sticking and results in a smoother exterior.
- The “Mixer Trick”: Using a hand mixer isn’t just about speed; it actually breaks down the oats slightly, making the balls more cohesive and less likely to crumble when you bite into them.
- Check the Consistency: Brands of peanut butter and honey can vary in moisture. If your mixture feels too dry, add a tablespoon of honey. If it’s too wet, add a tablespoon of oats.
- Toast Your Oats: For an extra layer of nutty flavor, you can lightly toast the quick oats in a dry pan for 2 minutes before mixing.
The Science of Satiety: Why These Work
What makes these energy balls a better choice than a standard cookie? It comes down to the macronutrient balance. The combination of fiber from the quick oats, healthy fats from the peanut butter, and a moderate amount of protein creates a “slow-burn” effect.
While the sugar from the honey and chocolate provides an immediate pick-me-up, the fiber and fat slow down the digestion process. This prevents the “sugar crash” often associated with sweet snacks. It’s a functional food disguised as a dessert, which is why they are so effective for keeping kids focused during homework or helping adults power through a long afternoon of meetings.
Serving Suggestions
These energy balls are incredibly versatile. I love serving them:
- As a Breakfast Side: Pair two or three balls with a hard-boiled egg for a balanced, on-the-go breakfast.
- Coffee Pairing: They are the perfect accompaniment to a hot latte or cold brew coffee.
- Dessert Platter: Place them on a serving board alongside fresh fruit and nuts for a “healthy-ish” dessert spread for guests.
Storage & Make-Ahead Tips
These are the ultimate make-ahead snack.
- Refrigeration: Store in an airtight container for up to 2 weeks.
- Freezing: These freeze beautifully! Place them in a freezer-safe bag for up to 3 months. You can eat them straight from the freezer for a firm, chilly treat, or let them thaw in a lunchbox for a few hours. This makes them perfect for long-term meal prepping.
FAQs
Can I use rolled oats instead of quick oats?
You can, but the texture will be much heartier and the balls may not stay together as easily. If you only have rolled oats, pulse them in a blender 3-4 times to break them down before using.
Why are my energy balls falling apart?
This usually happens if the peanut butter was too dry or if you used “all-natural” oil-separated peanut butter. Try adding a little more honey or a teaspoon of melted coconut oil to act as a binder.
Are these safe for school lunchboxes?
If your school is nut-free, you must swap the peanut butter for SunButter or WowButter (soy-based). Always check your school’s specific allergy policy.
Can I add protein powder?
Yes! You can add ¼ cup of your favorite vanilla or chocolate protein powder. If you do this, you will likely need to add an extra 1-2 tablespoons of honey to keep the moisture balance correct.
How many calories are in each ball?
When rolled into 1-inch balls (yielding 36), each ball contains approximately 98 calories, making it easy to track your intake.
These Monster Cookie Energy Balls prove that snacking doesn’t have to be complicated to be delicious. By using simple pantry staples and a no-bake method, you can create a high-energy snack that tastes like a gourmet treat. Whether you are fueling a workout or just trying to get through the afternoon, these bites are the perfect solution. Give them a try this week and watch how quickly they disappear!
PrintMonster Cookie Energy Balls

Monster Cookie Energy Balls are a great afternoon energy boost or perfect for an after school snack. Hearty oats, chocolate chips, peanut butter, honey, and m&m’s make these energy balls so delicious and fun.
- Prep Time: 15 minutes
- Cook Time: 0 minutes
- Total Time: 15 minutes
- Yield: 36 balls
- Cuisine: American
Ingredients
2 ½ cups quick oats
1 cup creamy peanut butter (not all-natural)
1/2 cup honey
1 teaspoon vanilla extract
1/2 cup mini chocolate chips
1/2 cup mini m&m’s
Instructions
Add all ingredients into a mixing bowl. Use a wooden spoon or a handheld mixer to combine together. Using a hand mixer is the easiest way to combine the ingredients thoroughly.
Shape into balls, about 1″ in size, and place on a plate or Tupperware type container.
You can eat right away OR refrigerate for about 30 minutes to 1 hour before serving. I love these cold straight from the fridge.
Store energy balls in a covered container in the fridge.
Notes
• Avoid all-natural peanut butter as it is too oily and the balls won’t hold their shape.
• Use a small cookie scoop to ensure all energy balls are the same size.
• If the mixture is too sticky, chill the dough for 15 minutes before rolling.


