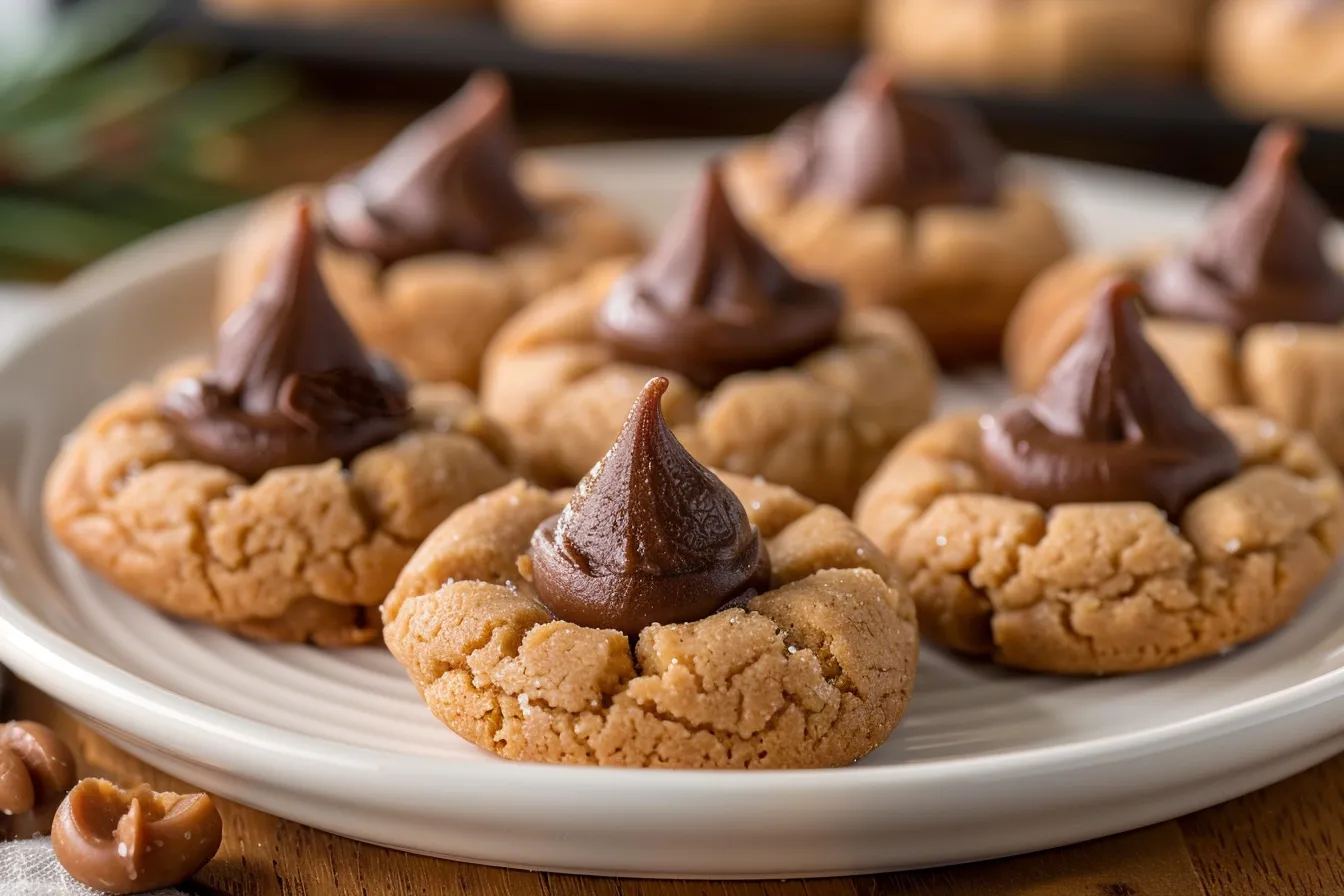
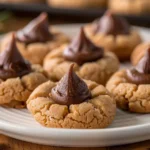
Is there anything more nostalgic than a peanut butter blossom cookie? These little treats, with their soft peanut butter base and iconic Hershey’s Kiss on top, are practically a requirement for holiday baking and cookie swaps. But let’s be honest, sometimes they can be a little… dry. This recipe for Perfect Peanut Butter Blossoms guarantees a moist, flavorful cookie that stays soft for days. We’re diving deep into the science of baking, using simple techniques to unlock maximum peanut butter flavor and prevent that dreaded crumbly texture. Get ready to impress your friends and family with the best peanut butter blossoms they’ve ever tasted! Plus, with the holidays right around the corner, these cookies are the perfect addition to your baking list – a guaranteed crowd-pleaser and a family favorite.
My journey with peanut butter blossoms started with my grandmother’s recipe – one that was handwritten on a faded index card and filled with love, but a little short on specifics. Over the years, I’ve tweaked and perfected that recipe, conducting countless experiments to achieve the ideal balance of flavor, texture, and visual appeal. I’ve baked hundreds (maybe thousands!) of these cookies, testing different types of peanut butter, variations in baking time, and even the best way to attach the Hershey’s Kiss. My goal is to share everything I’ve learned, so you can confidently bake these cookies and create your own cherished memories. As an experienced baker, I’m excited to share my insights to help you create the perfect peanut butter blossom, every single time!
Ingredients for Perfect Peanut Butter Blossoms
Let’s break down each ingredient and why it matters, along with some handy substitution ideas.
- All-Purpose Flour: The base of our cookie. I recommend using unbleached all-purpose flour for a slightly nuttier flavor. Too much flour will make the cookies dry, so measure carefully!
- Baking Soda: Our leavening agent. Baking soda reacts with the acids in the brown sugar and peanut butter to create lift and a slightly chewy texture.
- Salt: Enhances the sweetness and balances the flavors. Don’t skip it!
- Unsalted Butter: Provides richness and tenderness. Make sure it’s softened to room temperature for even creaming. Using salted butter? Reduce the added salt by 1/4 teaspoon.
- Creamy Peanut Butter: The star of the show! Use your favorite brand of creamy peanut butter. I’ve found that some natural peanut butters can be too oily, so stick with a stabilized brand like Jif or Skippy for the best results.
- Granulated Sugar: Adds sweetness and helps the cookies spread.
- Brown Sugar: Adds moisture, chewiness, and a caramel-like flavor. I prefer light brown sugar, but dark brown sugar will also work.
- Egg: Binds the ingredients together and adds richness. Use a large egg at room temperature.
- Vanilla Extract: Enhances the overall flavor profile. Use pure vanilla extract for the best taste.
- Milk: Adds moisture and helps to create a smooth dough.
- Granulated Sugar (for rolling): Creates a sweet, sparkly coating.
- Hershey’s Kisses: The iconic topping! Unwrap them while the cookies are baking to save time. Consider trying different flavors, like dark chocolate or caramel-filled, for a fun twist.
Ingredient Science: The combination of baking soda and brown sugar is key to the soft, chewy texture of these cookies. Brown sugar is hygroscopic, meaning it attracts and retains moisture, keeping the cookies soft for longer. The peanut butter adds fat and flavor, while the egg acts as a binder.
Substitution Tips:
- Flour: If you need a gluten-free option, use a 1:1 gluten-free all-purpose flour blend.
- Peanut Butter: Almond butter or sunflower seed butter can be used as a substitute, but the flavor will be different.
- Egg: A flax egg (1 tablespoon ground flaxseed mixed with 3 tablespoons of water) can be used as a vegan substitute.
- Dairy-Free: Use a dairy-free milk alternative like almond milk or soy milk.
Expert Tips for Perfect Results
Here are my top tips for baking the best peanut butter blossoms:
- Cream the Butter and Sugars Properly: This is crucial for a light and airy cookie. Cream the butter and sugars together for at least 3-5 minutes, until light and fluffy.
- Don’t Overmix the Dough: Overmixing develops the gluten in the flour, resulting in a tough cookie. Mix until just combined.
- Chill the Dough: Chilling the dough for at least 30 minutes helps prevent the cookies from spreading too much during baking.
- Use a Cookie Scoop: Using a cookie scoop ensures that all the cookies are the same size, so they bake evenly.
- Underbake Slightly: These cookies are best when they are slightly underbaked. They will continue to bake on the cookie sheet as they cool.
- Press the Kisses in Immediately: Press the Hershey’s Kisses into the cookies as soon as they come out of the oven. This will help them adhere to the cookies.
- Let Cool Completely: Allow the cookies to cool completely on a wire rack before storing.
My Personal Testing Notes: I’ve found that using a kitchen scale to measure the flour makes a big difference in the texture of the cookies. Too much flour can lead to dry, crumbly cookies. Also, don’t be afraid to experiment with different flavors of Hershey’s Kisses! Milk chocolate is classic, but dark chocolate or caramel-filled kisses add a fun twist.
Storage & Substitutions
Let’s talk about how to keep these cookies fresh and explore even more ways to customize them.
Storing Your Peanut Butter Blossoms
These cookies store beautifully! Here’s how to keep them fresh:
- Room Temperature: Store in an airtight container at room temperature for up to 5 days.
- Freezing: For longer storage, freeze the baked cookies in an airtight container for up to 2 months. Thaw at room temperature before serving. You can also freeze the dough before baking. Scoop the dough into balls, place them on a baking sheet, and freeze until solid. Then, transfer the frozen dough balls to a freezer bag. Bake from frozen, adding a few extra minutes to the baking time.
Creative Cookie Variations
Ready to mix things up? Here are some fun ideas to try:
- Chocolate Chip Peanut Butter Blossoms: Add 1/2 cup of chocolate chips to the dough.
- Reese’s Pieces Peanut Butter Blossoms: Press Reese’s Pieces into the tops of the cookies before baking.
- Peanut Butter Cup Blossoms: Use mini peanut butter cups instead of Hershey’s Kisses.
- Sprinkle Blossoms: Roll the dough balls in sprinkles instead of sugar.
Frequently Asked Questions (FAQ)
Why are my peanut butter blossoms dry?
Dry peanut butter blossoms are often the result of too much flour. Make sure you’re measuring your flour correctly (spooning it into the measuring cup and leveling it off) or, better yet, use a kitchen scale. Overbaking can also contribute to dryness, so watch the cookies carefully and remove them from the oven when they are just set.
Why are my peanut butter blossoms flat?
Flat cookies can be caused by a few factors. The butter might have been too warm when you creamed it with the sugars, or the dough might not have been chilled long enough. Make sure the butter is softened but still cool, and chill the dough for at least 30 minutes before baking.
Can I use natural peanut butter in this recipe?
While you can use natural peanut butter, be aware that it may result in a slightly different texture. Natural peanut butters tend to be oilier, which can make the cookies spread more. If you use natural peanut butter, you may need to add a tablespoon or two of flour to the dough to compensate.
How do I keep the Hershey’s Kisses from melting?
To prevent the Hershey’s Kisses from melting too much, make sure to press them into the cookies immediately after they come out of the oven. The residual heat will soften the chocolate just enough to adhere to the cookie without completely melting. You can also chill the cookies in the refrigerator for a few minutes after adding the Kisses to help them set up.
Can I make these cookies ahead of time?
Yes, you can make the dough ahead of time and store it in the refrigerator for up to 2 days. You can also freeze the dough for longer storage. When you’re ready to bake, simply thaw the dough and continue with the recipe.
Why are my cookies cracking on top?
Cracking is a sign that the cookies are spreading properly! It’s totally normal. A slight crackle top is characteristic of peanut butter blossom cookies.
Can I double this recipe?
Absolutely! This recipe doubles (or even triples) easily, making it perfect for holiday baking or large gatherings. Just make sure you have a big enough bowl!
Bake Your Batch of Happiness
There you have it – my perfected recipe for Perfect Peanut Butter Blossoms. With these tips and tricks, you’ll be baking up batches of soft, chewy, and irresistibly delicious cookies in no time. Remember, the key is to use high-quality ingredients, follow the instructions carefully, and don’t be afraid to experiment! Baking should be fun, so relax, enjoy the process, and savor the sweet rewards. Happy baking!
Now, I’d love to hear from you! Have you tried this recipe? What are your favorite variations? Share your baking successes and tips in the comments below. And don’t forget to rate this recipe and share it with your friends! For more delicious cookie recipes, check out my posts on Classic Chocolate Chip Cookies, Soft and Chewy Sugar Cookies, and Oatmeal Raisin Cookies.
PrintPerfect Peanut Butter Blossoms Recipe
Easy peanut butter blossoms recipe guide Learn baking tips for perfect cookies Foolproof steps best blossom tech Try it today
- Prep Time: 20 minutes
- Cook Time: 10 minutes
- Total Time: 30 minutes
- Yield: 36 cookies
- Category: Cookie
- Cuisine: American
Ingredients
- 1 3/4 cups all-purpose flour
- 1 teaspoon baking soda
- 1/2 teaspoon salt
- 1/2 cup (1 stick) unsalted butter, softened
- 3/4 cup creamy peanut butter
- 1/2 cup granulated sugar
- 1/2 cup packed light brown sugar
- 1 large egg
- 1 teaspoon vanilla extract
- 2 tablespoons milk
- Granulated sugar, for rolling
- Hershey’s Kisses
Instructions
- Preheat oven to 375°F (190°C). Line baking sheets with parchment paper.
- In a medium bowl, whisk together the flour, baking soda, and salt.
- In a large bowl, cream together the butter, peanut butter, granulated sugar, and brown sugar until light and fluffy.
- Beat in the egg and vanilla extract, then gradually add the dry ingredients, mixing until just combined. Stir in the milk.
- Chill the dough for at least 30 minutes.
- Roll the dough into 1-inch balls and coat in granulated sugar.
- Place the cookies on the prepared baking sheets and bake for 8-10 minutes, or until lightly golden brown.
- Immediately press a Hershey’s Kiss into the center of each cookie.
- Let the cookies cool completely on a wire rack.
