There is nothing quite like the comforting aroma of fall baking filling your kitchen, and these homemade pumpkin scones are the perfect way to embrace the season. Inspired by the famous coffee shop classic, this easy pumpkin scones recipe delivers a tender, flaky crumb packed with warm autumn spices. Unlike dense or dry bakery versions, our secret technique ensures a perfectly moist and buttery texture every single time. Topped with a simple, sweet vanilla glaze, these delightful treats are ideal for cozy weekend breakfasts, afternoon tea, or a festive Thanksgiving brunch. Whether you are a seasoned baker or just starting your fall baking journey, this foolproof guide will help you create the best pumpkin scones right in your own home. Grab your favorite mug of coffee or chai tea, and let us dive into this deliciously spiced, crowd-pleasing pastry recipe that will quickly become your new autumn tradition.
Ingredient Notes for Perfect Pumpkin Scones
Understanding your ingredients is the first step to baking success. Here are a few important notes to ensure your scones turn out perfectly:
- Unsalted Butter: It is crucial that your butter is extremely cold. Freezing the cubed butter before cutting it into the flour creates those beautiful, flaky layers we all love in a great scone.
- Pumpkin Purée: Make sure you are using pure canned pumpkin purée, not pumpkin pie filling. Pumpkin pie filling contains added sugars and spices that will throw off the delicate balance of this recipe.
- All-Purpose Flour: Standard all-purpose flour provides the perfect structure. Be sure to spoon and level your flour rather than scooping it directly from the bag to avoid dense, heavy scones.
- Heavy Cream: Heavy cream adds richness and moisture to the dough. If you do not have heavy cream, half-and-half can work in a pinch, but the texture will be slightly less tender.
Step-by-Step Tips for Scone Success
Baking scones is easier than you might think, especially when you follow these professional tips:
- Keep Everything Cold: The golden rule of scone making is keeping the butter cold. If your dough starts to feel warm while you are working with it, pop it back into the fridge for a few minutes before continuing.
- Do Not Overmix: When combining the wet and dry ingredients, mix just until no large pockets of flour remain. Overmixing develops the gluten in the flour, resulting in tough, chewy scones instead of light and tender ones.
- Chill Before Baking: Freezing the shaped scones for twenty to thirty minutes before baking helps them hold their shape in the oven and prevents them from spreading too much on the pan.
- Use a Sharp Cutter: If you decide to use a round biscuit cutter instead of cutting triangles, press straight down without twisting. Twisting the cutter seals the edges and prevents the scones from rising properly.
Frequently Asked Questions
Can I make these scones ahead of time?
Yes, you can easily prepare the scone dough ahead of time. Shape the scones and place them on a baking sheet, then freeze them until solid. Transfer the frozen scones to a freezer-safe bag and store them for up to two months. When you are ready to bake, simply bake them straight from the freezer, adding a few extra minutes to the baking time.
Why did my scones turn out flat and hard?
Flat and hard scones are usually the result of overmixing the dough, using warm butter, or using expired baking powder. Ensure your leavening agents are fresh, keep your butter ice-cold, and handle the dough as gently and minimally as possible to maintain a light, fluffy texture.
Can I freeze the baked pumpkin scones?
Absolutely! If you want to freeze the baked scones, it is best to freeze them without the glaze. Allow the baked scones to cool completely, wrap them individually in plastic wrap, and place them in a freezer bag. Thaw them at room temperature and add the fresh glaze right before serving.
Conclusion
These homemade pumpkin scones are the ultimate treat for crisp autumn days and cozy nights in. With their perfectly spiced, tender crumb and sweet glaze, they are guaranteed to outshine anything you can buy at a local coffee shop. We hope this recipe brings a little extra warmth and joy to your fall baking repertoire. If you try this recipe, be sure to leave a comment below and let us know how your scones turned out. Happy baking!
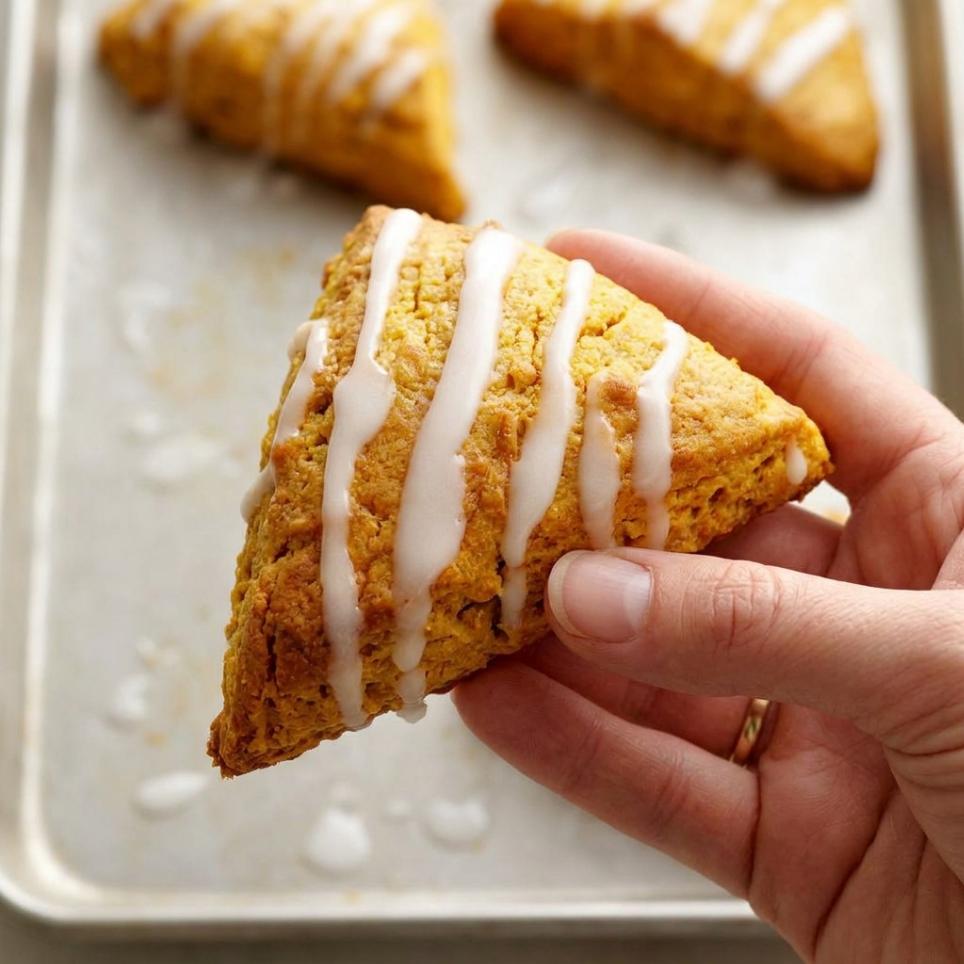
Homemade Pumpkin Scones with Sweet Glaze

Tender, flaky, and packed with warm autumn spices, these homemade pumpkin scones are topped with a simple sweet glaze for the perfect fall treat.
- Prep Time: 20 minutes
- Cook Time: 25 minutes
- Total Time: 45 minutes
- Yield: 8 scones
- Category: Breakfast, Dessert
- Cuisine: American
Ingredients
- 1/2 cup unsalted butter (1 stick/113g), cubed and frozen
- 2 1/4 cups all-purpose flour (270g)
- 1/4 cup granulated sugar (50g)
- 1 1/2 teaspoons baking powder
- 1 1/2 teaspoons pumpkin pie spice
- 1 1/2 teaspoons ground cinnamon
- 1/2 teaspoon salt
- 1/4 teaspoon baking soda
- 1/2 cup pumpkin purée (122g)
- 1/2 cup heavy cream, plus more for brushing
- 1/4 cup light brown sugar (55g)
- 1 large egg
- 1 1/2 teaspoons vanilla extract
- 1 1/2 cups powdered sugar (180g) for glaze
- 2 tablespoons milk for glaze
Instructions
- Preheat the oven to 400°F (200°C). Line a baking sheet with parchment paper.
- Cut the butter into small cubes and freeze for 10 minutes while you prepare the other ingredients.
- In a large bowl, whisk together the flour, granulated sugar, baking powder, pumpkin pie spice, cinnamon, salt, and baking soda.
- In a separate bowl, whisk together the pumpkin purée, heavy cream, brown sugar, egg, and vanilla extract until smooth.
- Toss the frozen butter cubes in the flour mixture to coat. Use a pastry blender or your fingers to cut the butter into the flour until the pieces are the size of peas.
- Fold the wet pumpkin mixture into the dry flour mixture until just moistened and no large flour pockets remain. Do not overmix.
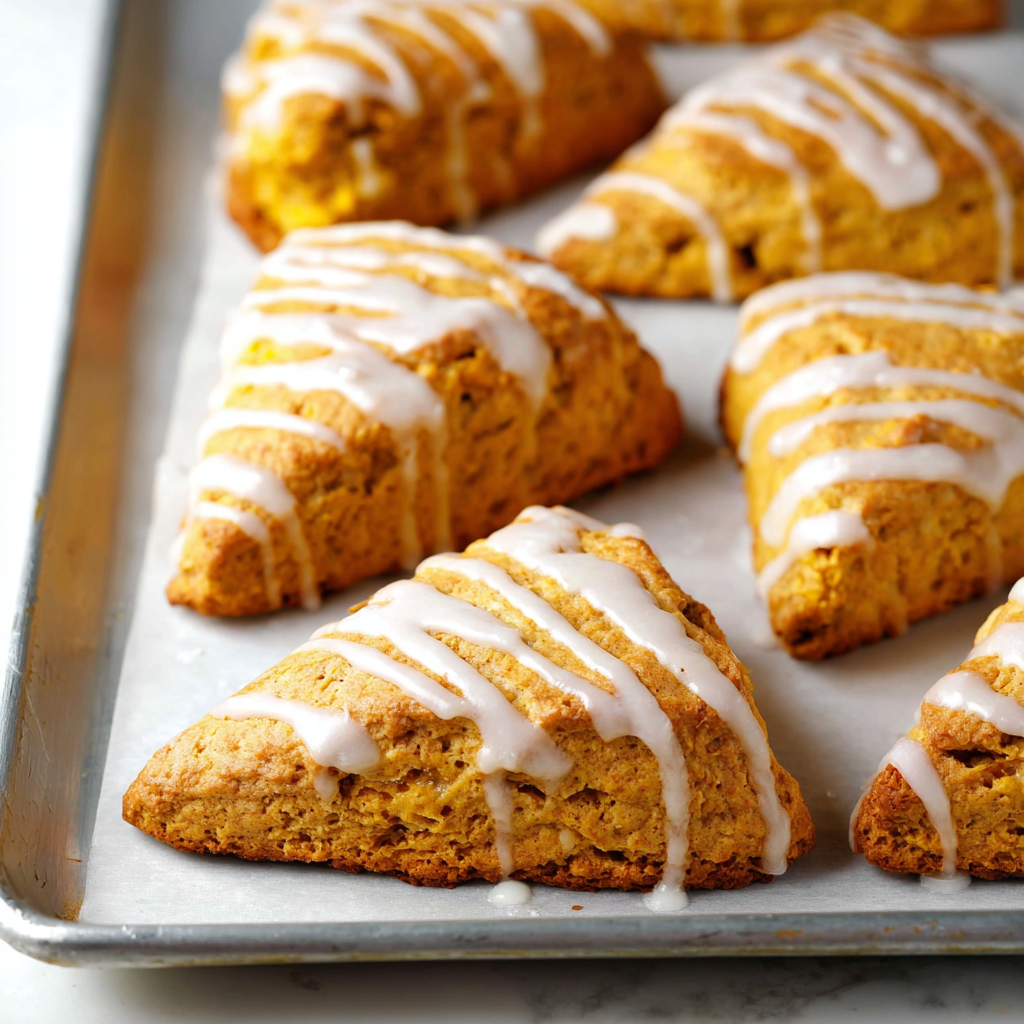
- Turn the dough out onto a well-floured surface. With floured hands, pat the dough into an 8-inch square. Cut into quarters, then cut each quarter in half diagonally to create 8 triangles.
- Transfer the scones to the prepared baking sheet. For the best texture and rise, freeze the shaped scones for 20 to 30 minutes.
- Brush the tops of the chilled scones lightly with heavy cream.
- Bake for 20 minutes for softer scones, or up to 25 minutes for crisper, denser scones, until the edges and tops are golden brown.
- Transfer the baked scones to a wire rack to cool while you prepare the glaze.
- To make the glaze, sift the powdered sugar into a bowl and whisk in the milk until smooth. Add a little more milk if a thinner glaze is desired.
- Spread the glaze over the tops of the warm scones using the back of a spoon. Let cool for about 30 minutes until the glaze is set.