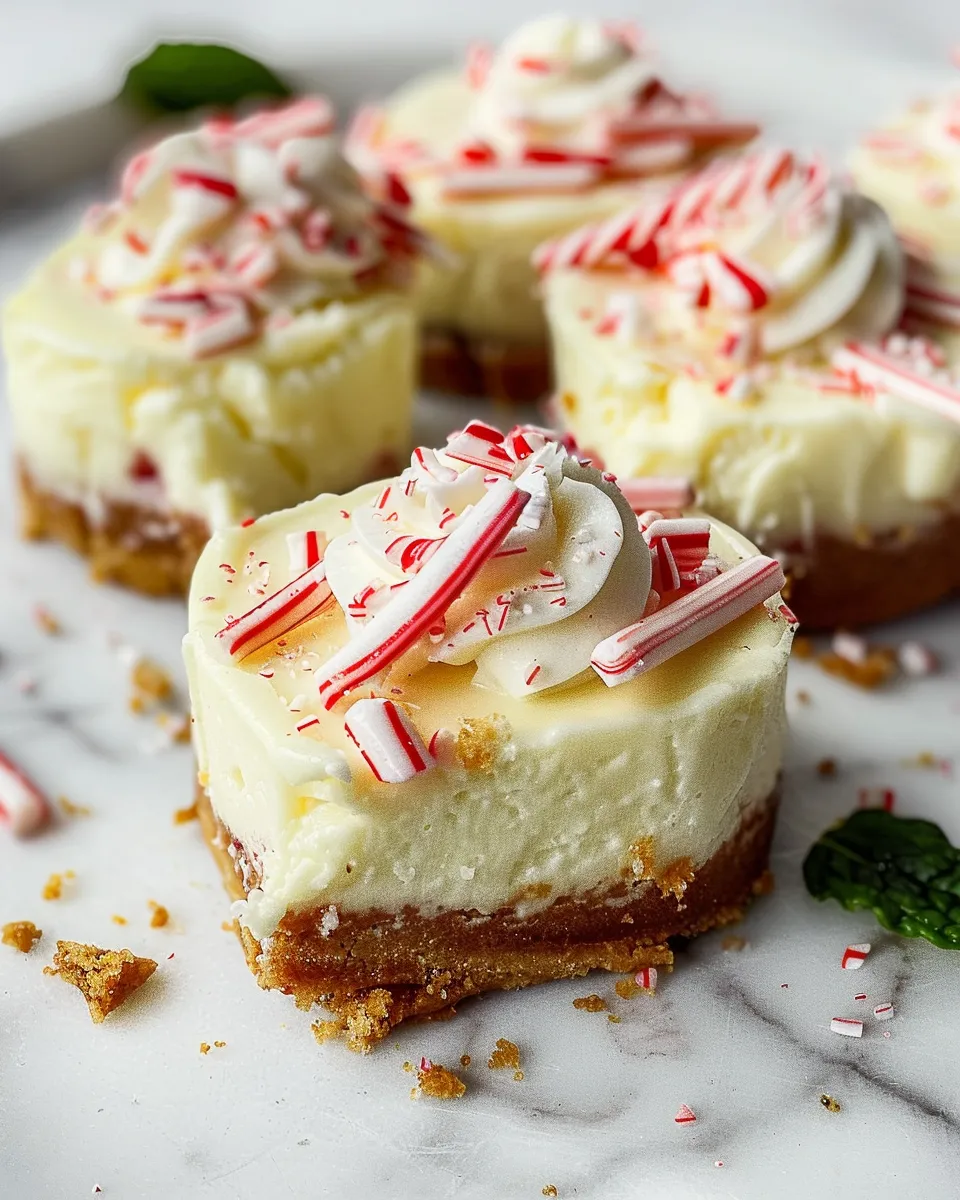
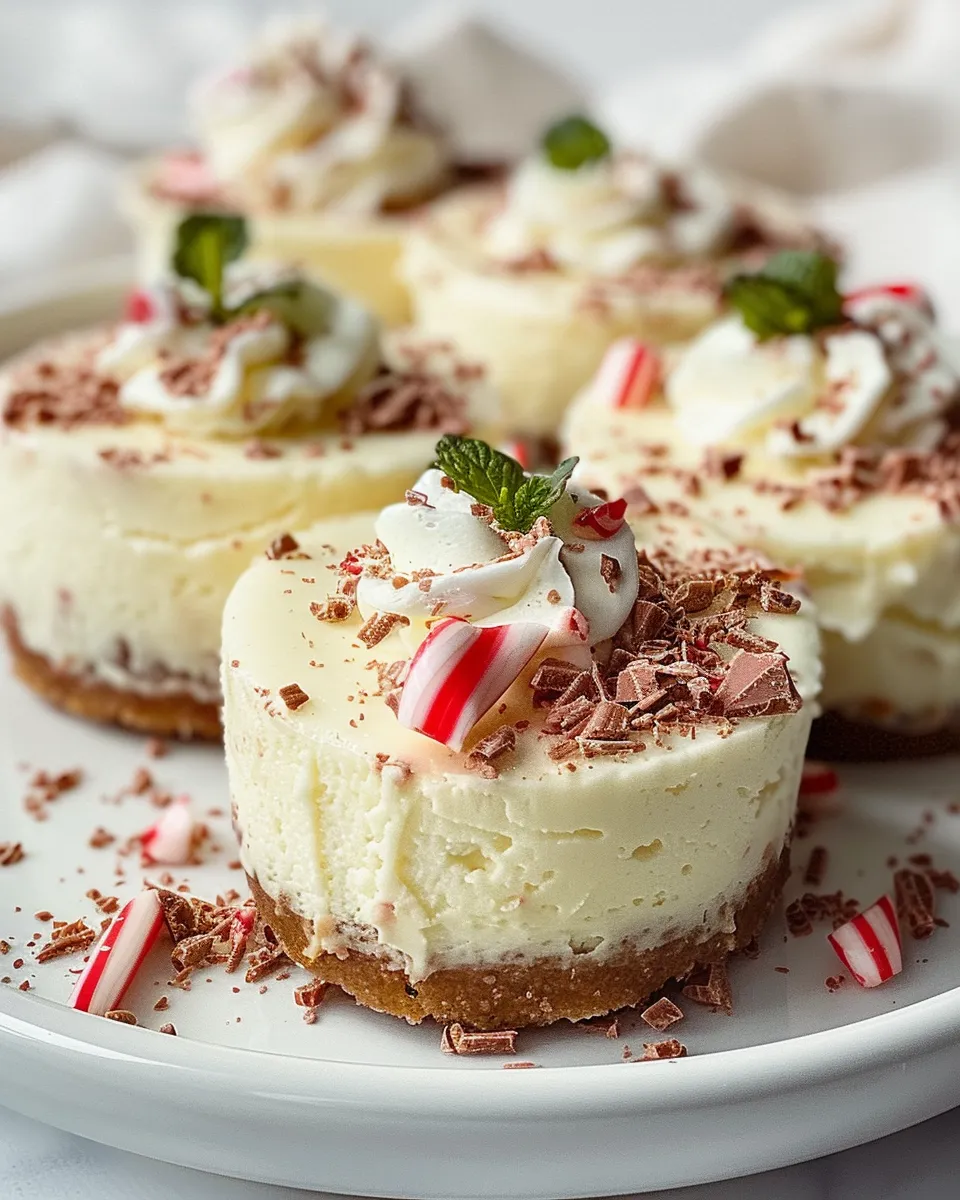
Is there anything more magical than the combination of white chocolate and peppermint during the holiday season? I think not! This White Chocolate Peppermint Cheesecake is the ultimate indulgence, a creamy, dreamy dessert that’s perfect for Christmas, New Year’s, or any winter gathering. I’ve baked countless cheesecakes over the years, and this one has quickly become a family favorite. The cool, refreshing peppermint perfectly complements the rich white chocolate, creating a flavor explosion that’s both festive and incredibly satisfying. Plus, the vibrant red and white swirls make it a showstopper on any dessert table. I’ve tweaked and tested this recipe at least a dozen times to get the perfect balance of flavors and textures, and I’m so excited to share it with you!
This year, holiday baking is trending BIG on social media! People are looking for visually stunning and delicious desserts that are relatively easy to make at home. That’s where this cheesecake comes in. It’s easier than you think, and the results are truly impressive.
Why This White Chocolate Peppermint Cheesecake Is a Must-Bake This Holiday Season
This isn’t just another cheesecake recipe; it’s a festive flavor experience! Here’s why you’ll fall in love with it:
- Perfectly Balanced Flavors: The sweetness of the white chocolate is perfectly balanced by the refreshing coolness of the peppermint.
- Stunning Visual Appeal: The red and white swirls are not only festive but also incredibly easy to create.
- Make-Ahead Friendly: Cheesecake is the perfect make-ahead dessert, allowing you to enjoy the party without spending all day in the kitchen.
- Crowd-Pleasing: Everyone loves cheesecake, and this festive twist is sure to impress.
Before we dive into the recipe, let me share a quick story. I remember one year, I tried to rush the chilling process, and the cheesecake cracked! Lesson learned: patience is key when it comes to cheesecake. Now, I always chill it overnight for the best results.
Ingredients You’ll Need
Let’s gather our ingredients! Here’s what you’ll need to create this decadent masterpiece:
For the Crust:
- 1 1/2 cups (about 24 cookies) chocolate wafer crumbs (like Oreo crumbs, filling removed)
- 5 tablespoons (2 1/2 ounces) unsalted butter, melted
- 2 tablespoons granulated sugar
For the Filling:
- 32 ounces (4 packages) cream cheese, softened
- 1 1/2 cups granulated sugar
- 1 cup sour cream
- 1/4 cup heavy cream
- 1 teaspoon vanilla extract
- 12 ounces high-quality white chocolate, melted and slightly cooled
- 1/2 teaspoon peppermint extract
- Red food coloring (gel or liquid)
- 1/4 cup crushed peppermint candies, for garnish (optional)
Pro Tip: Using high-quality white chocolate will make a huge difference in the overall flavor of the cheesecake. I recommend Ghirardelli or Lindt.
Step-by-Step Guide to Baking the Perfect White Chocolate Peppermint Cheesecake
Ready to bake? Follow these simple steps for cheesecake perfection:
Step 1: Prepare the Crust
- Preheat your oven to 350°F (175°C).
- In a medium bowl, combine the chocolate wafer crumbs, melted butter, and sugar.
- Press the mixture firmly into the bottom of a 9-inch springform pan.
- Bake for 8-10 minutes, or until the crust is set. Let cool completely.
Why this works: Baking the crust helps it to set and prevents it from becoming soggy.
Step 2: Make the Filling
- In a large bowl, beat the cream cheese and sugar until smooth and creamy.
- Beat in the sour cream, heavy cream, and vanilla extract until well combined.
- Gradually beat in the melted white chocolate until smooth.
- Stir in the peppermint extract.
Step 3: Create the Swirls
- Divide the cheesecake batter in half.
- In one bowl, add a few drops of red food coloring and gently mix until you achieve your desired color.
- Alternate spoonfuls of the white and red batter into the prepared crust.
- Use a knife or skewer to swirl the batters together, creating a marbled effect. Be careful not to overmix!
Did you know? Overmixing the batter can incorporate too much air, leading to cracks in the cheesecake.
Step 4: Bake the Cheesecake
- Wrap the bottom of the springform pan tightly with aluminum foil to prevent water from seeping in.
- Place the springform pan inside a larger roasting pan.
- Pour hot water into the roasting pan until it reaches about halfway up the sides of the springform pan (this is a water bath).
- Bake for 60-75 minutes, or until the edges are set but the center still has a slight jiggle.
- Turn off the oven and let the cheesecake sit in the oven with the door slightly ajar for 1 hour. This gradual cooling helps prevent cracking.
The water bath secret: The water bath provides a humid environment that helps the cheesecake bake evenly and prevents it from cracking. I’ve tried baking cheesecakes without a water bath, and the results are never as good.
Step 5: Chill and Garnish
- Remove the cheesecake from the water bath and let it cool completely on a wire rack.
- Cover the cheesecake with plastic wrap and chill in the refrigerator for at least 6 hours, or preferably overnight.
- Before serving, remove the cheesecake from the springform pan and garnish with crushed peppermint candies (optional).
Expert Tips for Cheesecake Success
Over the years, I’ve learned a few tricks that will help you bake the perfect cheesecake every time:
- Use Room Temperature Ingredients: Make sure your cream cheese, sour cream, and eggs are all at room temperature. This will help them blend together smoothly and prevent lumps.
- Don’t Overmix: Overmixing the batter can incorporate too much air, leading to cracks. Mix until just combined.
- The Water Bath Is Your Friend: Don’t skip the water bath! It’s essential for preventing cracks and ensuring even baking.
- Patience is Key: Let the cheesecake cool slowly in the oven and chill completely in the refrigerator before serving.
- Get Creative with Garnishes: Feel free to experiment with different garnishes, such as chocolate shavings, whipped cream, or fresh berries.
Family Tradition: My grandmother always used to say, “A perfectly baked cheesecake is a sign of good things to come.” And she was right! This cheesecake is not only delicious but also brings a sense of joy and celebration to any occasion.
Troubleshooting Common Cheesecake Problems
Cheesecake baking can be tricky, but don’t worry! Here are some solutions to common problems:
Cracked Cheesecake
Cause: Overbaking, rapid temperature changes, or overmixing the batter.
Solution: Use a water bath, cool the cheesecake slowly in the oven, and don’t overmix the batter. If your cheesecake does crack, you can cover it with a layer of whipped cream or ganache to hide the cracks.
Soggy Crust
Cause: Not baking the crust long enough or using too much butter.
Solution: Bake the crust until it’s set and golden brown. Make sure to measure the butter accurately.
Lumpy Filling
Cause: Using cold cream cheese or overmixing the batter.
Solution: Use room temperature cream cheese and mix until just combined.
Substitutions and Variations
Want to customize this recipe to your liking? Here are some substitutions and variations you can try:
- Gluten-Free: Use gluten-free chocolate wafer cookies for the crust.
- Vegan: Substitute vegan cream cheese, sour cream, and white chocolate.
- Different Extracts: Experiment with other extracts, such as almond or vanilla bean paste.
- Chocolate Crust: Use regular chocolate cookie crumbs for the crust.
Frequently Asked Questions (FAQs)
Can I make this cheesecake ahead of time?
Absolutely! Cheesecake is the perfect make-ahead dessert. In fact, it’s even better after it’s been chilled overnight. You can make it up to 2-3 days in advance.
How do I store leftover cheesecake?
Store leftover cheesecake in an airtight container in the refrigerator for up to 5 days.
Can I freeze this cheesecake?
Yes, you can freeze cheesecake. Wrap it tightly in plastic wrap and then in aluminum foil. Freeze for up to 2-3 months. Thaw in the refrigerator overnight before serving.
Why is my cheesecake not setting?
This is often caused by not baking it long enough, using too much liquid in the filling, or using cream cheese that is too soft. Make sure to follow the recipe carefully and bake until the edges are set and the center still has a slight jiggle.
What kind of food coloring should I use?
Gel food coloring is recommended because it is more concentrated and won’t affect the consistency of the batter. Liquid food coloring can also be used, but you may need to use more to achieve the desired color.
Do I have to use a water bath?
While not strictly necessary, a water bath is highly recommended for preventing cracks and ensuring even baking. It helps to create a humid environment that keeps the cheesecake moist and tender.
Get Ready to Wow Your Guests
This White Chocolate Peppermint Cheesecake is more than just a dessert; it’s a festive centerpiece that will impress your guests and create lasting memories. The combination of creamy white chocolate, refreshing peppermint, and stunning visual appeal makes it the perfect addition to any holiday celebration. I’ve put my heart and soul into perfecting this recipe, and I’m confident that you’ll love it as much as my family and I do. So, gather your ingredients, preheat your oven, and get ready to bake a cheesecake that will be the talk of the party!
Now, I want to hear from you! What are your favorite holiday desserts? Share your thoughts and questions in the comments below. And if you try this recipe, be sure to tag me on social media – I can’t wait to see your creations!
Craving more holiday treats? Try my Gingerbread Cookie Bars with Cream Cheese Frosting!
PrintWhite Chocolate Peppermint Cheesecake Dreamy Holiday Delight
Indulge in White Chocolate Peppermint Cheesecake a dreamy holiday delight Creamy peppermintinfused cheesecake recipe Easy tech for a festive dessert
- Prep Time: 30 minutes
- Cook Time: 1 hour 15 minutes
- Total Time: 8 hours 45 minutes
- Yield: 12
- Category: Dessert
- Cuisine: American