There’s something magical about a recipe that brings together two of your favorite things, isn’t there? For me, that’s definitely the case with brownies and anything crunchy. I remember the first time I experimented with adding cornflakes to a batch – I was just looking for a little something extra, a bit of texture to make them stand out. The result? These incredible Cornflake Brownies that are now a total family favorite. They’re rich, fudgy, and have that perfect sweet-and-salty crunch that keeps everyone coming back for more!
Why You’ll Love These Cornflake Brownies
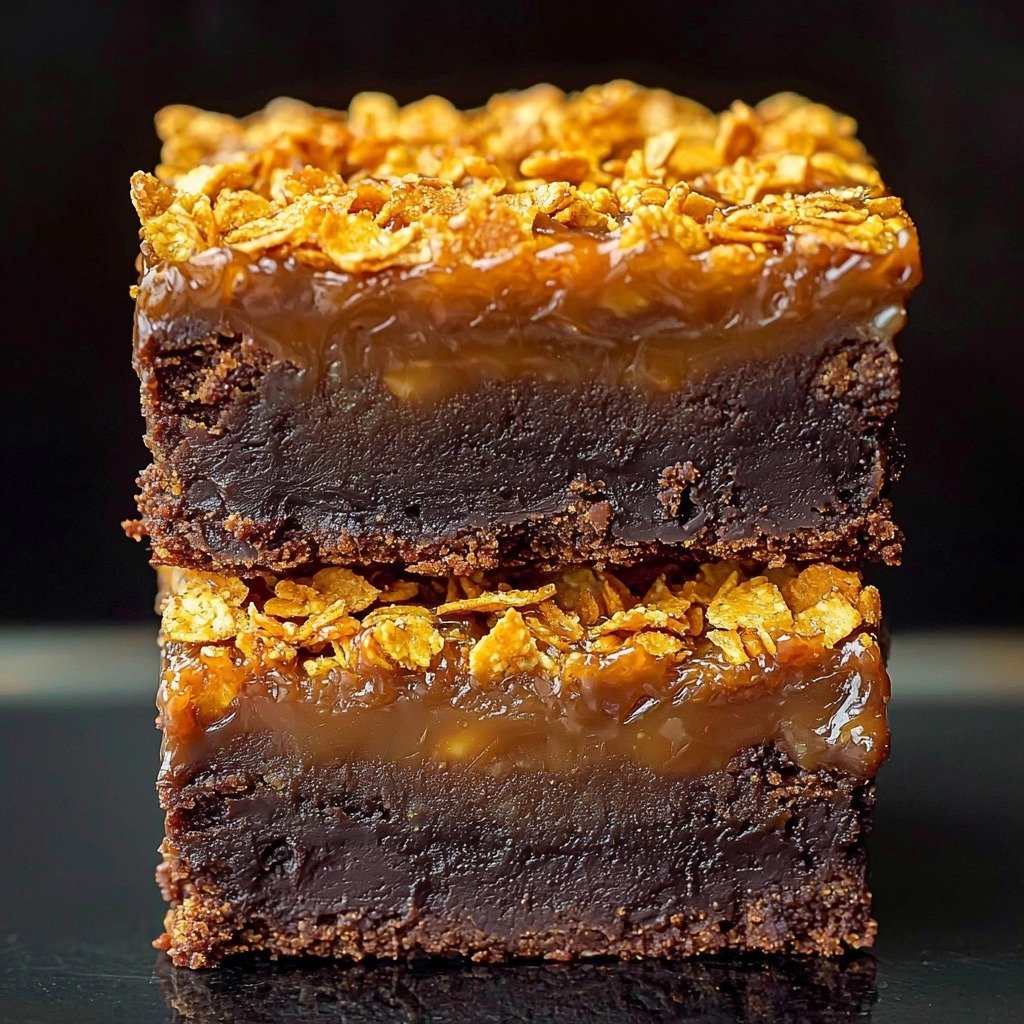
- They’re super fudgy with an irresistible chewy texture from the brownie base.
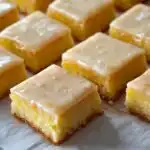
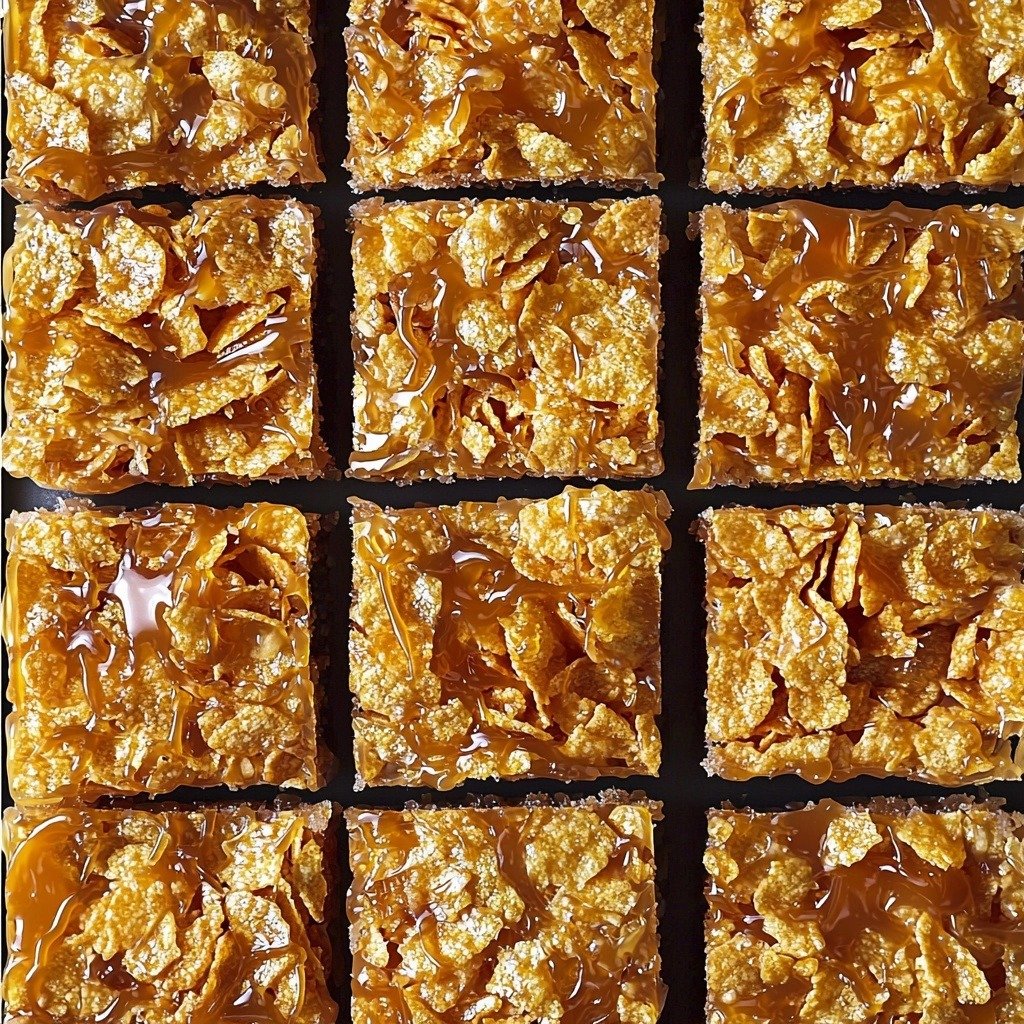
- The sweet, buttery, crunchy cornflake topping is pure heaven.
- You get the best of both worlds: a classic dessert with a fun, surprising twist!
- They’re perfect for sharing at parties, potlucks, or just a cozy night in.
Ingredients You’ll Need
- Dark Chocolate: This is key for that deep, rich brownie flavor. Don’t skimp on quality here!
- Brown Sugar & Granulated Sugar: The combination gives you both moisture and sweetness, contributing to that perfect fudgy texture.
- Plain Flour & Cocoa Powder: We’re going for a balanced, chocolatey brownie, not a dense cake. The cocoa powder amps up the chocolate flavor without making it too heavy.
- Double Cream: This makes our caramel for the cornflake layer wonderfully rich and smooth. Don’t use a lighter cream here, it won’t give the same luxurious result.
- Cornflakes: The star of our topping! They provide that amazing, unique crunch.
How to Make Cornflake Brownies Step by Step
First things first, let’s get that oven ready! Preheat it to 180°C (350°F) and make sure your 9×12 inch cake tin is greased and lined. This step is super important to prevent sticking and make sure your brownies come out beautifully.
Now for the brownie layer! Grab a pot and gently melt your butter and dark chocolate together over medium heat. You can also pop it in the microwave if you prefer. Once it’s smooth, set it aside to cool a bit. While that’s cooling, whisk your eggs and both sugars in a large bowl. Keep going until it’s light in color and nice and fluffy – this adds air for a lovely texture. Then, pour in your cooled chocolate mixture and give it a good whisk. Finally, add the flour, cocoa powder, and salt. Just whisk until everything is combined into a smooth batter; don’t overmix!
Pour your beautiful brownie batter into the prepared tin and bake for about 35-40 minutes. You’ll know it’s done when a toothpick inserted into the center comes out with a few moist crumbs attached. While the brownie is baking, it’s time for the cornflake layer. This is where the magic happens! In a non-stick pot with high sides, you’ll melt the granulated sugar gradually, stirring constantly, until it turns into a deep amber caramel. Be patient and keep stirring! Then, take it off the heat, stir in the butter, then the warm double cream, and finally the salt and cornflakes. Once your brownie has baked and cooled for just about 10 minutes, spread this incredible cornflake mixture right on top. Pop it in the fridge for at least two hours to set, or even better, overnight!
My Top Tips for Success
- I always let the melted chocolate and butter cool down before adding it to the egg mixture. This prevents the eggs from cooking!
- Trust me on this one: don’t overmix the brownie batter once you add the dry ingredients. Just mix until combined for the fudgiest results.
- When making the caramel, use a non-stick pot with high sides. This prevents the sugar from burning and boiling over.
- Stir the sugar constantly when making the caramel. It helps it melt evenly and prevents burning.
- For easy cutting, make sure the brownies are fully chilled. A warm knife will help you get clean slices!
Common Mistakes to Avoid
- Overmixing the Brownie Batter: This can lead to tough, cake-like brownies instead of fudgy ones. Mix only until the ingredients are just combined.
- Not Cooling the Chocolate Mixture: Adding hot chocolate to eggs can scramble them. Always let the melted chocolate and butter cool slightly.
- Burning the Caramel: Sugar can go from perfect to burnt very quickly. Keep the heat medium and stir constantly. If it smells burnt, start over.
- Not Warming the Cream for Caramel: Adding cold cream to hot caramel can make it seize up and become lumpy. Make sure your cream is warm.
- Impatience with Setting Time: Trying to cut the brownies before they’ve properly chilled will result in a messy, sticky situation. Give them at least 2 hours, or ideally, overnight.
How to Store Cornflake Brownies
- At Room Temperature: Up to 3 days in an airtight container.
- In the Refrigerator: Up to 1 week in an airtight container. This is my preferred method as it keeps the cornflake layer firm.
- In the Freezer: Wrap individual slices tightly in plastic wrap and then foil. Store in an airtight container for up to 3 months. Thaw at room temperature.
Frequently Asked Questions
Can I use milk chocolate instead of dark chocolate?
You can, but it will make the brownies significantly sweeter and less rich. I highly recommend sticking with dark chocolate for the best flavor balance.
Why did my caramel seize up?
This usually happens if your cream was too cold when added to the hot sugar. Always warm your cream slightly before incorporating it into the caramel.
Can I make these gluten-free?
While the cornflakes themselves are often gluten-free, the plain flour in the brownie layer is not. You would need to substitute with a gluten-free all-purpose flour blend.
How do I know when the caramel is ready?
The caramel is ready when all the sugar has completely melted and it has turned a deep, rich amber color. It should smell slightly nutty and sweet.
Can I add other mix-ins to the brownie layer?
Absolutely! Feel free to add chocolate chips, nuts, or even a swirl of peanut butter to your brownie batter before baking for extra flavor.
I genuinely hope these Cornflake Brownies bring a smile to your face and a delicious crunch to your day. They’re such a fun twist on a classic, and I just know you’re going to love them. If you make them, please let me know how they turn out!
PrintCornflake Brownies
Fudgy, rich brownies topped with a sweet, buttery, crunchy cornflake caramel layer – an irresistible dessert!
- Prep Time: 30
- Cook Time: 40
- Total Time: 190
- Yield: 12-16 servings
- Category: Dessert
- Method: Baking, Caramel Making
- Cuisine: American
Ingredients
- 225g unsalted butter
- 140g dark chocolate
- 5 eggs
- 180g brown sugar
- 180g granulated sugar
- 100g plain flour
- 50g cocoa powder
- 1/4 teaspoon salt
- 480g granulated sugar
- 150g unsalted butter, at room temperature
- 300ml double cream, warm
- 1 teaspoon salt
- 220g cornflakes
Instructions
- Preheat your oven to 180°C (350°F).
- Grease and line a 9×12 inch cake tin.
- In a pot, add 225g butter and 140g dark chocolate.
- Place the pot over medium heat.
- Heat until the butter and chocolate are melted and smooth.
- Remove from heat and set aside to cool.
- In a large bowl, add the 5 eggs, 180g brown sugar, and 180g granulated sugar.
- Whip the egg and sugar mixture using an electric mixer or whisk.
- Continue whipping until the mixture has lightened in color and almost doubled in volume.
- Pour the cooled melted butter and chocolate into the egg mixture.
- Whisk until combined.
- Add 100g plain flour, 50g cocoa powder, and 1/4 teaspoon salt to the bowl.
- Whisk just until a smooth batter forms.
- Pour the brownie batter into your prepared cake tin.
- Bake for 35-40 minutes.
- Check for doneness by inserting a toothpick into the center; it should come out with a few moist crumbs.
- Remove the brownie from the oven.
- Let the brownie cool for about 10 minutes.
- For the cornflake layer, add approximately 1/4 of 480g granulated sugar to a non-stick pot with high sides.
- Place the pot over medium heat.
- Constantly stir until the sugar starts to melt slightly.
- Add another 1/4 of the sugar and continue stirring until it also starts to melt.
- Repeat this process until all 480g of granulated sugar has been added and melted.
- Keep stirring until all the sugar has completely melted and turned into a deep amber color.
- Immediately remove the pot from the heat.
- Add half of the 150g unsalted butter to the caramel.
- Mix until combined.
- Add the remaining butter.
- Mix until smooth.
- Slowly pour in the 300ml warm double cream while continuously mixing.
- Place the pot back onto medium heat.
- Cook for about 2 minutes to thicken the caramel slightly.
- Remove from heat.
- Mix in 1 teaspoon of salt.
- Add 220g cornflakes to the caramel mixture.
- Mix until the cornflakes are fully coated.
- Spread the cornflake layer evenly over the cooled brownie.
- Refrigerate for at least 2 hours to allow the layers to set.
- For best results, refrigerate overnight.
- Once set, remove from the tin.
- Cut into slices.
- Serve and enjoy!
Notes
Ensure chocolate-butter mixture is cool before adding to eggs to prevent scrambling.
Do not overmix brownie batter once flour is added; mix just until combined.
Warm the double cream slightly before adding to the caramel to prevent seizing.
For clean slices, use a warm knife and wipe it clean between cuts.
Store in the fridge for a firmer cornflake topping.