Every holiday season, my kitchen transforms into a cozy, flour-dusted haven. There’s just something so comforting about the smell of butter and vanilla wafting through the air, and for me, that often means it’s time to bake a batch of these incredible Gluten Free Shortbread Cookies. They’re a true classic, but with a simple gluten-free twist that makes them accessible to everyone without sacrificing any of that melt-in-your-mouth goodness. They remind me of my grandmother’s baking, simple yet utterly perfect, and now I get to share that joy with all my gluten-free friends and family!
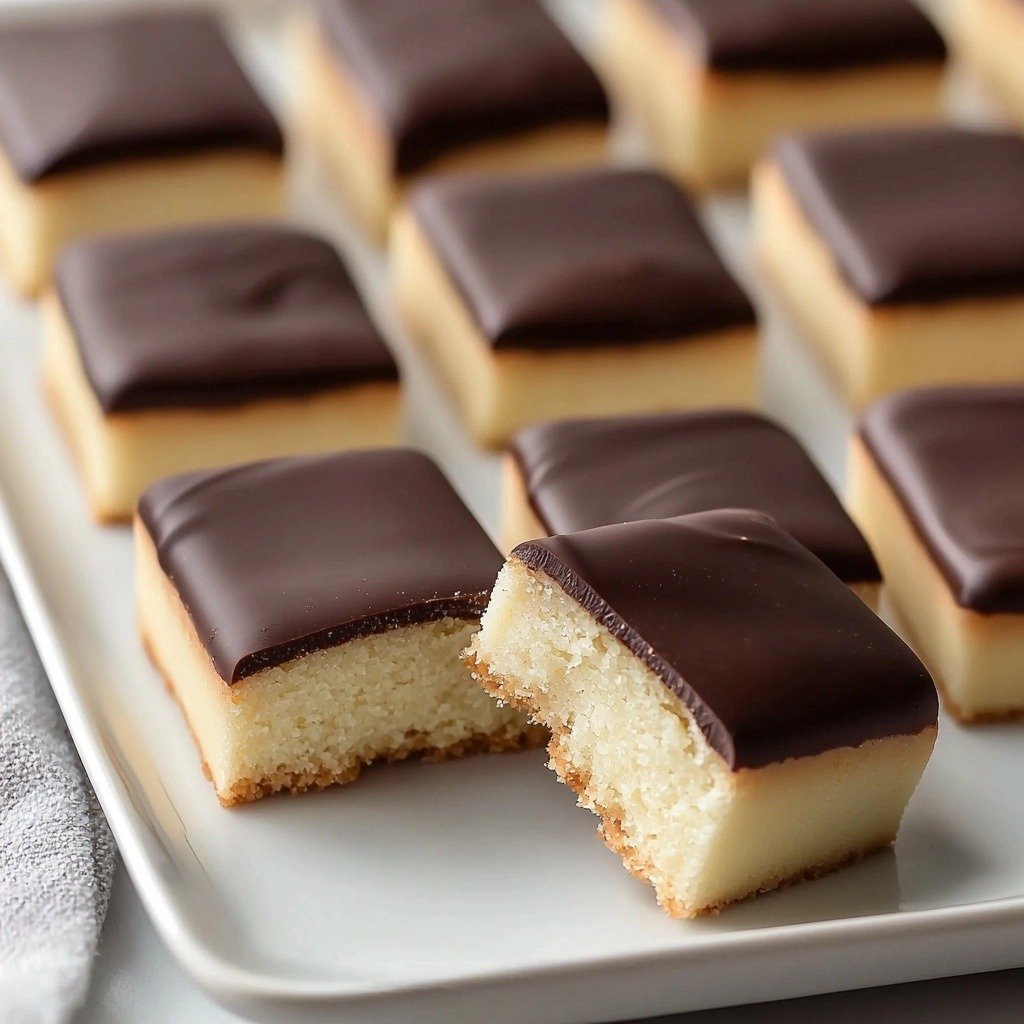
Why You’ll Love This Gluten Free Shortbread Cookies
- They are incredibly tender and crumbly, just like traditional shortbread should be!
- So easy to make, even if you’re new to gluten-free baking.
- The buttery flavor is simply irresistible, perfect with a cup of tea or coffee.
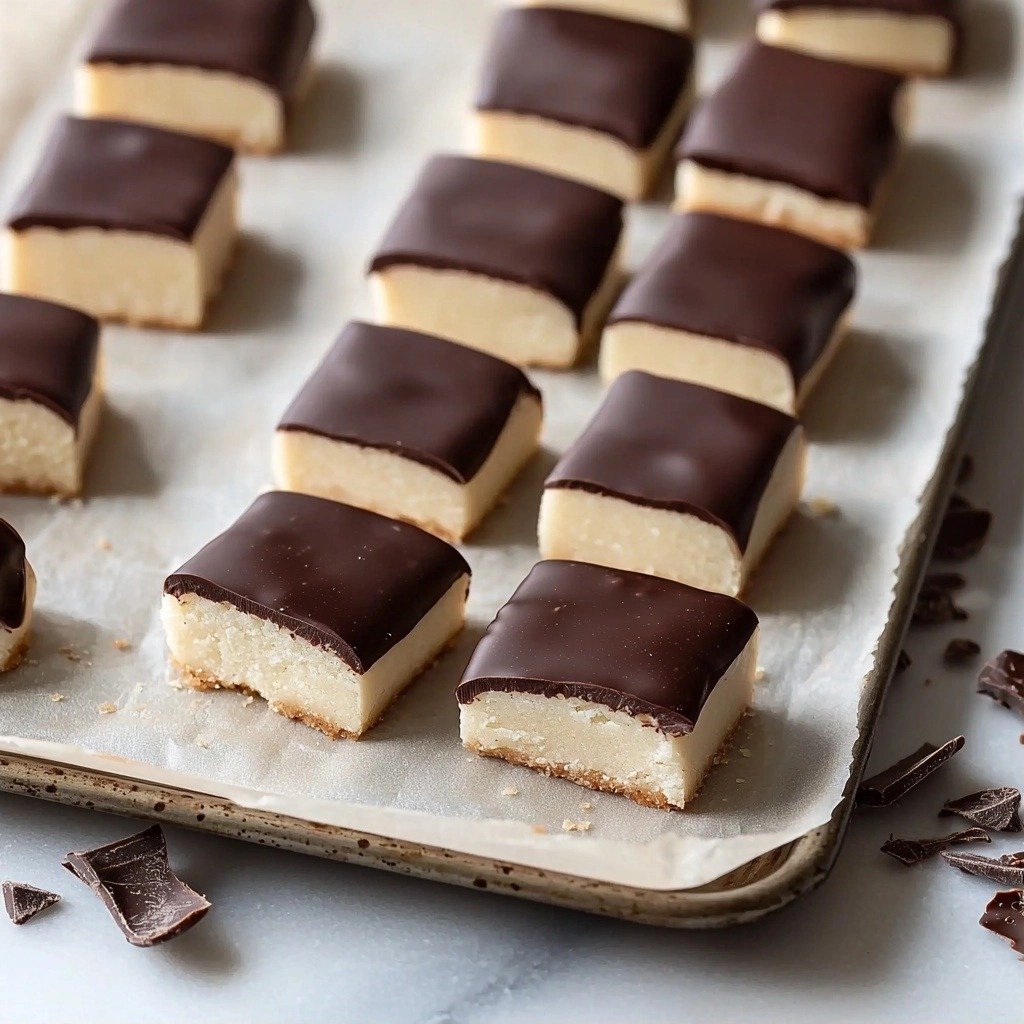
- You can enjoy them plain or dress them up with a little chocolate dip for an extra special treat.
Ingredients You’ll Need
- Chilled Butter: This is the star of shortbread! Using cold, cubed butter is absolutely essential for that tender, crumbly texture. Don’t let it get warm.
- Gluten-Free Flour: I highly recommend a 1-to-1 gluten-free baking flour blend, like Bob’s Red Mill. These blends are formulated to behave much like wheat flour.
- Vanilla Extract: Pure vanilla extract makes a huge difference in flavor, so go for the good stuff if you can!
- Powdered Sugar: This fine sugar helps create a super smooth dough and a delicate crumb.
- Kosher Salt: Just a touch enhances all the other flavors. Don’t skip it!
- Semi-Sweet Chocolate (Optional): If you’re feeling fancy, a little melted chocolate adds a lovely richness and makes them extra pretty.
How to Make Gluten Free Shortbread Cookies Step by Step
First things first, let’s get that butter super cold. Cube your butter and pop it right back into the freezer for at least 5 minutes. While it’s chilling, measure out your gluten-free flour, powdered sugar, and kosher salt. If you have a stand mixer, a little trick I love is to put your mixer bowl in the freezer too for a few minutes. Keeping everything cold is our secret weapon for perfect shortbread!
Now, combine the flour, powdered sugar, and salt in your mixer. Mix on low speed for a minute or two until everything is nicely combined. Then, add your vanilla extract and those super cold butter cubes. Mix on low to medium speed, and this is where the magic happens! The dough will start to come together into a smooth, cohesive mass. Stop mixing as soon as it forms; we don’t want to overmix and make them tough.
Once your dough is ready, transfer it onto a piece of parchment paper. Roll it out to about 3/4-inch thickness – you want them a little chunky for that classic shortbread feel. Use your favorite cookie cutters or a knife to cut out your shapes. Arrange them on an ungreased baking sheet, leaving about an inch between each cookie. Now, back to the freezer they go for another 30 minutes! This second chill is crucial for them to hold their shape beautifully in the oven.
About 15 minutes into that second chill, preheat your oven to 350°F (175°C). Once the full 30 minutes are up, bake your cookies for 16-18 minutes. Keep an eye on them – you’re looking for the edges to turn a lovely golden brown. The centers might still look a little soft, but don’t worry, they’ll firm up as they cool. Take them out and let them rest on the hot baking sheet for 10 minutes. This helps them set without drying out. If any edges spread a little, you can gently nudge them back into shape while they’re warm. Finally, transfer them to a wire rack to cool completely, which takes another 10-15 minutes. This cooling period is key for that perfect tender crumb!
My Top Tips for Success
- Trust me on this one: cold butter is non-negotiable. It creates steam in the oven, which gives shortbread its signature tender, crumbly texture.
- I always keep my mixer bowl and even the paddle attachment in the freezer for a few minutes before starting. It really helps keep the butter cold.
- Don’t overmix the dough! As soon as it comes together into a cohesive mass, stop. Overmixing can make your cookies tough.
- The second chill in the freezer for 30 minutes after cutting the shapes is super important. It prevents spreading and helps maintain crisp edges.
- Bake until the edges are just golden. Shortbread is meant to be pale, so don’t wait for them to turn dark brown.
- Let them cool completely on a wire rack. This allows them to firm up and develop that perfectly tender crumb.
Common Mistakes to Avoid
- Using warm butter: This is the biggest culprit for flat, greasy shortbread. Always use very cold butter, straight from the fridge and even chilled again in the freezer.
- Overmixing the dough: Too much mixing develops gluten-like structures in gluten-free flour, leading to tough cookies instead of tender ones. Mix just until combined.
- Not chilling the dough twice: Skipping the second chill (after cutting) can cause your cookies to spread and lose their shape in the oven.
- Baking at too high a temperature: This can cause the cookies to brown too quickly on the outside before cooking through, or become dry. Stick to 350°F (175°C).
- Removing cookies from the baking sheet too soon: Shortbread is delicate when warm. Let it rest on the hot sheet for 10 minutes to set before transferring to a wire rack.
How to Store Gluten Free Shortbread Cookies
- At Room Temperature: Store in an airtight container for up to 5-7 days.
- In the Freezer (Dough): Wrap unbaked dough tightly in plastic wrap and freeze for up to 1 month. Thaw in the refrigerator before rolling and baking.
- In the Freezer (Baked): Once completely cooled, place cookies in a single layer on a baking sheet to freeze solid, then transfer to a freezer-safe bag or container for up to 3 months. Thaw at room temperature.
Frequently Asked Questions
Can I make these cookies dairy-free?
Yes, you can! Substitute the butter with a high-quality, solid dairy-free butter alternative. Ensure it’s very cold before using, just like regular butter.
Why did my shortbread spread too much?
Spreading is usually due to butter that was too warm or not chilling the dough sufficiently. Make sure your butter is very cold and execute both chilling steps as directed.
Can I use a different type of gluten-free flour?
For best results, stick to a 1-to-1 gluten-free baking flour blend. Other single-ingredient gluten-free flours (like almond or coconut flour) have different absorption rates and will change the texture significantly.
How do I know when the cookies are done baking?
Look for the edges to be lightly golden brown. The centers may still look a little pale or soft, but they will firm up as the cookies cool on the baking sheet and then on the wire rack.
Can I add other flavorings?
Absolutely! You can add citrus zest (lemon or orange), a touch of almond extract, or even finely chopped herbs like rosemary to the dough for a unique twist.
I genuinely hope you give these Gluten Free Shortbread Cookies a try! They’re such a simple pleasure, and knowing they’re gluten-free means even more people can enjoy that buttery, crumbly goodness. If you bake them, please let me know how they turn out – I love hearing about your kitchen adventures!
PrintGluten Free Shortbread Cookies
Buttery, tender, and perfectly crumbly, these gluten-free shortbread cookies are a classic treat everyone can enjoy.
- Prep Time: 25
- Cook Time: 18
- Total Time: 83
- Yield: 24 cookies (approx)
- Category: Dessert
- Method: Baking
- Cuisine: Scottish
- Diet: Vegetarian
Ingredients
- 14 tbsp chilled butter (cut into small cubes)
- 1.75 cups gluten-free flour (Bob's Red Mill 1-to-1 baking flour works great)
- 1 tsp vanilla extract
- 1 cup powdered sugar
- 1/2 tsp kosher salt
- semi-sweet chocolate for dipping (optional)
Instructions
- Place cubed cold butter into the freezer for at least 5 minutes.
- Measure gluten-free flour, powdered sugar, and kosher salt.
- Place your mixer bowl in the freezer for a few minutes.
- Combine the flour, powdered sugar, and salt in your mixer.
- Blend on low speed for 1-2 minutes until evenly combined.
- Add the vanilla extract to the mixer.
- Add the chilled butter cubes to the mixer.
- Mix on low to medium speed for 3-5 minutes until the dough comes together into a smooth, cohesive mass.
- Stop mixing as soon as the dough forms.
- Transfer the dough onto a piece of parchment paper.
- Roll the dough out to approximately 3/4-inch thickness.
- Cut the dough into desired shapes using cookie cutters or a knife.
- Arrange the cut cookies on an ungreased baking sheet, spacing them about 1 inch apart.
- Transfer the baking sheet to the freezer for 30 minutes.
- After 15 minutes of chilling, preheat your oven to 350°F (175°C).
- Once the full 30 minutes of freezing is complete, bake the cookies for 16-18 minutes.
- Bake until the edges turn golden brown.
- Remove the baking sheet from the oven.
- Let the cookies rest on the hot sheet for 10 minutes.
- Gently reshape edges if needed while cookies are still warm.
- Transfer the cookies to a wire cooling rack.
- Allow the cookies to cool completely for 10-15 minutes.
- If using, melt semi-sweet chocolate in a microwave-safe bowl in 30-second intervals, stirring between each.
- Alternatively, melt chocolate using a double boiler.
- Dip the bottom half or edges of each cooled cookie into the melted chocolate.
- Place dipped cookies on a parchment-lined baking sheet.
- Allow the chocolate to set at room temperature for 15-20 minutes.
- Alternatively, place the sheet in the refrigerator for faster setting.
Notes
Always use very cold butter; it’s key for a tender, crumbly texture.
Don’t overmix the dough once the butter is added; stop as soon as it forms a cohesive mass.
The second chill in the freezer for 30 minutes helps prevent spreading and maintains shape.
Bake until the edges are just golden brown, even if the centers look slightly soft.
Let cookies cool completely on a wire rack to firm up properly.