There’s just something so comforting about a classic cookie, isn’t there? For me, these Danish Butter Cookies bring back a flood of cozy memories. My grandmother always had a tin of them around the holidays, and the moment I taste that rich, buttery flavor, I’m transported right back to her kitchen. This Danish Butter Cookies Recipe is my go-to for a little taste of nostalgia, and I know you’ll love making them just as much as I do!
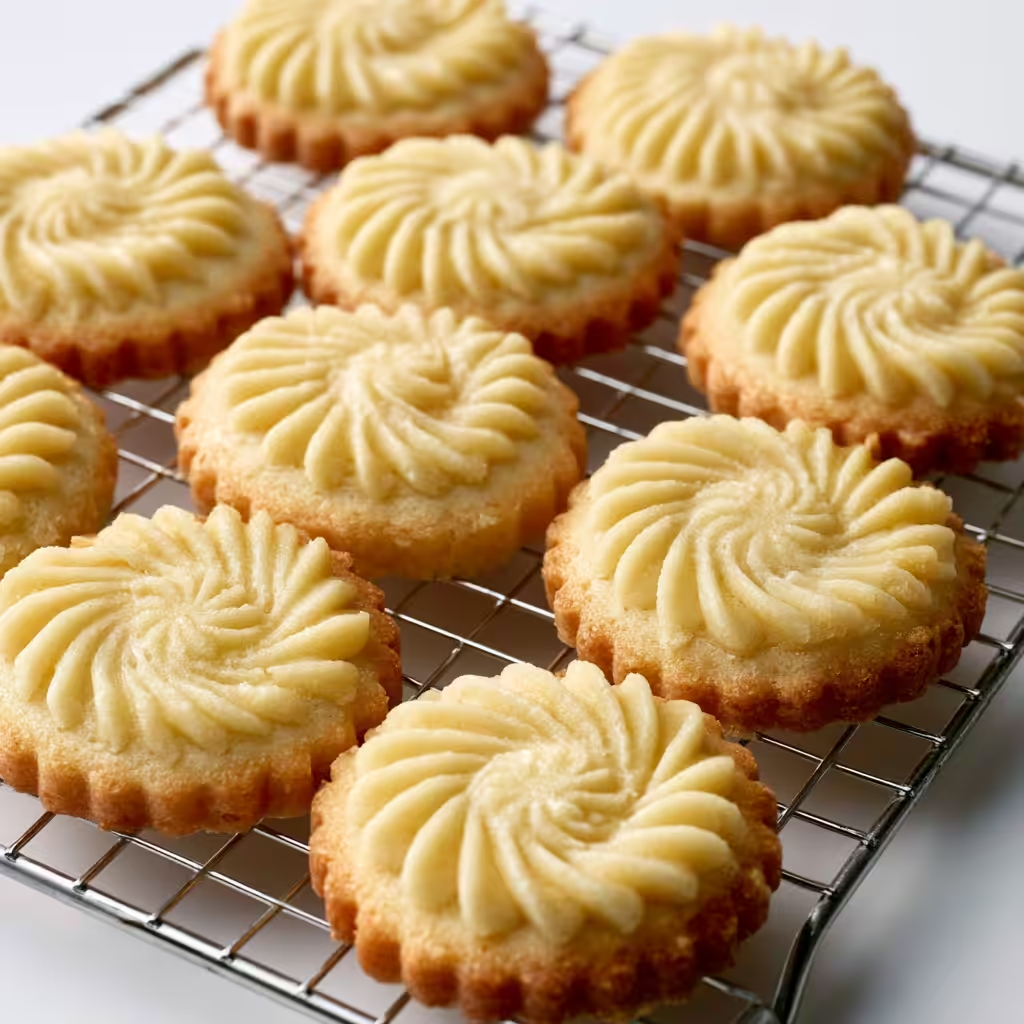
Why You’ll Love This Danish Butter Cookies Recipe
- They’re incredibly buttery and melt-in-your-mouth tender – exactly what you want in a butter cookie!
- The recipe is surprisingly simple, even for beginner bakers. You’ll feel like a pro!
- They’re perfect for any occasion, from a cozy afternoon tea to a festive holiday cookie swap.
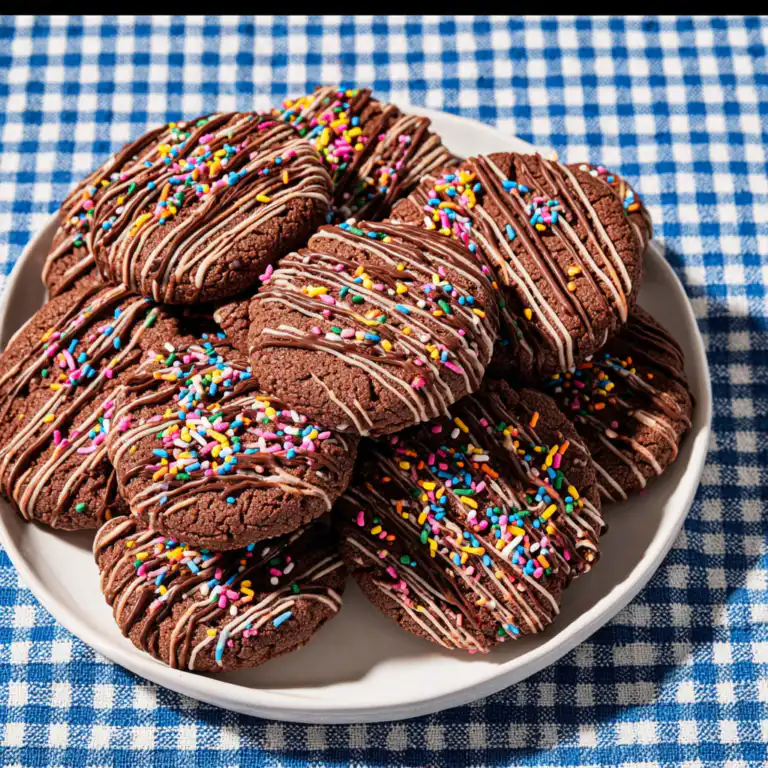
- You can get creative with the chocolate and sprinkles, making each batch uniquely yours.
Ingredients You’ll Need
- Unsalted Butter: Make sure it’s at room temperature! This is super important for getting that light, airy texture when you cream it with the sugar. Don’t use cold butter, or your cookies won’t be as tender.
- Granulated Sugar: This provides the sweetness and helps create that wonderful crispness.
- Large Egg: Also at room temperature! It binds everything together and adds richness.
- Vanilla Extract: Use good quality vanilla for the best flavor. It really shines through in these simple cookies.
- All-Purpose Flour: The structure of our cookies! No fancy flours needed here.
- Salt: A little pinch of salt balances the sweetness and enhances all the other flavors.
- Milk: Just a tiny bit helps achieve the perfect pipeable consistency for the dough. Start with the recommended amount and add a tiny bit more if needed, but don’t overdo it!
- Semi-Sweet or Milk Chocolate: This is for dipping, and you can choose your favorite! I love semi-sweet for a classic contrast.
- Sprinkles: Totally optional, but they add a fun pop of color and texture!
How to Make Danish Butter Cookies Recipe Step by Step
First things first, let’s get that butter and sugar beautifully creamed. Grab your stand mixer (or a hand mixer works great too!) and beat together the room temperature butter and granulated sugar for a few minutes. You want it to be light, fluffy, and almost pale in color – this is where the magic happens for that tender texture!
Next, we’ll add our room temperature egg and vanilla extract. Mix that in until everything is just combined. Then, gently incorporate the flour and salt on a low speed until the dough just comes together. Don’t overmix! Finally, add the milk. The dough should be soft enough to pipe but not runny. If it feels a little too stiff, you can add a tiny bit more milk, but trust me, a little goes a long way here.
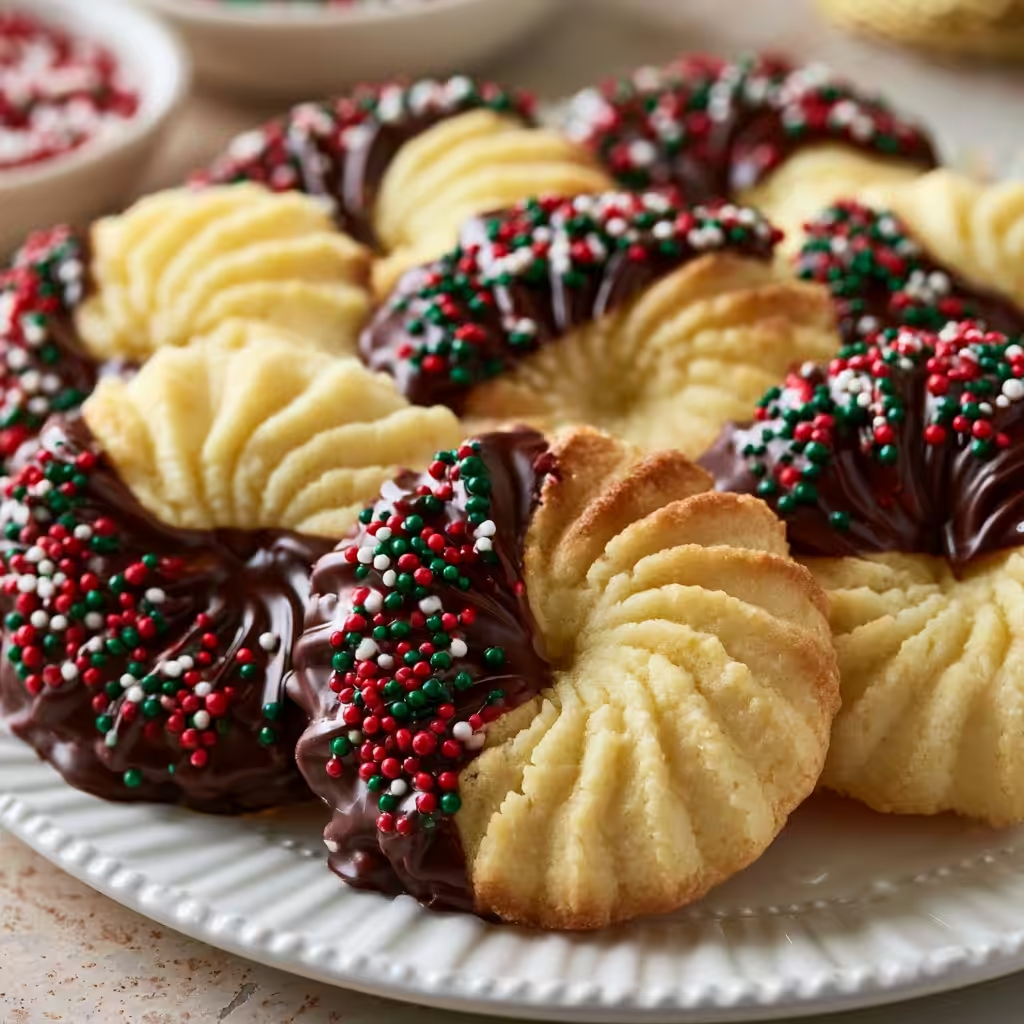
Now for the fun part! Transfer your lovely dough to a piping bag fitted with a large piping tip. On your baking sheet (and this is important – no parchment paper for these, it helps them hold their shape!), pipe out 2-inch swirls, making sure to leave about 3 inches between each cookie. Pop that baking sheet into the fridge for 15-20 minutes. This chilling step is a secret weapon; it helps the cookies keep their beautiful shape in the oven. While they’re chilling, preheat your oven to 350°F. Bake them for about 15 minutes, or until the edges are a gorgeous golden brown. Once out of the oven, let them hang out on the baking sheet for 10 minutes before moving them to a wire rack to cool completely. While they’re cooling, you can melt your chocolate – a double boiler or microwave works perfectly!
My Top Tips for Success
- Room Temperature Ingredients are Key: I always make sure my butter and egg are at room temperature. It makes such a difference in the texture of the cookies!
- Don’t Overmix the Flour: Once you add the flour, mix just until combined. Overmixing can lead to tough cookies, and we want tender!
- Chill the Dough: Trust me on this one! Chilling the piped cookies prevents them from spreading too much and helps them hold that beautiful swirl shape.
- Watch for Golden Edges: Don’t just rely on the timer. Look for those golden-brown edges to know they’re perfectly baked.
- Use a Large Piping Tip: This makes piping those pretty swirls so much easier and gives the cookies a lovely shape.
Common Mistakes to Avoid
- Using Cold Butter: This will make your dough tough and difficult to cream, resulting in a less tender cookie. Always use room temperature butter!
- Overmixing the Dough: Once the flour is added, mix only until just combined. Too much mixing develops the gluten, leading to a hard, rather than tender, cookie.
- Not Chilling the Piped Cookies: Skipping this step can cause your beautiful swirls to spread and lose their shape in the oven.
- Baking on Parchment Paper: For these specific cookies, baking directly on the baking sheet helps them hold their shape better.
- Overbaking: Keep an eye on them! Overbaked cookies will be dry and crumbly instead of tender and buttery.
How to Store Danish Butter Cookies Recipe
- Room Temperature: Store in an airtight container at room temperature for up to 1 week.
- Freezer (Dough): You can pipe the dough and freeze the unbaked cookies on a baking sheet until solid, then transfer to an airtight container or freezer bag for up to 1 month. Bake from frozen, adding a few minutes to the baking time.
- Freezer (Baked): Store baked (undipped) cookies in an airtight container in the freezer for up to 3 months. Thaw at room temperature before dipping in chocolate.
Frequently Asked Questions
Can I make these cookies without a piping bag?
Yes, you can! While piping creates the classic swirl, you can also roll the dough into small balls and flatten them slightly with a fork for a simpler shape. They will still taste delicious!
Why are my cookies spreading too much?
Cookies usually spread too much if the butter was too soft, the dough wasn’t chilled enough, or the oven wasn’t preheated properly. Make sure your butter is room temperature, not melted, and always chill the piped cookies!
Can I use salted butter?
You can, but I recommend unsalted butter so you can control the salt content yourself. If you use salted butter, omit the ¼ teaspoon of added salt in the recipe.
How do I know when the cookies are fully baked?
Look for the edges to turn a beautiful golden brown color. The centers might still look a little soft, but they will firm up as they cool.
Can I flavor the cookie dough?
Absolutely! You could add a touch of almond extract instead of or in addition to vanilla for a different flavor profile. Just a small amount goes a long way!
I hope this Danish Butter Cookies Recipe brings a little bit of that cozy, buttery goodness to your kitchen! They’re truly a joy to make and even more of a joy to eat. If you whip up a batch, I’d absolutely love to hear how they turned out for you!
PrintDanish Butter Cookies Recipe
These classic Danish Butter Cookies are melt-in-your-mouth tender, rich with butter, and perfect for any occasion.
- Prep Time: 20
- Cook Time: 15
- Total Time: 35
- Yield: 24 cookies
- Category: Dessert
- Method: Baking
- Cuisine: Danish
- Diet: Vegetarian
Ingredients
- 1 cup unsalted butter room temperature
- ⅔ cup granulated sugar
- 1 large egg room temperature
- 1 teaspoon vanilla extract
- 2 cups all-purpose flour
- ¼ teaspoon salt
- 2 teaspoons milk
- 3 oz semi-sweet or milk chocolate
- 3 tablespoons sprinkles
Instructions
- Cream together 1 cup unsalted butter and ⅔ cup granulated sugar in a stand mixer with a paddle attachment or using a hand mixer for a few minutes until light and airy.
- Add 1 large egg and 1 teaspoon vanilla extract to the butter mixture.
- Mix until well combined.
- Add 2 cups all-purpose flour and ¼ teaspoon salt to the mixture.
- Mix on low speed until just combined.
- Add 2 teaspoons milk to the dough.
- Mix until the dough reaches a pipeable consistency, ensuring it is not runny.
- Transfer the dough to a piping bag fitted with a large piping tip.
- Pipe 2-inch swirls onto a baking sheet, spacing them 3 inches apart (do not use parchment paper).
- Place the baking sheet with piped cookies in the refrigerator for 15-20 minutes.
- Preheat the oven to 350°F (175°C).
- Bake the cookies for about 15 minutes, or until the edges are golden brown.
- Remove the cookies from the oven and let them sit on the baking sheet for about 10 minutes.
- Transfer the cookies to a wire rack to cool completely.
- While cookies cool, prepare the chocolate by melting it on a double boiler or in a microwave.
- If microwaving, place chopped chocolate in a heat-proof bowl and microwave in 20-second increments, stirring after each.
- Dip two-thirds of each cooled cookie into the melted chocolate.
- Place the dipped cookies on parchment paper.
- Decorate the chocolate-dipped cookies with sprinkles.
- Let the decorated cookies dry completely before storing or serving.
Notes
Ensure butter and egg are at room temperature for the best texture.
Do not overmix the flour once added; mix just until combined.
Chilling the piped dough is crucial for maintaining shape during baking.
Bake directly on a baking sheet, not parchment paper, for crispier edges.