There’s just something about autumn that calls for warm spices and cozy desserts, isn’t there? For me, the scent of cinnamon and ginger wafting from the oven is the true start of the holiday season. This classic Pumpkin Pie Recipe isn’t just a dessert; it’s a hug in pie form, bringing back memories of family dinners and happy gatherings. It’s simple, comforting, and absolutely perfect every single time.
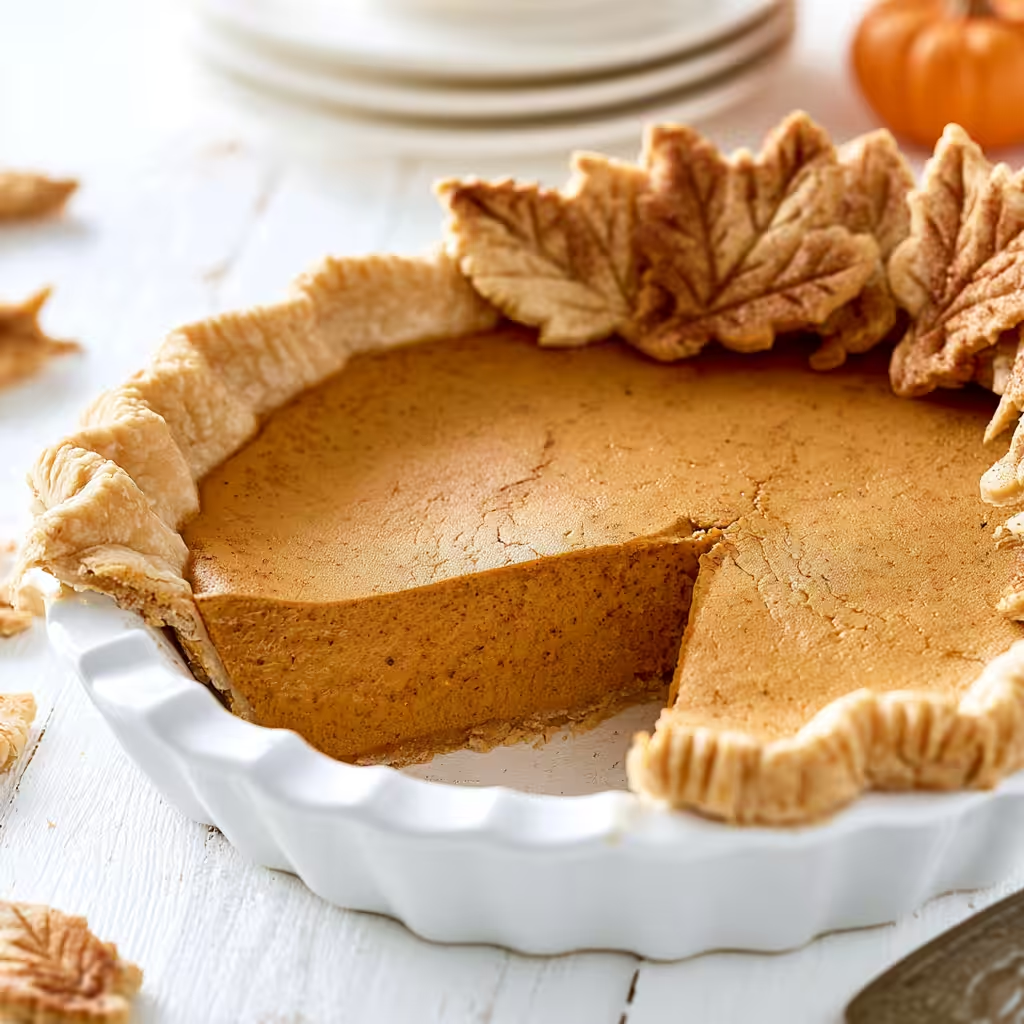
Why You’ll Love This Pumpkin Pie Recipe
- It’s incredibly easy to make, even if you’re new to baking!
- The filling is wonderfully smooth and perfectly spiced.
- That golden, flaky crust is just heavenly with the creamy pumpkin.
- It’s the quintessential dessert for any fall or holiday table.
Ingredients You’ll Need
- Refrigerated Pie Crust: This is a fantastic shortcut that makes pie-making a breeze! You can use your favorite store-bought brand, or if you’re feeling ambitious, a homemade crust works beautifully too.
- Granulated Sugar: Our main sweetener. It balances the earthy pumpkin flavor perfectly.
- Kosher Salt: Don’t skip the salt! It enhances all the other flavors and keeps the pie from tasting flat.
- Cinnamon, Ground Ginger, Ground Cloves: These are the stars of our spice blend, giving the pie its signature warm, aromatic flavor. You can adjust them slightly to your taste, but this combination is classic.
- Large Eggs: These act as a binder, helping the filling set up beautifully and giving it that smooth, custardy texture.
- Canned Pumpkin Puree: Make sure you grab 100% pumpkin puree, not pumpkin pie filling! They’re different, and pie filling already has sugar and spices added.
- Evaporated Milk: This is key for a super creamy, rich filling. It’s milk that’s had about 60% of its water removed, making it thicker and more concentrated than regular milk.
How to Make Pumpkin Pie Recipe Step by Step
First things first, grab your refrigerated pie crust and gently press it into a 9-inch pie plate. Take a moment to make those pretty fluted edges with your thumb – it adds such a lovely homemade touch! Don’t worry if it’s not absolutely perfect; the charm is in the imperfection.
Next, in a mixing bowl, we’re going to combine all those wonderful dry ingredients: the granulated sugar, salt, cinnamon, ginger, and cloves. Whisk them together really well to ensure all those spices are evenly distributed. Then, crack in your two large eggs and whisk everything until it’s nicely blended. This is where the magic of the filling really starts to come together!
Now, add your can of pumpkin puree and the evaporated milk to the bowl. Stir it all together until everything is just combined and you have a smooth, creamy filling. Pour this gorgeous mixture right into your prepared pie crust. You’re almost there! We’ll start baking this beauty in a hot oven at 425 degrees for the first 15 minutes. This initial high heat helps set the crust. After that, you’ll want to cover the edges of your pie crust with foil or a pie shield – this keeps them from getting too dark. Then, lower the temperature to 350 degrees and let it bake for another 40-45 minutes. You’ll know it’s done when a toothpick inserted into the center comes out clean. Remove it from the oven, let it cool completely, and then pop it in the fridge until you’re ready to serve. Enjoy your delicious No Bake Marshmallow Pumpkin Pie!
My Top Tips for Success
- I always make sure my pumpkin puree is 100% pure pumpkin, not pie filling. It makes all the difference!
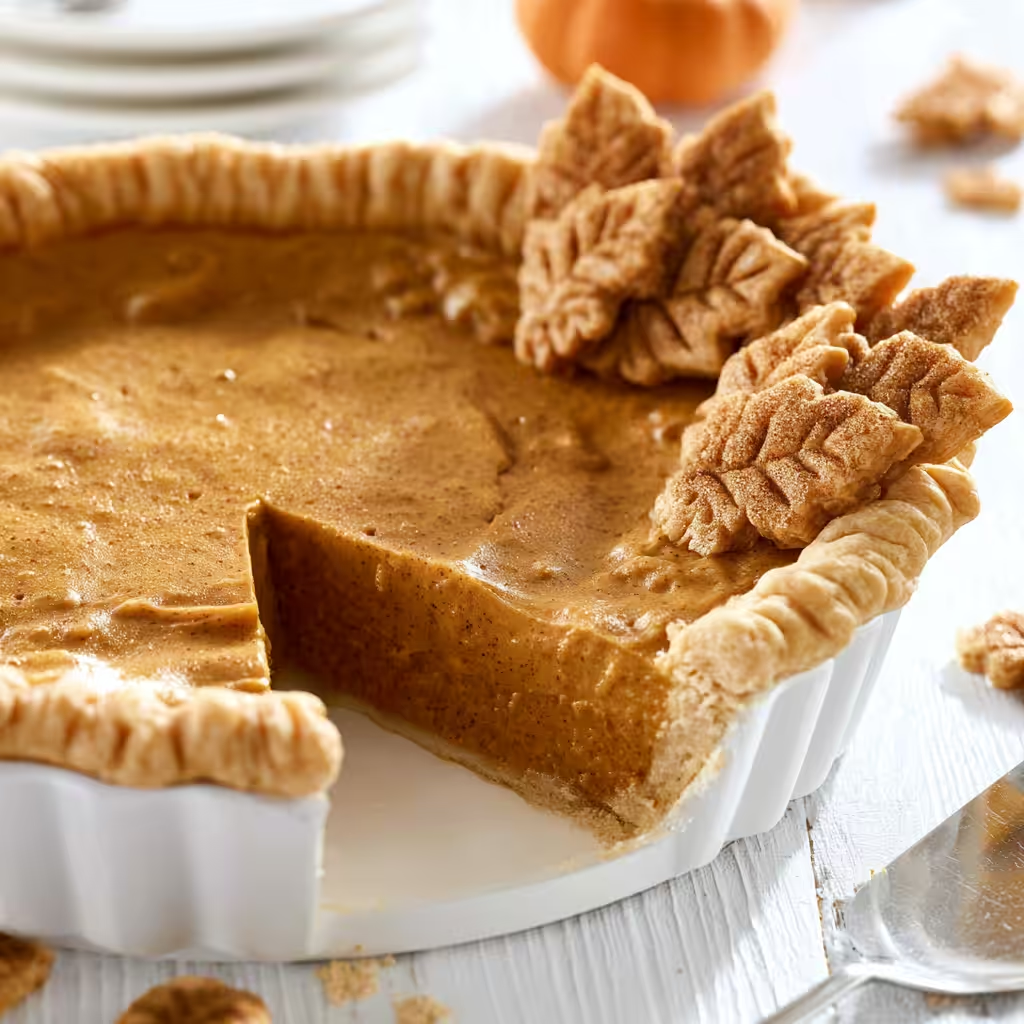
- In my experience, fluting the edges of the pie crust with your thumb before baking not only looks beautiful but helps prevent excessive shrinking.
- Trust me on this one: covering the crust edges with foil after the initial high-heat bake is crucial for preventing a burnt crust.
- Don’t overbake! The pie will continue to set as it cools, so a slight jiggle in the center is okay when you pull it out.
- Allowing the pie to cool completely and then refrigerating it for several hours (or overnight) ensures the best texture and makes it easier to slice.
Common Mistakes to Avoid
- Using pumpkin pie filling instead of pumpkin puree: Pie filling is pre-sweetened and spiced, which will throw off the flavor balance of this recipe. Always check the label for “100% pure pumpkin.”
- Over-whisking the filling: Too much air incorporated can cause cracks in your pie. Whisk just until combined.
- Not covering the crust edges: The edges of the pie crust can burn quickly at higher temperatures. Use foil or a pie shield for protection.
- Overbaking the pie: An overbaked pie can be dry and cracked. Remove it from the oven when a toothpick inserted near the center comes out clean, but the very center still has a slight jiggle.
How to Store Pumpkin Pie Recipe
- Refrigerator: Cover loosely with plastic wrap and refrigerate for up to 3-4 days.
- Freezer: Wrap cooled pie tightly in plastic wrap, then in foil. Freeze for up to 1 month. Thaw in the refrigerator overnight before serving.
Frequently Asked Questions
What’s the difference between pumpkin puree and pumpkin pie filling?
Pumpkin puree is simply cooked, mashed pumpkin. Pumpkin pie filling, on the other hand, is pumpkin puree that has already been mixed with sweeteners and spices. This recipe specifically calls for 100% pure pumpkin puree.
How do I know when my pumpkin pie is done baking?
Your pumpkin pie is done when a toothpick inserted about an inch from the edge comes out clean. The very center might still have a slight jiggle, which is perfectly fine as it will continue to set as it cools.
Can I use a homemade pie crust instead of refrigerated?
Absolutely! If you prefer a homemade crust, feel free to use your favorite recipe. Just make sure it’s a 9-inch crust and prepare it as you normally would before adding the filling.
Why did my pumpkin pie crack on top?
Cracks can occur if the pie is overbaked or if it cools too quickly. To prevent this, don’t overbake, and allow the pie to cool gradually at room temperature before refrigerating.
I truly hope this classic Pumpkin Pie Recipe brings so much joy and deliciousness to your home this season. It’s a timeless dessert for a reason! Give it a try, and let me know how your pie turns out – I always love hearing from you.
PrintPumpkin Pie Recipe
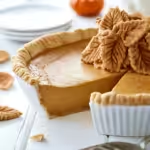
A classic, easy-to-make pumpkin pie with a rich, creamy filling and flaky crust, perfect for any fall gathering.
- Prep Time: 15
- Cook Time: 60
- Total Time: 75
- Yield: 8 servings
- Category: Dessert
- Method: Baking
- Cuisine: American
- Diet: Vegetarian
Ingredients
- 1 refrigerated pie crust
- ¾ cup granulated sugar
- ½ teaspoon kosher salt
- 2 teaspoons cinnamon
- 1 teaspoon ground ginger
- ½ teaspoon ground cloves
- 2 large eggs
- 1 can pumpkin puree 15 ounce
- 1 can evaporated milk 12 ounce
Instructions
- Press the refrigerated pie crust into a 9-inch pie plate.
- Flute the edges of the pie crust with your thumb.
- In a mixing bowl, combine the granulated sugar, kosher salt, cinnamon, ground ginger, and ground cloves.
- Add the 2 large eggs to the spice mixture.
- Whisk the mixture until it is well blended.
- Add the 15-ounce can of pumpkin puree to the bowl.
- Add the 12-ounce can of evaporated milk to the bowl.
- Stir all ingredients together until just combined.
- Pour the pumpkin filling into the prepared pie crust.
- Bake in a preheated 425 degree Fahrenheit oven for 15 minutes.
- Cover the pie crust edges with foil or a pie shield.
- Lower the oven temperature to 350 degrees Fahrenheit.
- Continue to bake for an additional 40-45 minutes.
- Insert a toothpick into the center of the pie to check for doneness; it should come out clean.
- Remove the pie from the oven.
- Cool the pie completely at room temperature.
- Refrigerate the pie until ready to serve.
Notes
Always use 100% pure pumpkin puree, not pumpkin pie filling.
Cover the pie crust edges with foil to prevent burning during baking.
Do not overbake; the pie will continue to set as it cools.
For best results, chill the pie for several hours before slicing and serving.