Growing up, Halloween was always about spooky fun, and our family loved making treats that were a little bit creepy but totally delicious. This recipe for a Bowl of Worms: How to Make Jello Worms always brought out the biggest giggles and screams of delight! It’s such a simple, creative treat that everyone, from kids to adults, just loves. Trust me, these aren’t just for Halloween; they’re a hit at any party where you want to add a touch of playful grossness!
Why You’ll Love This Bowl of Worms: How to Make Jello Worms
- These worms have such a fun, wiggly texture that’s truly unique.
- The recipe is surprisingly easy to follow, even for beginners.
- They’re a total showstopper and conversation starter at any party.
- You can make them ahead of time, which is perfect for busy hosts!
Ingredients You’ll Need
- Raspberry Jello: This gives our worms their classic red color and fruity flavor. Make sure to grab the regular-sized box, not the large one!
- Unflavoured Gelatin: This is the secret ingredient that helps the worms hold their shape and gives them that perfect chewiness.
- Whipping Cream: Don’t whip it! We’re just adding it for a touch of creaminess and to help create the opaque worm look.
- Green Food Colouring: This adds to the “gross-out” factor, making them look even more like real worms from the garden.
- Flexible Straws: These are essential for molding our wiggly friends. Make sure they’re the kind with the bendy neck!
- Wide Mouth Mason Jar or Cylindrical Glass Vase: You’ll need something tall and narrow to hold your straws upright. A dollar store vase works perfectly!
How to Make Bowl of Worms: How to Make Jello Worms Step by Step
First things first, grab a large measuring cup. Into that cup, you’ll pour your raspberry Jello and all three packages of unflavoured gelatin. Give it a good stir to combine them well.
Next, carefully add the boiling water to your gelatin mixture. Stir, stir, stir until you’re absolutely sure all the gelatin has dissolved. You don’t want any grainy bits! Now, pop that mixture into the fridge for about 20 minutes. We’re chilling it until it’s just lukewarm, not cold, so it’s perfectly ready for the next step.
While your Jello mixture is chilling, it’s time for the straws! Take each flexible straw and stretch open the bendy part. Then, arrange all 125 of them in your wide-mouth mason jar or vase, making sure the flexible side is closer to the bottom. Don’t worry about them being perfectly even; just get them all in there. This is where the magic happens!
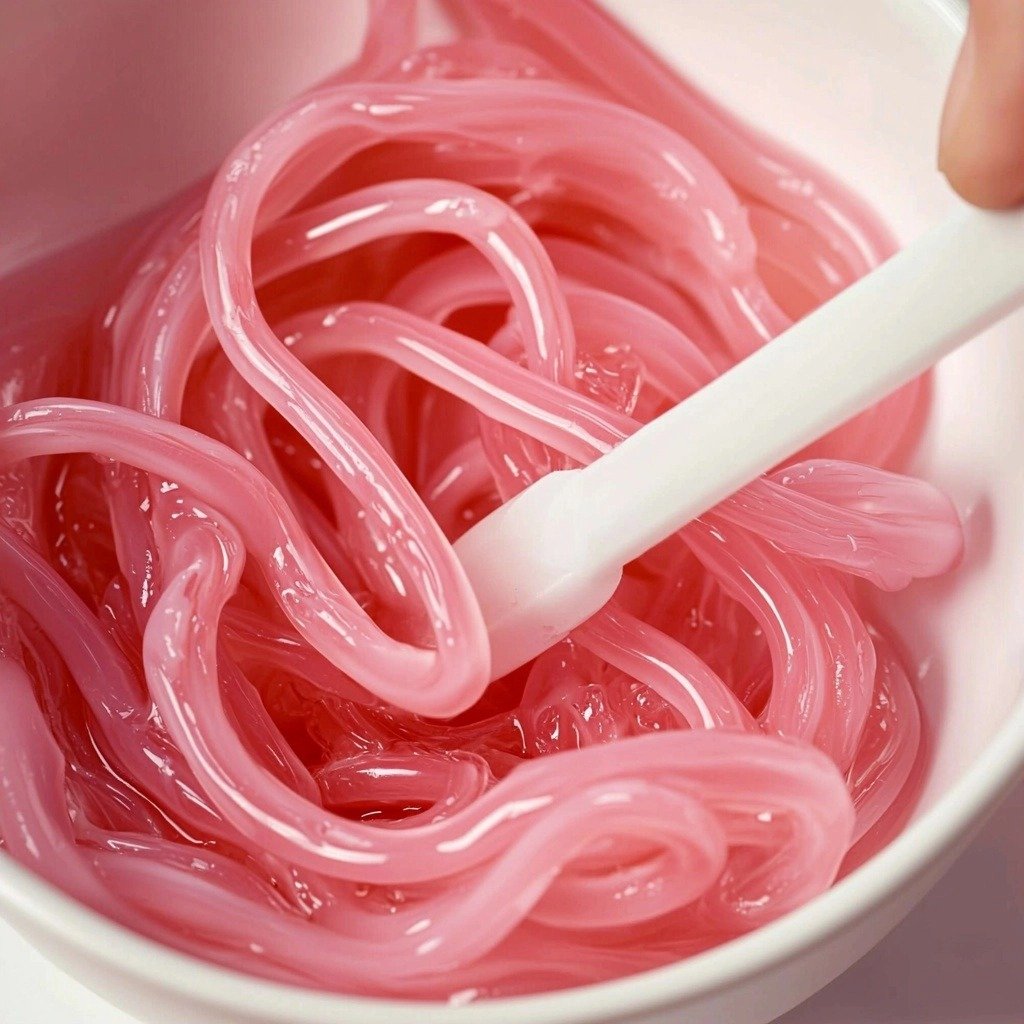
In a separate bowl, add about 15 drops of green food coloring to your whipping cream. Stir it gently until the cream is a uniform green color. Remember, just stir it, don’t whip it into peaks! Now, pour this green cream mixture into your lukewarm Jello mixture and stir until everything is beautifully combined. Finally, carefully pour this combined mixture over the top of your straws in the jar. The liquid will self-level and fill all the straws, so no need to fill each one individually. Place the whole jar in the fridge and let it chill for at least 8 hours, or even better, overnight. Patience is key here!
My Top Tips for Success
- I always make sure my Jello mixture is truly lukewarm before adding the cream; too hot and it can separate.
- Trust me on this one: stretching the straws open beforehand makes them much easier to fill and release the worms.
- In my experience, an overnight chill is best for firm, perfectly formed worms. Don’t rush it!
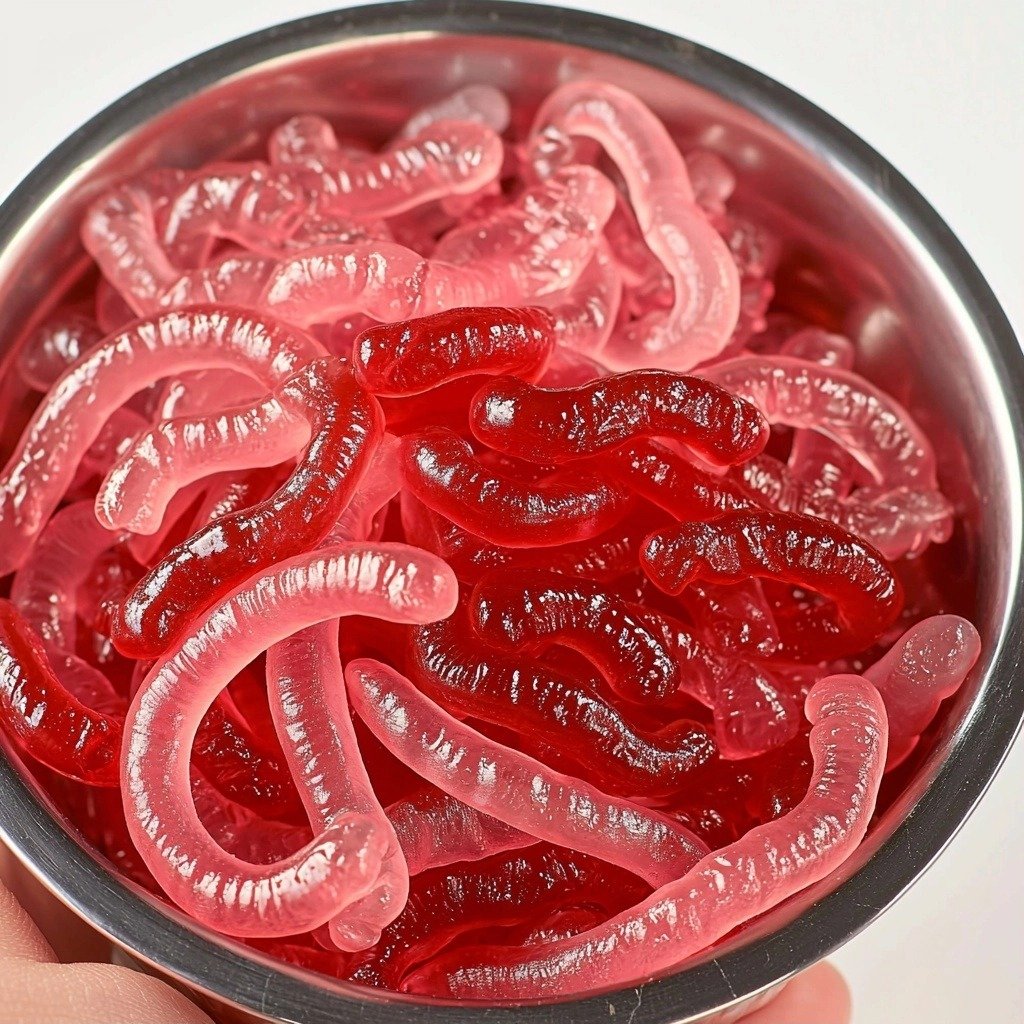
- When releasing the worms, a quick dip under hot water is key, but don’t hold it there too long or they’ll melt.
- I find using a tall, narrow container like a vase really helps keep the straws upright and minimizes spills.
Common Mistakes to Avoid
- Not dissolving the gelatin completely: This can leave you with a gritty texture. Stir thoroughly until no granules remain.
- Adding cream to hot Jello: The cream can curdle or separate if the Jello mixture is too warm. Ensure it’s lukewarm before combining.
- Not chilling long enough: Under-chilled worms will be too soft and break easily when you try to remove them. Always chill for at least 8 hours.
- Over-soaking straws in hot water: Holding the straw under hot water for too long will melt the worm. Just a few seconds is usually enough.
- Trying to fill each straw individually: The mixture will naturally seep into all the straws. Pouring over the top is much easier and effective.
How to Store Bowl of Worms: How to Make Jello Worms
- Refrigeration: Store worms on a waxed paper-lined baking sheet, covered with plastic wrap, in the fridge for up to 2 days.
- Advance Preparation: These worms can be made up to 2 days ahead of your event, making them perfect for party planning!
Frequently Asked Questions
Can I use different Jello flavors?
Absolutely! You can experiment with any Jello flavor you like, but raspberry gives that classic red-brown “wormy” look when combined with green. Black cherry or grape could also be fun!
What if I don’t have enough flexible straws?
You can use fewer straws, but you’ll get fewer worms. Make sure whatever container you use still holds them upright tightly enough. You can also use regular straws and cut them to size, but the flexible ones are easier to pinch.
My worms aren’t coming out of the straws easily. What should I do?
Run the straw under hot water for a few more seconds. If they’re still stuck, try pinching the straw from the top down more firmly to create pressure and push the worm out.
Can I make these without food coloring?
Yes, you can omit the green food coloring. The worms will still be delicious, but they might not have that same “eew” factor that makes them so fun!
How far in advance can I make these?
You can prepare these Jello worms up to 2 days in advance. Just be sure to store them properly covered in the refrigerator.
I hope this Bowl of Worms: How to Make Jello Worms brings as much spooky, silly fun to your kitchen as it does to mine! They’re such a unique treat that’s guaranteed to get some laughs and delighted groans. If you make them, I’d absolutely love to hear how they turned out and what kind of reactions you got!
PrintBowl of Worms: How to Make Jello Worms
These wiggly, jiggly Jello worms are a fun and spooky treat perfect for Halloween or any playful party!
- Prep Time: 25
- Total Time: 505
- Yield: 25-30 worms (approx. 4-5 servings)
- Category: Dessert
- Method: No-Bake
- Cuisine: American
- Diet: Vegetarian
Ingredients
- 1 package Raspberry Jello, the regular sized box, not the large box
- 3 packages Unflavoured Gelatin
- 3 cups Boiling Water
- 125 Flexible Straws
- 3/4 cup Whipping Cream
- 15 drops Green Food Colouring
- 1 Wide Mouth Mason Jar, 4 cup size or Round Cylindrical Glass Vase
Instructions
- Combine the raspberry Jello and unflavoured gelatin in a large measuring cup.
- Add the boiling water to the gelatin mixture and stir until the gelatin is completely dissolved.
- Chill the Jello mixture in the fridge for 20 minutes, or until it reaches a lukewarm temperature.
- Stretch open the flexible part of each straw.
- Place all 125 flexible straws into the wide mouth mason jar or cylindrical glass vase with the flexible side closer to the bottom.
- Add the green food colouring to the whipping cream in a separate bowl.
- Stir the green food colouring into the whipping cream until it is well combined (do not whip the cream).
- Pour the green whipping cream mixture into the lukewarm Jello mixture.
- Stir the Jello and cream mixture until it is well combined.
- Pour the combined mixture through the top of the straws until it fills the container and the straws.
- Chill the filled jar and straws in the fridge for at least 8 hours.
- Run each straw individually under hot water for a few seconds to loosen the worm.
- Pinch the straw from the top down to squeeze out each Jello worm onto a waxed paper-lined baking sheet.
- Store the worms, covered, in the fridge until ready to serve.
Notes
Ensure the Jello mixture is lukewarm before adding the cream to prevent separation.
Chill the worms for a full 8 hours or overnight for the best firm texture.
When releasing, only run straws under hot water for a few seconds to avoid melting.
Using a tall, narrow container helps keep the straws upright and evenly filled.
These worms can be made up to 2 days in advance, covered and refrigerated.