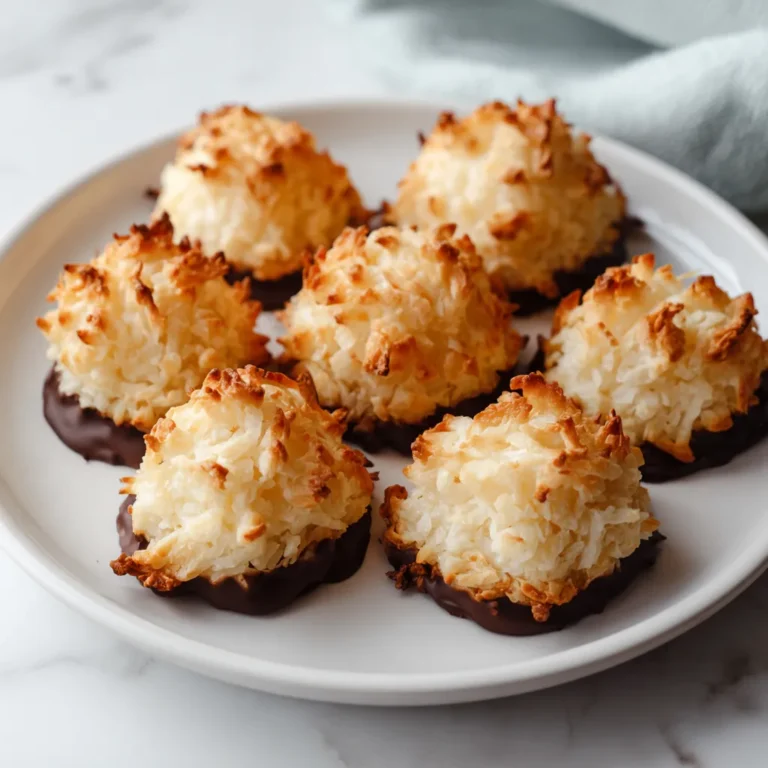
There’s a specific kind of magic that happens in the kitchen when you pull a tray of warm, colorful cookies out of the oven. You know the ones—the kind that are so loaded with “the good stuff” that every single bite feels like a celebration.
For me, Monster Cookies have always been the ultimate comfort food. They remind me of childhood bake sales, rainy afternoon snacks, and that feeling of “just one more.” But let’s be real: not all Monster Cookies are created equal. Some are too dry, some are too flat, and some just don’t have enough chocolate.
I spent weeks perfecting this specific version to ensure they are thick, ultra-soft, and stay chewy for days. Whether you are baking these for a school treat, a weekend project with the kids, or just because your sweet tooth is calling, these are destined to become your new “house favorite.” Grab a glass of milk you’re going to need it!
Why You’ll Love This Recipe
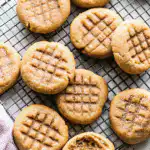
- The Perfect Texture: Thanks to a blend of creamy peanut butter and a touch of cornstarch, these cookies have a “bakery-style” softness that melts in your mouth.
- One-Bowl Friendly: You can whip these up in a stand mixer or with a hand mixer without creating a mountain of dishes.
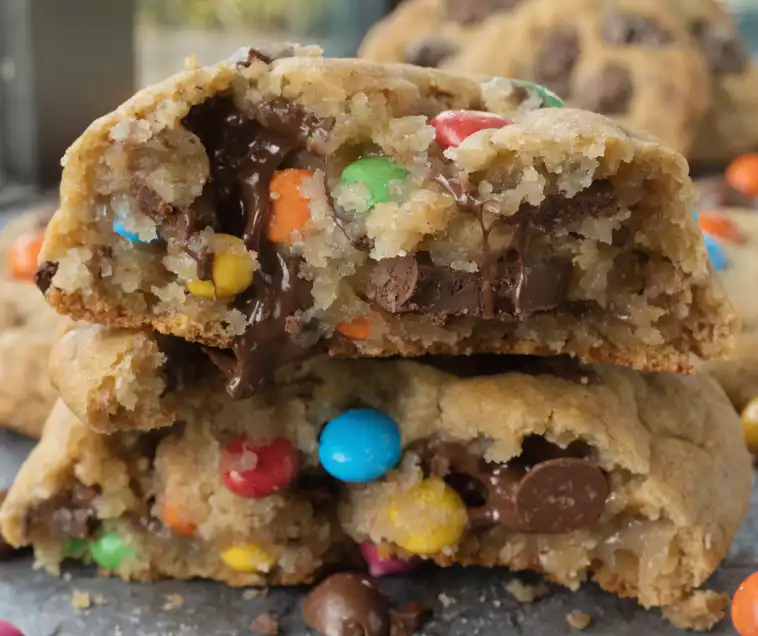
- Crowd Pleaser: With oats, M&Ms, and chocolate chips, there is something for everyone in every cookie.
- Perfect for Freezing: This dough is a dream for “prep-ahead” baking. You can keep a bag of dough balls in the freezer for emergency cookie cravings!
Ingredient Notes (The Secret to Success)
If you’re a beginner baker, don’t worry! Here is exactly what you need to know about what’s going into your bowl:
- The Peanut Butter: Stick with creamy, commercial-style peanut butter (like Jif or Skippy). While I love natural peanut butter on toast, it tends to be too oily for this specific cookie and can cause them to spread too much.
- The Oats: We use Old-Fashioned Oats (also called Rolled Oats). These give the cookie a hearty, chewy structure. Quick oats will work in a pinch, but the texture won’t be quite as “chunky.”
- The Sugars: We use more brown sugar than white sugar. Why? Brown sugar contains molasses, which adds moisture and creates that “bendy,” chewy center we all crave.
- Cornstarch: This is my “secret weapon” for soft cookies. It prevents the flour from getting too tough, ensuring your cookies stay tender even after they cool.
- Mini M&Ms: Using the “mini” version means you get more chocolate in every single bite compared to the regular-sized ones!
Step-by-Step Instructions
I’ve broken these down into very simple steps to make sure your first batch comes out perfectly.
1. Cream the Base
In your large mixing bowl (or stand mixer), beat the softened butter and peanut butter together until they look like a smooth, pale frosting. Add in the brown sugar and white sugar. Beat these for about 2 minutes.
Beginner Tip: “Creaming” the butter and sugar isn’t just about mixing; it’s about beating air into the dough so your cookies aren’t heavy and dense.
2. Add the Liquids
Add your 2 eggs and the vanilla extract. Beat on medium speed until the eggs are fully incorporated. The mixture should look light and fluffy.
3. The Dry Ingredients
Add the baking soda, cornstarch, and flour.
Crucial Tip: Mix on Low Speed only until you can no longer see white streaks of flour. If you over-mix here, the cookies will come out tough like bread!
4. The Fun Part (The Mix-ins)
Pour in your oats, mini M&Ms, and chocolate chips. Use a large spoon or a spatula to fold these in by hand. This ensures the candies don’t get crushed by the mixer.
5. The “Chill” Phase (Don’t Skip This!)
Cover your bowl and put it in the fridge for at least 1 hour.
- Why? Chilling the dough solidifies the fat. This prevents the cookies from melting into one giant flat pancake the second they hit the hot oven.
6. Scoop and Bake
Preheat your oven to 350°F. Line your pans with parchment paper. Use a large scoop (about 1/4 cup) to make big, generous dough balls. Place them 2-3 inches apart.
- Bake for 12-14 minutes. * The “Done” Look: Pull them out when the edges are a very light golden brown, but the centers still look a little “wet” or soft. This is the secret to a chewy cookie!
Expert Tips for Best Results
- The “Spoon and Level” Method: When measuring your flour, don’t scoop the cup into the bag. Instead, spoon the flour into the measuring cup and level it off with a flat knife. This prevents you from accidentally using too much flour.
- Rotate Your Pans: About halfway through the baking time, swap the top tray to the bottom rack and turn them around. Every oven has “hot spots,” and this ensures every cookie is baked evenly.
- The Cookie “Smush”: If your cookies come out too puffy, gently tap the baking sheet on the counter as soon as you pull them out of the oven. This helps them settle into that perfect crinkly shape.
Variations and Substitutions
- Make it Dark: Swap the semi-sweet chips for dark chocolate chips and add a pinch of flaky sea salt on top for a “grown-up” version.
- Nut-Free? You can substitute the peanut butter for SunButter (sunflower seed butter), though the flavor will change slightly.
- Holiday Style: Use seasonal M&Ms (red and green for Christmas, or pastels for Easter) to make these fit any occasion!
Storage and Freezing
To Store: Keep them in an airtight container at room temperature for up to 4 days. To Freeze Dough: Roll into balls and freeze on a tray. Once hard, toss them into a freezer bag. Bake straight from frozen (just add 2 minutes to the bake time!). To Freeze Baked Cookies: Wrap them well in plastic wrap and store in a container for up to 3 months.
FAQ
Can I use Quick Oats?
Yes, but the cookies will be a bit softer and less “textured.” Avoid Steel Cut oats, as they are too hard to bake in a cookie.
Why are my cookies flat?
Usually, this happens if the dough wasn’t chilled long enough or if the butter was too warm (melted) when you started.
Do I really need cornstarch?
You can skip it if you’re in a rush, but your cookies won’t stay soft as long. It’s worth the extra step!