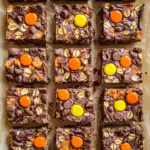
There’s something truly magical about holiday baking, isn’t there? For me, these Chocolate Kiss Snowball Cookies always bring back memories of cozy evenings, twinkle lights, and the sweet anticipation of Christmas. My grandmother used to make a similar cookie, and I remember how excited my sister and I would get when we saw the little chocolate peeking out from the snowy exterior. They’re such a delightful treat, and honestly, they just make everyone smile!
Why You’ll Love These Chocolate Kiss Snowball Cookies
- They’re incredibly easy to make, even for beginner bakers.
- The texture is heavenly: tender, melt-in-your-mouth cookie with a delightful crunch from the walnuts.
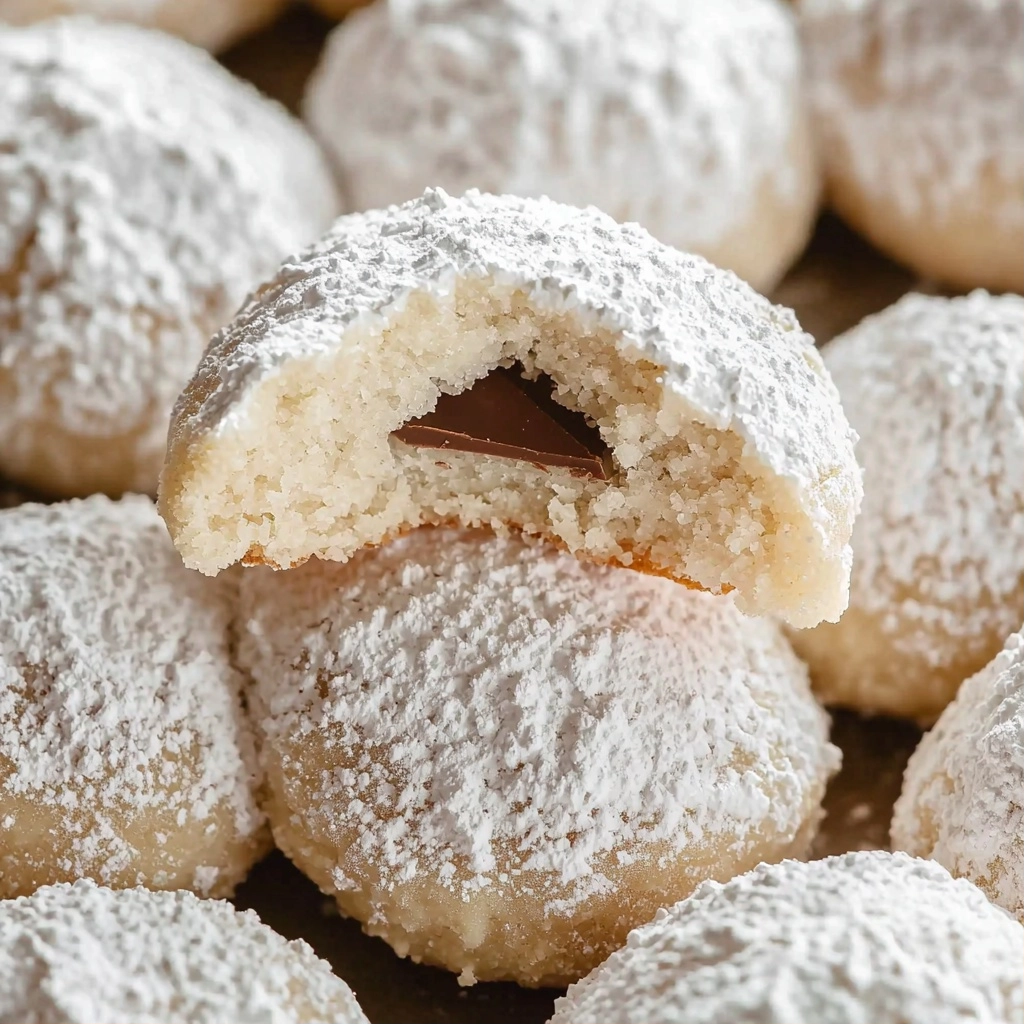
- That surprise chocolate kiss in the center is pure joy!
- Perfect for holiday cookie platters, potlucks, or just a sweet treat with your afternoon tea.
Ingredients You’ll Need
- Butter: Make sure it’s softened! This is key for creaming it properly with the sugar to create that light, fluffy base.
- Vanilla Extract: Don’t skip this! It enhances all the other flavors.
- Flour: Regular all-purpose flour works perfectly here.
- Walnuts: Finely chopped walnuts add a wonderful texture and nutty flavor. Don’t have walnuts? Pecans would be a lovely substitute.
- Milk Chocolate Hershey’s Kisses: These are the stars of the show! Make sure they’re unwrapped and ready to go.
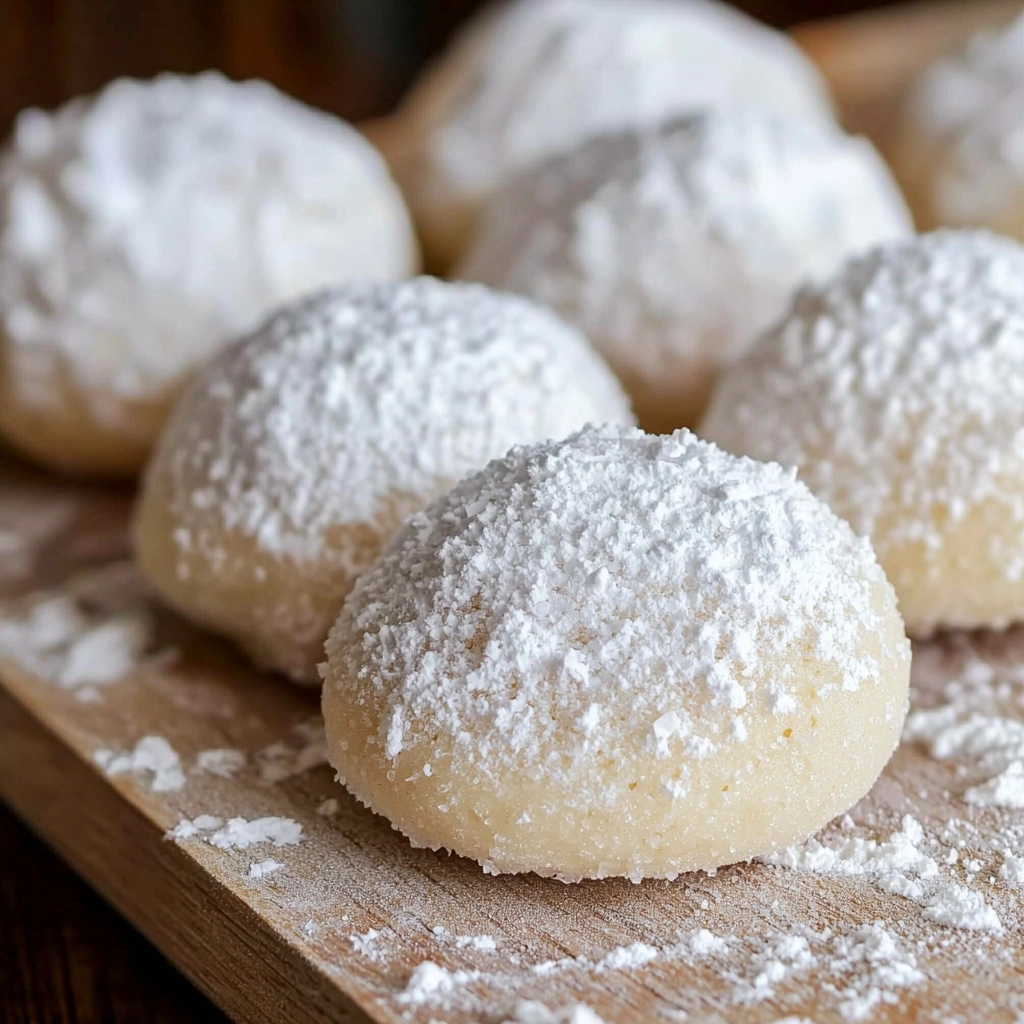
- Powdered Sugar: This is for dusting the cooled cookies, giving them their iconic “snowball” look and extra sweetness.
How to Make Chocolate Kiss Snowball Cookies Step by Step
First things first, preheat your oven to 375ºF. This ensures your oven is nice and hot when the cookies go in, which helps them bake evenly. Next, grab a large mixing bowl – you’ll want plenty of room for all the deliciousness we’re about to create!
Now, let’s get that dough started. In your large bowl, combine the softened butter, sugar, and vanilla extract. Beat these together until the mixture is light and fluffy. This step incorporates air, making your cookies tender. Then, gradually add the flour, mixing it in until everything is well combined and forms a soft dough. Finally, fold in the finely chopped walnuts. Mix just until they’re evenly distributed throughout the dough.
This next step is crucial for easy handling: chill your dough until it’s cold. This makes it much easier to work with and prevents the cookies from spreading too much. Once chilled, scoop out about a tablespoon of dough. Flatten it gently in your palm, place a chocolate kiss in the center, and carefully wrap the dough around it, forming a neat ball. Don’t worry if it takes a couple tries to get the hang of it – you’ll be a pro in no time! Place these little treasures onto a greased baking sheet and bake for about 12 minutes, or until they look set. Let them cool for just 2-3 minutes on the baking sheet before transferring them to a wire rack to cool completely. This is where the magic happens: once they’re completely cool, roll them generously in powdered sugar to get that beautiful snowball effect!
My Top Tips for Success
- Softened Butter is Key: I always recommend taking your butter out of the fridge about an hour before you start baking. This ensures it creams beautifully.
- Don’t Overmix: Once you add the flour, mix just until combined. Overmixing can lead to tough cookies.
- Chill the Dough: Trust me on this one! Chilling the dough makes it much easier to handle and prevents the cookies from spreading too much in the oven.
- Unwrap Kisses Ahead of Time: Save yourself some time and unwrapped all your Hershey’s Kisses before you start forming the cookies.
- Cool Completely Before Rolling: If you roll warm cookies in powdered sugar, it will melt and disappear. Patience is a virtue here!
- Roll Twice for Extra Snow: For an extra thick, snowy coating, roll the cooled cookies in powdered sugar, let them sit for a few minutes, and then roll them again.
Common Mistakes to Avoid
- Not chilling the dough enough: If your dough isn’t cold, it will be sticky and hard to wrap around the kisses, and your cookies might spread too much. Chill until firm, but not rock-hard.
- Overbaking the cookies: These cookies are meant to be tender. Baking them too long will make them dry and crumbly. Watch for them to just be set, not browned.
- Rolling warm cookies in powdered sugar: The sugar will melt right into the cookie, losing that iconic “snowball” look. Always wait until they are completely cool.
- Not greasing the baking sheet: Even though they have butter, a little grease helps prevent sticking and ensures easy removal.
How to Store Chocolate Kiss Snowball Cookies
- Countertop: Store in an airtight container at room temperature for up to 1 week.
- Freezer (Baked): Place cooled cookies in a single layer on a baking sheet to freeze solid, then transfer to a freezer-safe bag or container for up to 3 months. Thaw at room temperature.
- Freezer (Dough): You can freeze the shaped dough balls (without the kiss inside) in a single layer, then transfer to a freezer bag for up to 1 month. Thaw in the fridge before proceeding with the recipe.
Frequently Asked Questions
Can I use different nuts?
Yes, absolutely! While walnuts are traditional, finely chopped pecans or almonds would also be delicious in these cookies.
What if I don’t have Hershey’s Kisses?
You can use other small chocolate candies or even cut a chocolate bar into small chunks. Just make sure the chocolate piece is small enough to be fully enclosed by the dough.
My dough is too crumbly, what went wrong?
This usually happens if the butter wasn’t soft enough or if you added too much flour. Try adding a tiny bit more softened butter or a teaspoon of milk to bring it together.
Can I make these ahead of time?
Yes, these cookies are perfect for making ahead! You can prepare the dough and chill it for up to 2-3 days, or even freeze the shaped dough balls before baking.
Why did my powdered sugar disappear?
You likely rolled the cookies while they were still warm. The heat from the cookies melts the sugar. Make sure they are completely cooled before dusting!
I hope these Chocolate Kiss Snowball Cookies become a new favorite in your kitchen, bringing as much cheer to your home as they do to mine. Give them a try, and don’t forget to tell me how they turned out!
PrintChocolate Kiss Snowball Cookies
Tender, melt-in-your-mouth snowball cookies with a delightful nutty crunch, hiding a sweet milk chocolate kiss surprise in the center.
- Prep Time: 20
- Cook Time: 12
- Total Time: 32
- Yield: 36 cookies
- Category: Dessert
- Method: Baking
- Cuisine: American
- Diet: Vegetarian
Ingredients
- 1 cup butter (softened)
- ½ cup sugar
- 1 teaspoon vanilla extract
- 2 cups flour
- 1 cup walnuts (finely chopped)
- 36 Milk chocolate Hershey’s Kisses
- 1 ⅓ cups powdered sugar
Instructions
- Preheat your oven to 375º Fahrenheit.
- In a large bowl, add the softened butter, sugar, and vanilla extract.
- Cream the butter, sugar, and vanilla together until the mixture is light and fluffy.
- Add the flour to the bowl.
- Mix the flour into the creamed mixture until well combined and a dough forms.
- Add the finely chopped walnuts to the dough.
- Mix until the walnuts are evenly incorporated throughout the dough.
- Chill the dough in the refrigerator until it is cold and firm enough to handle.
- Take about a tablespoon of the chilled dough.
- Flatten the dough into a small circle in the palm of your hand.
- Place one unwrapped Milk chocolate Hershey’s Kiss into the center of the flattened dough.
- Carefully wrap the edges of the dough around the chocolate kiss.
- Form the dough into a neat ball, ensuring the kiss is completely enclosed.
- Repeat this process for all the remaining dough and chocolate kisses.
- Place the formed cookie dough balls onto a greased baking sheet, leaving some space between each.
- Bake in the preheated oven for 12 minutes, or until the cookies are set and lightly golden on the bottom.
- Remove the baking sheet from the oven.
- Let the cookies cool on the baking sheet for 2-3 minutes.
- Carefully transfer the slightly cooled cookies to wire racks.
- Allow the cookies to cool completely on the wire racks.
- Once completely cool, roll each cookie generously in the powdered sugar.
- Store the finished Chocolate Kiss Snowball Cookies in an airtight container at room temperature.
Notes
Ensure butter is properly softened for a smooth dough.
Chill the dough thoroughly to prevent spreading and make it easier to handle.
Roll cookies in powdered sugar only after they are completely cool to avoid melting.
For extra snowy cookies, roll them twice in powdered sugar.