There’s just something magical about cereal bars, isn’t there? They bring me right back to childhood sleepovers and lazy Saturday mornings. But these aren’t just any cereal bars; these are my absolute favorite Lucky Charms Bars! They’re so vibrant and fun, and honestly, they just make me smile every time I make them.
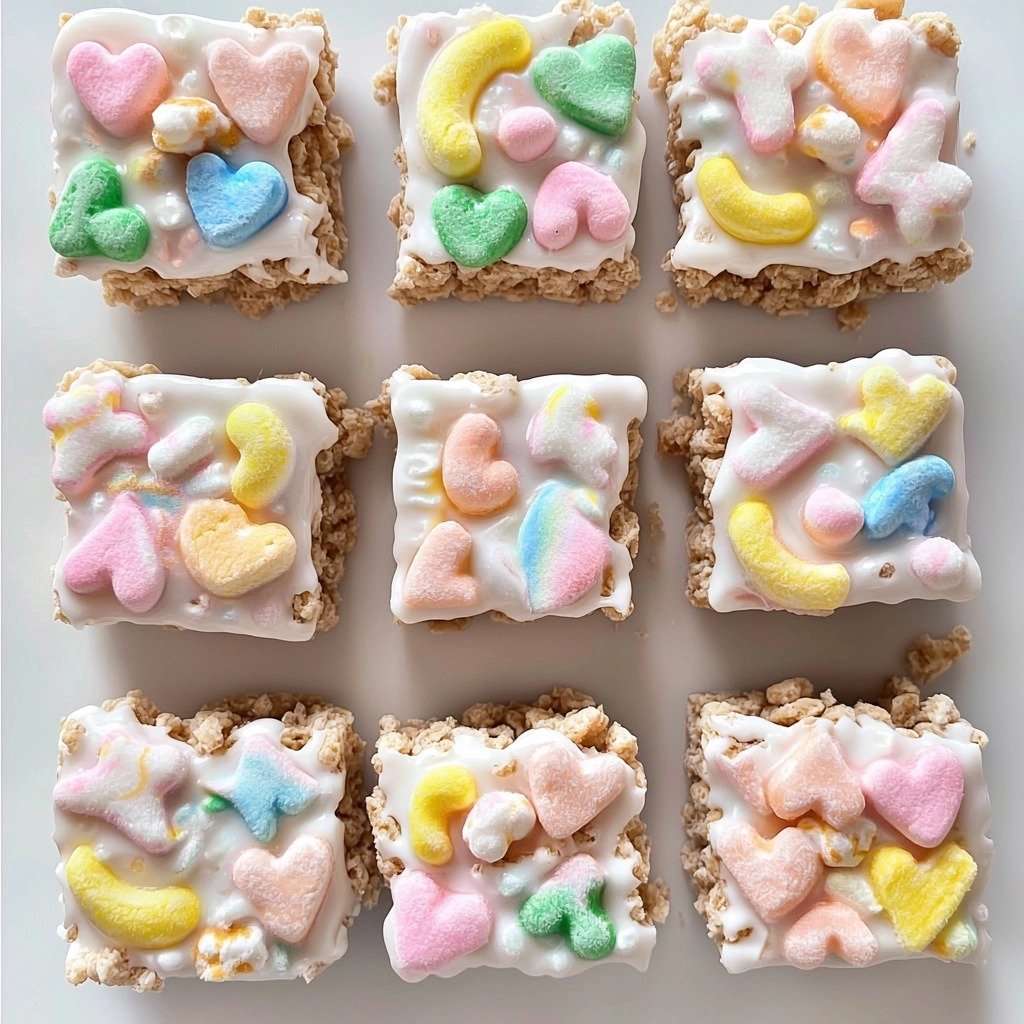
Why You’ll Love These Lucky Charms Bars
- They’re incredibly easy to make – seriously, no baking required!
- That perfect chewy, gooey texture that melts in your mouth.
- A burst of nostalgic, sweet flavor in every single bite.
- They’re a total crowd-pleaser for parties, potlucks, or a fun treat at home.
Ingredients You’ll Need
- Salted Butter: Using salted butter here really balances the sweetness of the marshmallows and cereal. Don’t worry if you only have unsalted; just add a tiny pinch of salt to the pot.
- Marshmallows: We’re using a whole 16 ounces, divided! This is key for that super gooey base and those delightful pockets of soft marshmallow throughout.
- Vanilla Extract: A touch of vanilla elevates all those sweet flavors. Don’t skip it!
- Lucky Charms Cereal: The star of the show! Make sure you have the classic box for those colorful, magical bits.
- Extra Lucky Charms Marshmallows: Totally optional, but I love sprinkling these on top for extra charm and a little crunch.
How to Make Lucky Charms Bars Step by Step
First things first, grab a medium-sized pot. You’re going to melt your butter over medium heat until it’s nice and liquidy. This is the foundation for all that gooey goodness!
Once your butter is melted, pour in half of your marshmallows and the vanilla extract. Keep stirring until everything is beautifully melted and smooth. This is where the magic starts to happen! Don’t worry if it looks super sticky—that’s exactly what we want.
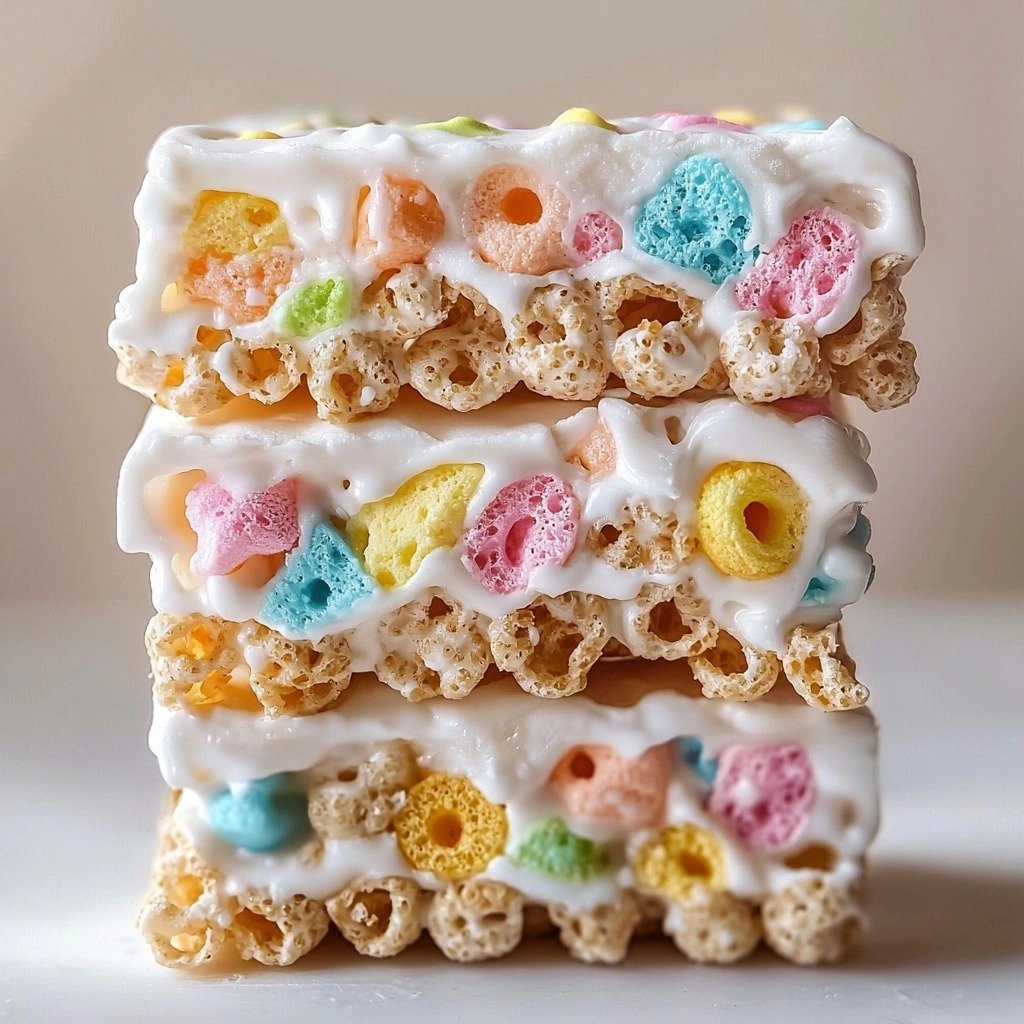
Now, take the pot off the heat. This is important to prevent the cereal from getting too soggy. Stir in your Lucky Charms cereal until it’s almost completely coated. Then, add the second half of your marshmallows. Give it another good stir until they are just combined. You want to see some of those marshmallows still whole, creating those lovely pockets of softness!
My Top Tips for Success
- I always line my pan with parchment paper, leaving an overhang. It makes lifting and cutting the bars so much easier!
- In my experience, stirring the second half of marshmallows in off the heat keeps them from melting completely, giving you those delightful soft pockets.
- Trust me on this one: don’t press the mixture into the pan too firmly. A gentle press prevents overly dense, hard bars.
- Allowing the bars to cool completely before cutting is crucial for clean, perfect squares. I often pop them in the fridge to speed this up.
Common Mistakes to Avoid
- Over-melting the marshmallows: This happens if you keep them on the heat too long. It can make your bars hard. Remove from heat as soon as they’re melted and smooth.
- Over-mixing the cereal: If you mix too much, the cereal can break down and become less crispy. Just mix until incorporated.
- Pressing too hard into the pan: This compacts the bars, making them dense and chewy instead of soft and gooey. Press gently!
- Cutting before they’re cool: Your bars will be a sticky mess and won’t hold their shape if you cut them warm. Patience is key!
How to Store Lucky Charms Bars
- Room Temperature: Up to 3 days in an airtight container.
- Refrigerator: Up to 1 week in an airtight container. They’ll be a bit firmer, but still delicious!
- Freezer: Up to 3 months. Wrap individual bars tightly in plastic wrap, then place in a freezer-safe bag or container. Thaw at room temperature before serving.
Frequently Asked Questions
Can I use a different cereal?
Absolutely! While these are Lucky Charms Bars, you can definitely substitute with your favorite crispy cereal like Rice Krispies or Fruity Pebbles. The method remains the same.
Do I have to use salted butter?
Salted butter helps balance the sweetness. If you only have unsalted, you can add about 1/4 teaspoon of salt to the melted butter mixture.
Why are my bars too hard?
This usually happens if the marshmallows were cooked too long or pressed too firmly into the pan. Make sure to remove the pot from heat promptly and press gently.
Can I make these ahead of time?
Yes, these bars are perfect for making ahead! Store them at room temperature in an airtight container for up to 3 days.
How do I get clean cuts?
Ensure the bars are completely cool before cutting. Using a sharp knife sprayed lightly with non-stick spray can also help achieve clean, neat squares.
I hope these Lucky Charms Bars bring a little bit of magic and a whole lot of deliciousness to your day! They’re such a fun, easy treat, and I know you’ll love making them. If you give them a try, please let me know how they turn out!
PrintLucky Charms Bars
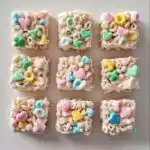
These delightful no-bake bars are packed with colorful cereal and gooey marshmallows, a fun and easy treat for any occasion.
- Prep Time: 15
- Cook Time: 5
- Total Time: 20
- Yield: 12 servings
- Category: Dessert
- Method: No-Bake
- Cuisine: American
- Diet: Vegetarian
Ingredients
- 6 Tbs salted butter
- 16 oz marshmallows, divided in half
- 1 tsp vanilla
- 6 cups lucky charms cereal
- 1/4 cup lucky charms marshmallows, optional
Instructions
- Place a medium-sized pot on the stove.
- Melt the butter in the pot over medium heat.
- Add half of the marshmallows to the pot.
- Add the vanilla to the pot.
- Stir until the marshmallows are completely melted and smooth.
- Remove the pot from the heat.
- Stir in the 6 cups of Lucky Charms cereal until almost completely incorporated.
- Add the second half of the marshmallows to the mixture.
- Stir until the second half of the marshmallows are just combined into the mixture but not fully melted.
- Line a 9×13 inch pan with parchment paper, leaving an overhang on the sides.
- Spoon the mixture into the prepared pan.
- Gently press the mixture into the edges of the pan.
- Sprinkle the optional 1/4 cup of Lucky Charms marshmallows on top.
- Let the bars cool completely at room temperature or in the refrigerator.
- Cut the cooled bars into squares.
- Serve and enjoy!
Notes
For easier removal, make sure your parchment paper overhangs the edges of the pan.
Do not over-press the mixture into the pan; a light touch keeps them soft.
Allowing the bars to cool completely before cutting ensures clean, neat squares.
If you don’t have salted butter, add 1/4 teaspoon of salt with unsalted butter.