Every Halloween, my kitchen fills with the sweet, comforting scent of warm cookies, and it instantly brings back memories of carving pumpkins with my family. These aren’t just any cookies; they’re our absolute favorite Halloween Chocolate Chip Cookies, packed with festive sprinkles and gooey chocolate. They’re so easy to make, and honestly, they disappear faster than a ghost on Halloween night!
Why You’ll Love This Halloween Chocolate Chip Cookies
- These cookies are super soft and chewy, with perfectly golden edges.
- They’re incredibly easy to whip up, even for beginner bakers.
- The festive sprinkles and chocolate chips make them a huge hit for any Halloween gathering.
- They’re a comforting, classic treat with a fun, spooky twist!
Ingredients You’ll Need
- Unsalted Butter: Using unsalted butter lets you control the saltiness of your cookies. If you only have salted, just reduce the added salt by about half.
- Granulated Sugar & Light Brown Sugar: The combination gives these cookies the perfect balance of sweetness and chewiness. Brown sugar adds moisture and that lovely caramel note.
- Large Egg: This binds everything together and adds richness. Make sure it’s at room temperature for the best mix!
- Vanilla Extract: Don’t skip this! It enhances all the other flavors.
- All-Purpose Flour: Make sure to spoon and level your flour, don’t scoop directly from the bag. This prevents adding too much flour, which can make your cookies dry.
- Chocolate Chips: You can use any kind you like – milk, semi-sweet, or even dark chocolate chips work wonderfully.
- Halloween Sprinkles: These are essential for that festive look! Use jimmies, nonpareils, or a mix of spooky shapes.
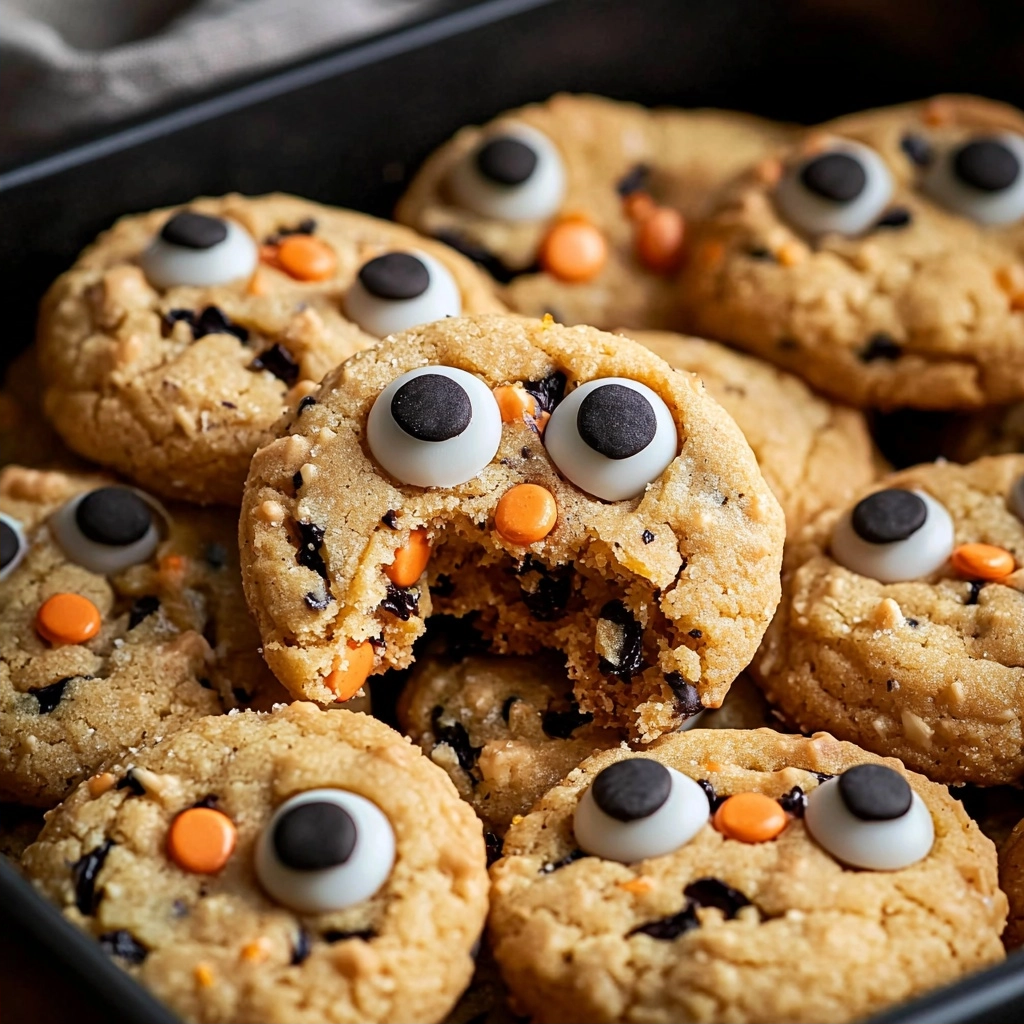
- Candy Eyes: Totally optional, but they add such a fun, spooky touch.
How to Make Halloween Chocolate Chip Cookies Step by Step
First things first, grab a nice big bowl. You’ll want to melt your butter and then combine it with both the granulated sugar and brown sugar. Give it a good mix until it’s super smooth – no lumps allowed! This creaming step is where a lot of the magic happens for that perfect texture.
Next, you’ll add your egg and vanilla extract. Keep mixing until everything is fully combined and looks lovely and uniform. Now for the dry ingredients: gently fold in your flour, salt, and baking soda. Start on low speed, then crank it up for just a moment, about 15-30 seconds, until it’s all just combined. Be careful not to overmix here; that’s a common mistake that can lead to tough cookies!
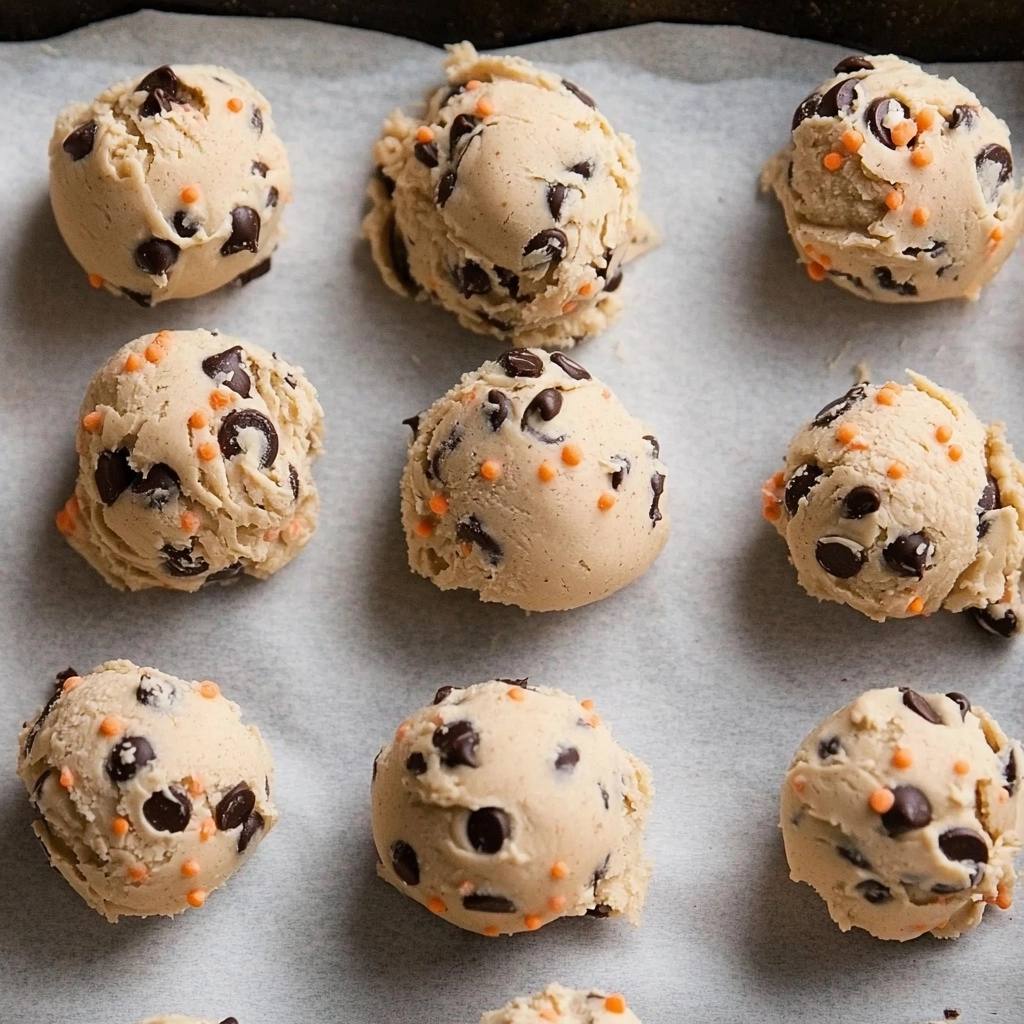
Finally, with a spatula, gently fold in your chocolate chips and those fun Halloween sprinkles. Once your dough is ready, scoop out 2-tablespoon balls and place them on a parchment-lined baking sheet. Don’t worry about spacing them out too much for now, because we’re going to chill them. Pop that sheet into the fridge for at least 1.5 to 2 hours, or even overnight. This chilling step is super important for flavor and preventing spreading!
My Top Tips for Success
- I always chill my cookie dough for at least 2 hours; it makes a huge difference in flavor and texture.
- In my experience, using parchment paper or a silicone baking mat prevents sticking and helps with even baking.
- Trust me on this one: don’t overmix your dough once the flour is added. Mix just until combined for tender cookies.
- If you’re adding candy eyes, place them on the cookies immediately after they come out of the oven while they’re still warm and soft.
- For perfectly round cookies, use a cookie scoop. It makes portioning so much easier!
Common Mistakes to Avoid
- Overmixing the Dough: This develops too much gluten, leading to tough, cake-like cookies. Mix until just combined, then stop.
- Not Chilling the Dough: Skipping this step will result in flat, spread-out cookies. Chilling helps the butter solidify and the flavors meld.
- Baking on a Hot Baking Sheet: Always use a cool baking sheet for each batch. A hot sheet will make the cookies spread too quickly.
- Overbaking: Cookies continue to cook slightly after they come out of the oven. Remove them when the edges are golden and the centers still look a little soft.
How to Store Halloween Chocolate Chip Cookies
- Room Temperature: Store in an airtight container for up to 3-4 days.
- Freezer (Baked): Place cooled cookies in a freezer-safe bag or container for up to 3 months. Thaw at room temperature.
- Freezer (Dough): Form dough balls, then freeze them on a baking sheet until solid. Transfer to a freezer-safe bag and bake from frozen, adding a few extra minutes to the bake time.
Frequently Asked Questions
Can I use cold butter instead of melted?
No, this recipe specifically calls for melted butter. Using cold butter will change the texture of the dough and the final cookie significantly. Stick to melted butter for the best results.
Why do I need to chill the dough?
Chilling the dough allows the butter to re-solidify, which prevents the cookies from spreading too much in the oven. It also gives the flavors time to meld, resulting in a richer taste.
What if I don’t have light brown sugar?
You can use dark brown sugar in a pinch, but it will give the cookies a slightly deeper molasses flavor and chewiness. For the best result, light brown sugar is recommended.
Can I use different kinds of chocolate?
Absolutely! Feel free to mix and match your favorite chocolate chips, chunks, or even chopped chocolate bars. Milk, semi-sweet, or dark chocolate all work wonderfully.
My cookies spread too much, what went wrong?
This usually happens if the dough wasn’t chilled long enough or if your butter was too warm. Make sure to chill the dough for the recommended time, and ensure your oven is preheated to the correct temperature.
I hope these Halloween Chocolate Chip Cookies bring so much joy and deliciousness to your spooky celebrations! They’re truly a favorite in my home, and I just know you’ll love them too. If you whip up a batch, I’d absolutely love to hear how they turned out!
PrintHalloween Chocolate Chip Cookies

Festive and fun, these soft and chewy Halloween chocolate chip cookies are packed with sprinkles and chocolate for a perfect spooky season treat.
- Prep Time: 15
- Cook Time: 12
- Total Time: 137
- Yield: 24 cookies
- Category: Dessert
- Method: Baking
- Cuisine: American
- Diet: Vegetarian
Ingredients
- 1/2 cup unsalted butter melted
- 1/3 cup granulated sugar (67 g)
- 1/2 cup packed light brown sugar (100 g)
- 1 large egg
- 1 teaspoon vanilla extract
- 1/2 teaspoon salt
- 1/2 teaspoon baking soda
- 1 1/2 cups all-purpose flour spooned and leveled (186g)
- 1 1/2 cups chocolate chips
- 1/2-3/4 cup halloween sprinkles
- candy eyes optional
Instructions
- Add the melted butter, brown sugar, and granulated sugar to a bowl.
- Mix until smooth and combined.
- Mix in the vanilla extract.
- Mix in the large egg.
- Continue mixing until fully combined.
- Add the all-purpose flour, salt, and baking soda to the wet ingredients.
- Mix on low speed until the ingredients just start to combine.
- Increase the speed and mix for another 15-30 seconds until smooth.
- Scrape down the sides of the bowl as necessary to ensure everything is incorporated.
- Be careful not to over-mix the batter; mix until just combined.
- Using a spatula or large spoon, gently fold in the Halloween sprinkles.
- Gently fold in the chocolate chips.
- Place 2 tablespoon balls of dough onto a baking sheet lined with parchment paper.
- Cover the baking sheet with plastic wrap.
- Place the covered baking sheet in the fridge.
- Chill the dough for 1.5 to 2 hours, or up to 24 hours.
- When ready to bake, preheat your oven to 350℉ (175°C).
- Arrange the chilled dough balls on a baking sheet lined with parchment paper or a silicone baking mat.
- Ensure each dough ball is about 2 inches apart.
- Bake for 11-13 minutes.
- Bake until the edges are golden.
- Once the cookies are done, remove them from the oven.
- If using candy eyes, immediately place them onto the warm cookies.
- Let the cookies cool completely before enjoying.
Notes
Do not overmix the dough once the flour is added; mix just until combined.
Chilling the dough is essential for texture and to prevent spreading.
Use a cookie scoop for uniform cookie sizes.
For best results, use parchment paper or a silicone baking mat.