Halloween has always been my favorite holiday. It’s not just about costumes and spooky decorations; it’s about making fun, festive treats that bring smiles to everyone’s faces. These super easy and adorable Mummy Cookies are one of those treats!
Why You’ll Love These Mummy Cookies
- They are incredibly simple to make, perfect for even the newest bakers!
- The combination of crisp Milano cookies and sweet white chocolate is just delicious.
- They look absolutely adorable and are a huge hit at any Halloween party.
- You only need a few ingredients, making them a quick and budget-friendly treat.
Ingredients You’ll Need
- Milano cookies: The classic, elegant shape of these cookies makes them the perfect “body” for our mummies. You can use any flavor you like, but the original is always a winner!
- White chocolate chips: This is what creates our mummy “bandages.” Make sure you use good quality chips for the best melting and flavor.
- Vegetable oil: A tiny bit of oil helps the white chocolate melt smoothly and gives it a nice, fluid consistency for dipping and drizzling.
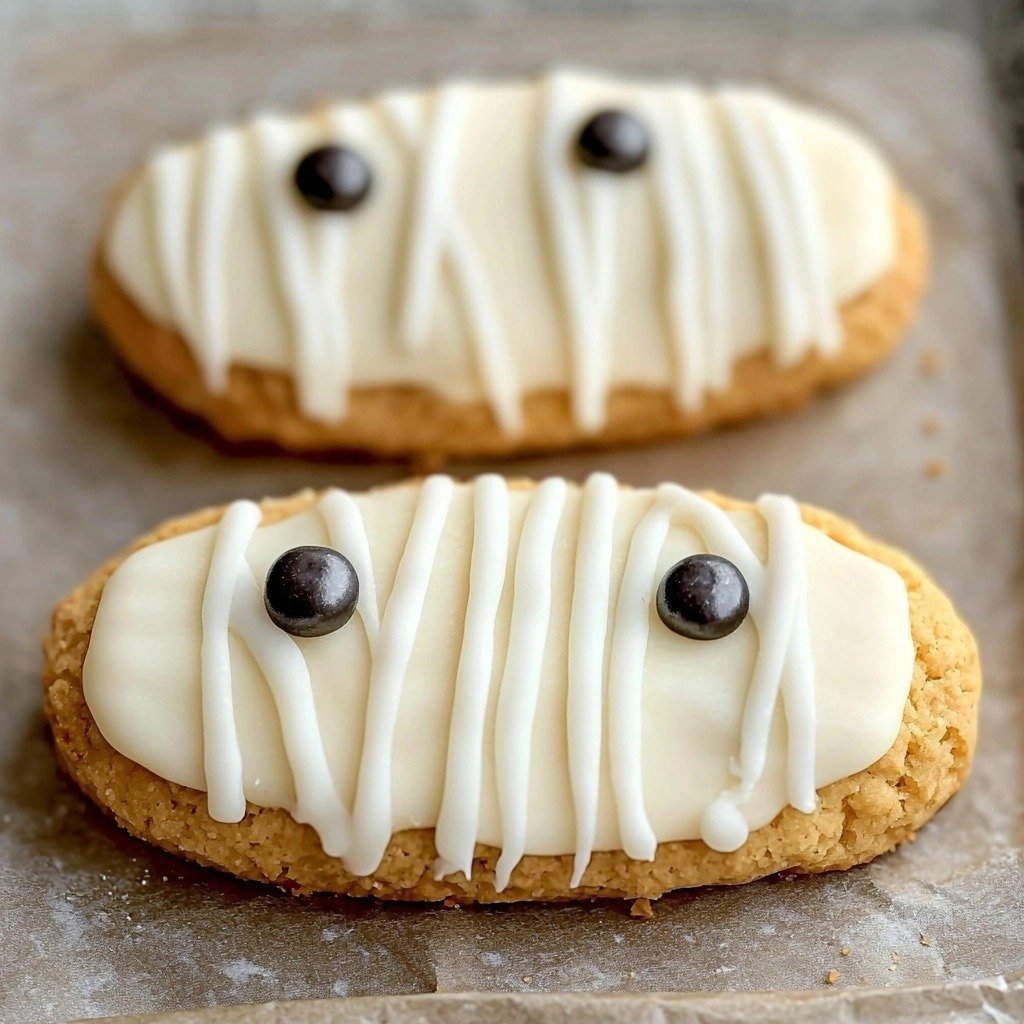
- Black pearl sprinkles: These are for our mummy eyes! They add a perfect little pop and bring our mummies to life.
How to Make Mummy Cookies Step by Step
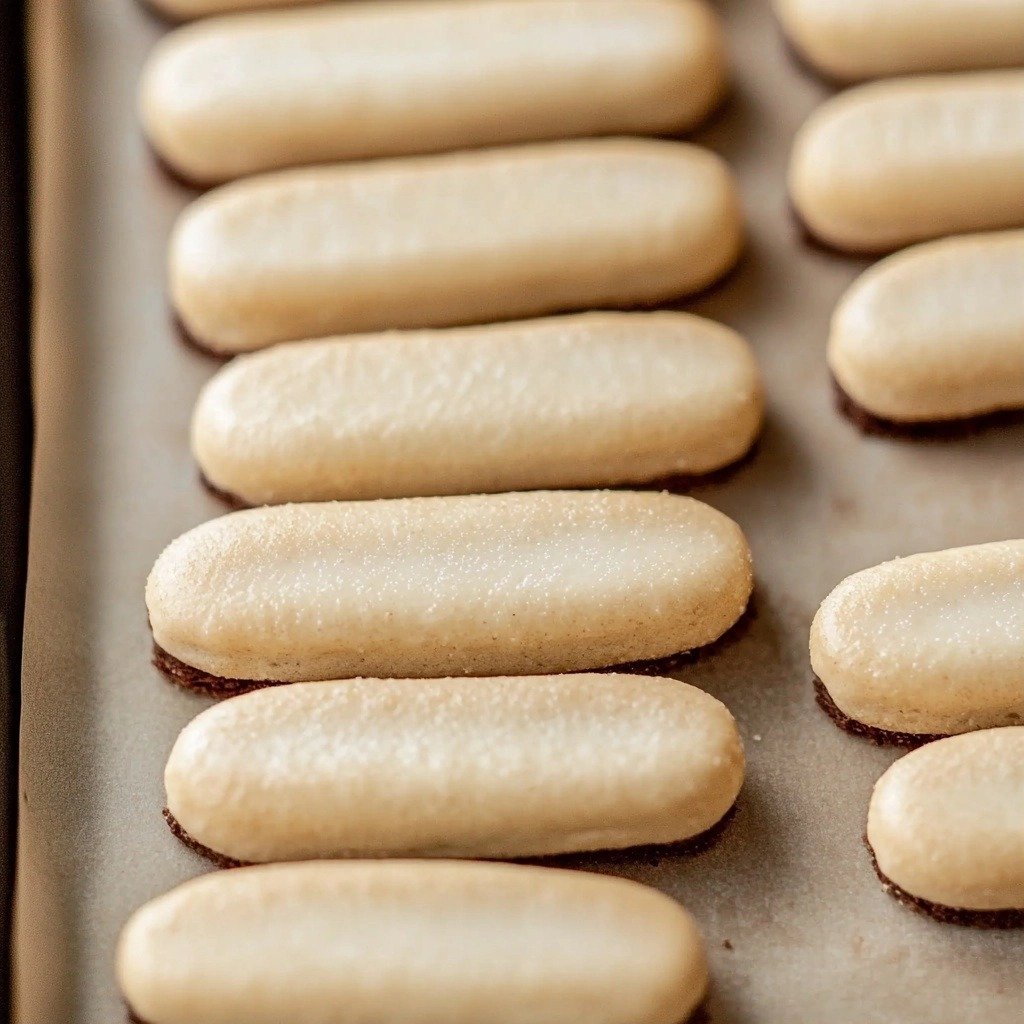
First things first, grab a sheet pan and line it with some parchment paper. This makes cleanup a breeze and keeps your cookies from sticking. While you get your chocolate ready, pop those Milano cookies into the freezer. A little chill helps the chocolate set faster!
Now, for the chocolate magic! Put your white chocolate chips and vegetable oil into a microwave-safe bowl. Heat them in 25-second bursts, stirring really well after each one. Don’t rush this part; gentle heating prevents the chocolate from seizing. You want it nice and smooth, like a silky white river.
Once your chocolate is perfectly melted, spoon about a quarter of it into a small resealable plastic bag. Snip just a tiny bit off one corner of the bag – this will be your piping bag for the “bandages.” With the remaining chocolate, spoon it over the top two-thirds of each frozen cookie. Tap off any extra chocolate gently and place them back on your parchment-lined sheet pan. This is where the magic happens!
My Top Tips for Success
- I always freeze the cookies for a few minutes before dipping. It helps the chocolate set faster and gives a smoother coat.
- When melting white chocolate, trust me on this one, go slow! Overheating can make it seize and become clumpy.
- Don’t snip too big of a hole in your plastic bag for the drizzle. A tiny snip gives you thin, delicate “bandages.”
- Working quickly after dipping is key, especially when adding the eyes, so the chocolate doesn’t set before you’re ready.
- If your white chocolate starts to get too thick while working, just pop it back in the microwave for 5-10 seconds and stir.
Common Mistakes to Avoid
- Overheating the white chocolate: This is a big one! Overheated white chocolate can become thick, lumpy, and unusable. Heat in short bursts and stir frequently.
- Not freezing the cookies: If your cookies aren’t cold, the chocolate might take longer to set, or it might not adhere as smoothly. Freeze them for at least 5-10 minutes.
- Snapping off too much of the plastic bag tip: A large hole will give you thick, messy “bandages” instead of delicate ones. Start with a tiny snip and make it bigger if needed.
- Not tapping off excess chocolate: If you leave too much chocolate on the cookie, it can drip and create a thick, uneven coating. Gently tap the cookie on the edge of the bowl or pan.
How to Store Mummy Cookies
- Room Temperature: Up to 3-4 days in an airtight container. Keep them away from direct sunlight or heat.
- Refrigerator: Up to 1 week in an airtight container. The chocolate might get a little firmer, but they’re still delicious!
Frequently Asked Questions
Can I use milk or dark chocolate instead?
While you certainly can, the stark contrast of white chocolate really makes the “mummy” effect pop! Milk or dark chocolate would still be tasty, but they wouldn’t look quite as much like mummies.
Can I make these ahead of time?
Absolutely! These Mummy Cookies store well and are perfect for making a day or two in advance of your Halloween party or gathering.
What if my white chocolate seizes?
If your white chocolate becomes thick and clumpy, it means it’s likely overheated or got a tiny bit of water in it. Unfortunately, it’s very hard to rescue seized white chocolate, so starting fresh is often the best option.
Can I use other cookies?
You can! Any rectangular or oval-shaped cookie would work well. Milano cookies are great because they have a flat surface, making them easy to coat and decorate.
I hope these Mummy Cookies bring a little extra Halloween fun to your kitchen! They’re such a simple yet charming treat that always gets rave reviews. If you whip up a batch, I’d love to hear how they turn out!
PrintMummy Cookies

These adorable and easy Mummy Cookies feature crisp Milano cookies draped in white chocolate ‘bandages’ and adorned with spooky sprinkle eyes.
- Prep Time: 15
- Cook Time: 5
- Total Time: 20
- Yield: 15-20 cookies
- Category: Dessert, Halloween
- Method: No-Bake
- Cuisine: American
Ingredients
- 1 (7.5-ounce) package Milano cookies
- 1 cup white chocolate chips
- 1/2 tablespoon vegetable oil
- 32 black pearl sprinkles
Instructions
- Line a sheet pan with parchment paper.
- Place Milano cookies on the lined sheet pan.
- Freeze cookies for at least 5 minutes while preparing the chocolate.
- Combine white chocolate chips and vegetable oil in a microwave-safe bowl.
- Microwave the chocolate mixture in 25-second intervals.
- Stir the chocolate mixture well between each interval until completely melted and smooth.
- Transfer 1/4 of the melted chocolate to a small resealable plastic bag.
- Seal the plastic bag and snip a very tiny tip off one corner.
- Spoon the remaining melted chocolate over the top 2/3 of each frozen cookie.
- Gently tap each cookie to remove any excess chocolate.
- Place the coated cookies back onto the parchment-lined sheet pan.
- Drizzle the chocolate from the plastic bag over the coated cookies to create 'bandages'.
- Immediately add two black pearl sprinkles to each cookie to form eyes.
- Chill the decorated cookies in the refrigerator until the chocolate is fully set.
- Enjoy your spooky Mummy Cookies!
Notes
Freeze cookies for a few minutes for easier coating.
Heat white chocolate gently in short bursts to prevent seizing.
Snip a very small hole in the piping bag for fine bandage lines.
Work quickly when adding sprinkles before chocolate sets.