There’s something truly magical about turning simple ingredients into a show-stopping treat, isn’t there? I remember the first time I made these for a family gathering – everyone thought I’d spent hours in the kitchen! The smiles, the “oohs” and “aahs” when they took that first bite, it just makes my heart happy. That’s why I absolutely adore making these Oreo Cake Pops (3 Ingredients!). They’re a little bit of joy, wrapped up in a delicious, easy-to-make package.

Why You’ll Love This Oreo Cake Pops (3 Ingredients!)
- They are unbelievably easy to make – seriously, just 3 ingredients!
- The texture is out of this world: fudgy, rich, and perfectly sweet.
- They’re a total crowd-pleaser, perfect for parties, holidays, or just a fun weekend treat.
- You can customize them with different chocolates and sprinkles for any occasion.
Ingredients You’ll Need
- Oreo cookies: These are the star of the show! You’ll need the classic chocolate sandwich cookies, and we’ll be crushing them into a fine crumb.
- Cream cheese: Make sure it’s softened! This is what binds everything together and gives our cake pops that wonderful, fudgy texture. Don’t use whipped cream cheese, just the block kind.
- White and semi-sweet chocolate: These are for dipping and decorating. Use good quality chocolate chips or melting wafers for the best results – they melt smoothly and set up beautifully.
How to Make Oreo Cake Pops (3 Ingredients!) Step by Step
First things first, let’s get those Oreos ready! Grab your food processor and toss in all 24 cookies. Pulse them until they’re a super fine crumb, almost like sand. You don’t want any big chunks in there, trust me on this one – smooth crumbs make for smooth cake pops!
Once your Oreos are perfectly crushed, transfer them to a mixing bowl. Now, add your softened cream cheese. This is where the magic happens! Grab a sturdy spoon and start mixing. It’ll look a little crumbly at first, but keep going. You want to mix until the mixture is completely smooth and holds together when you press it. It should feel a bit like play-dough.
Now for the fun part: shaping! Take about 20 grams of the mixture (a small spoonful) and roll it into a nice, smooth ball in your hands. Repeat this for all the mixture – you should get about 20 cake pops. Once they’re all rolled, pop them into the refrigerator for about 20 minutes. This chilling time is super important; it helps them firm up so they don’t fall apart when you dip them.
My Top Tips for Success
- I always use a food processor for crushing the Oreos; it makes them perfectly fine and uniform.
- Make sure your cream cheese is truly softened. If it’s too cold, it won’t mix in smoothly.
- Don’t skip the chilling step! It prevents your cake pops from crumbling when dipped.
- When melting chocolate, go low and slow. Overheated chocolate can seize up and become unusable.
- Use a deep, narrow bowl for dipping. This makes it easier to fully coat the cake pops.
- Have a cake pop stand or a block of styrofoam ready to hold the pops upright while they set.
Common Mistakes to Avoid
- Not crushing Oreos finely enough: This can lead to lumpy cake pops that don’t hold together well. Make sure there are no large pieces.
- Using cold cream cheese: Cold cream cheese won’t incorporate evenly, resulting in a clumpy mixture. Always use softened cream cheese.
- Overheating the chocolate: If your chocolate gets too hot, it will seize and become thick and unusable. Melt it gently, either in a double boiler or in short bursts in the microwave.
- Not chilling the cake balls: Warm cake balls are prone to falling off the stick or crumbling when dipped. Chilling them ensures they are firm.
- Dipping into too-hot chocolate: This can cause your cake pops to melt and fall apart. Let your melted chocolate cool slightly before dipping.
How to Store Oreo Cake Pops (3 Ingredients!)
- Refrigerator: Up to 1 week in an airtight container.
- Freezer: Up to 1 month in an airtight container. Thaw in the refrigerator before serving.
Frequently Asked Questions
Can I use other types of cookies?
Yes, absolutely! While Oreos are classic, you can experiment with other sandwich cookies like Nutter Butters or even chocolate chip cookies for different flavors. The key is to get them finely crushed.
How do I prevent the cake pops from falling off the stick?
The best way is to dip the tip of your lollipop stick into the melted chocolate before inserting it into the cake ball. The chocolate acts like a glue and helps secure the ball to the stick. Also, ensure your cake balls are well chilled.
What’s the best way to melt chocolate?
A double boiler is a great way to melt chocolate gently without burning it. If using a microwave, heat in 30-second intervals, stirring well after each, until smooth. Don’t overheat!
Can I make these ahead of time?
Yes! These are perfect for making ahead. You can make the cake balls and chill them for up to 2-3 days before dipping, or even freeze them. Once dipped, they store well for about a week in the fridge.
Do I have to use a cake pop stand?
A cake pop stand or a block of styrofoam makes drying much easier, as it allows the chocolate to set evenly without getting a flat bottom. If you don’t have one, you can place them on parchment paper, but they might have a slightly flattened side.
I hope these Oreo Cake Pops (3 Ingredients!) bring as much joy and deliciousness to your life as they do to mine. They truly are a simple pleasure that feels so special. Give them a try, and don’t forget to let me know how they turn out!
PrintOreo Cake Pops (3 Ingredients!)

Indulge in these incredibly easy and delicious cake pops made with just 3 simple ingredients: Oreos, cream cheese, and chocolate!
- Prep Time: 30
- Cook Time: 5
- Total Time: 35
- Yield: 20 cake pops
- Category: Dessert
- Method: No-Bake
- Cuisine: American
- Diet: Vegetarian
Ingredients
- 24 Oreo cookies – approx. 260 g
- 70 g (⅓ cup) Cream cheese – softened
- White and semi-sweet chocolate
Instructions
- Finely crush the Oreo cookies in a food processor until you get a fine crumb with no large pieces.
- Add the softened cream cheese to the crushed Oreos.
- Mix with a spoon until the mixture is smooth and holds together completely.
- Shape the mixture into 20 cake pops, each about 20 grams.
- Chill the Oreo balls in the refrigerator for about 20 minutes.
- Melt the white chocolate in a double boiler or microwave until smooth.
- Transfer the melted white chocolate to a deep bowl.
- Dip the end of a lollipop stick into the melted white chocolate.
- Insert the chocolate-dipped end of the stick into the center of each chilled Oreo ball.
- Dip each cake pop into the melted white chocolate, ensuring it's fully coated.
- Gently tap off any excess chocolate.
- Place the dipped cake pops on a cake pop stand or a piece of styrofoam.
- Allow the white chocolate coating to set completely.
- Melt the semi-sweet chocolate in a double boiler or microwave until smooth.
- Transfer the melted semi-sweet chocolate to a piping bag.
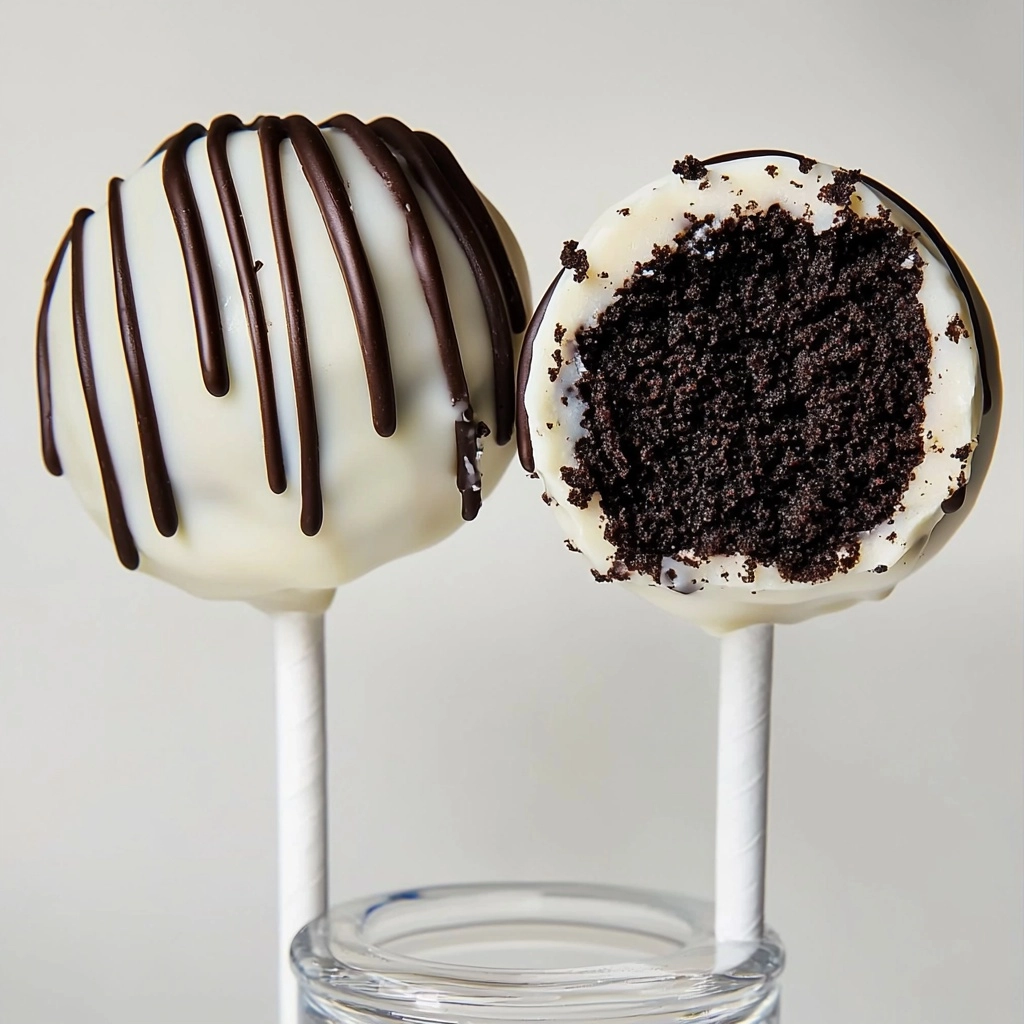
- Decorate the set cake pops with melted dark chocolate using the piping bag.
- Chill the decorated cake pops before serving.
Notes
Ensure cream cheese is softened for easy mixing.
Don’t skip chilling the balls; it helps them stay on the stick.
Use a deep, narrow bowl for easier dipping.
Work quickly when dipping so chocolate doesn’t set too soon.