Every Halloween, my kitchen smells like a little bit of magic, and these Mummy Truffles are a huge part of that! I remember the first time I made them; I wanted something fun and spooky but also super easy. These little bites were an instant hit, and now they’re a tradition. They’re so simple to make, and honestly, the cuteness factor is off the charts. You’ll love sharing these with friends and family!

Why You’ll Love These Mummy Truffles
- They’re incredibly easy to make, even for beginner bakers.
- The creamy, dreamy texture with that satisfying chocolate shell is just delicious.
- You only need a few simple ingredients to create something truly special.
- They’re perfect for Halloween parties, school treats, or just a fun fall baking day!
Ingredients You’ll Need
- Cream Cheese: Make sure it’s softened! This helps it blend smoothly with the crushed cookies, giving you that perfect truffle consistency. Using cold cream cheese will make mixing much harder.
- Golden Oreo Cookies: We’re using the whole cookie, creamy filling and all! The Golden Oreos give these truffles a lovely vanilla flavor that pairs wonderfully with the white chocolate.
- White Dipping Chocolate: This is key for a smooth, even coating that sets up nicely. It’s formulated to melt beautifully and harden quickly. You can find it in the baking aisle.
- Red or Black Gel Icing: This is for those adorable little mummy eyes! Gel icing is great because it’s vibrant and easy to apply in small dots.
How to Make Mummy Truffles Step by Step
First things first, let’s get organized! Line a cutting board or a baking sheet with parchment paper. This will be the comfy resting spot for your truffles once they’re formed and coated.
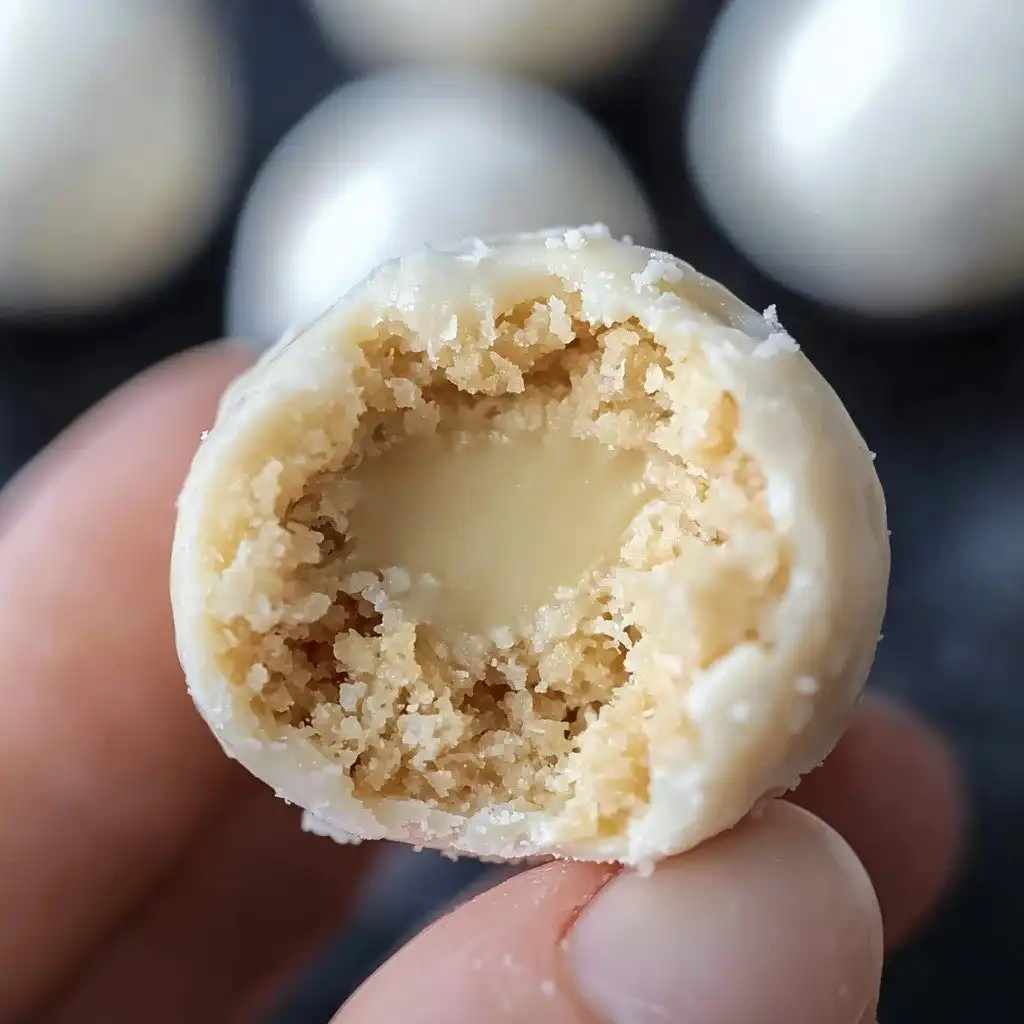
Now, for the cookie magic. Grab your Golden Oreos and toss them into a food processor. You want to crush them really finely, until they’re like a sandy powder. This creates the perfect base for our truffles. Next, in a large bowl, beat your softened cream cheese until it’s super smooth and creamy. This is where the magic happens – add those crushed cookies and blend everything together until it’s well combined. It should be a nice, thick mixture.
Time to get your hands a little messy! Roll the mixture into 1-inch balls. Don’t worry if they’re not perfectly round; homemade charm is part of the fun! Pop them onto your prepared sheet and then into the freezer for about 30 minutes. This chilling step is super important; it helps the truffles firm up so they don’t fall apart when you dip them in chocolate.
My Top Tips for Success
- Soften the Cream Cheese: I always make sure my cream cheese is at room temperature. It makes a huge difference in getting a smooth, lump-free mixture.
- Finely Crush the Oreos: Trust me on this one, a fine crumb makes for a much better truffle texture. No big chunks!
- Chill Thoroughly: Don’t skip the freezer step! It ensures your truffles hold their shape when dipped.
- Work Quickly with Chocolate: White dipping chocolate can set fast. If it starts to thicken while you’re dipping, just pop it back in the microwave for a few seconds.
- Use a Fork for Dipping: In my experience, a fork (not a spoon) lets excess chocolate drip off easily, preventing puddles on your parchment paper.
Common Mistakes to Avoid
- Using cold cream cheese: This will result in a lumpy mixture that’s hard to blend. Allow it to soften at room temperature for at least 30 minutes.
- Not chilling the truffles long enough: If your truffle balls are too soft, they’ll fall apart when you try to dip them in the melted chocolate. Make sure they get their full 30 minutes in the freezer.
- Overheating the white chocolate: White chocolate can seize easily if overheated, becoming thick and unworkable. Melt it in short bursts, stirring frequently, until just smooth.
- Not shaking off excess chocolate: If you leave too much chocolate on the truffle, it will create a thick “foot” around the base. Gently tap the fork against the side of the bowl to let excess drip off.
How to Store Mummy Truffles
- Refrigerator: Store in an airtight container for up to 1 week.
- Freezer: Store in an airtight container for up to 1 month. Thaw in the refrigerator before serving.
Frequently Asked Questions
Can I use regular Oreos instead of Golden Oreos?
Yes, you absolutely can! The truffles will have a darker color and a chocolatey flavor, but they will still be delicious.
My white chocolate is too thick for dipping. What should I do?
You can add a tiny amount (1/2 teaspoon at a time) of coconut oil or vegetable shortening to the melted chocolate and stir until smooth. This will thin it out.
How far in advance can I make these?
You can make these Mummy Truffles up to a week in advance and store them in an airtight container in the refrigerator. They’re also freezer-friendly!
Do I need a food processor to crush the Oreos?
While a food processor is easiest, you can also place the cookies in a Ziploc bag and crush them with a rolling pin. Just make sure they are very finely crushed.
I hope these Mummy Truffles bring as much spooky-sweet fun to your kitchen as they do to mine. They’re such a delightful and easy treat, perfect for getting into the Halloween spirit. If you make them, I’d love to hear how they turned out!
PrintMummy Truffles

Spooktacular and easy no-bake truffles made with Golden Oreos and cream cheese, coated in white chocolate and decorated like adorable mummies.
- Prep Time: 30
- Cook Time: 10
- Total Time: 70
- Yield: 24 truffles
- Category: Dessert
- Method: No-Bake
- Cuisine: American
- Diet: Vegetarian
Ingredients
- 8 oz Cream Cheese softened
- 14.3 oz Golden Oreo Cookies
- 16 oz White Dipping Chocolate
- Red or Black Gel Icing
Instructions
- Line a cutting board or baking sheet with parchment paper.
- Finely crush Golden Oreos in a food processor until they resemble fine crumbs.
- In a large bowl, beat the softened cream cheese until it is smooth and creamy.
- Add the crushed cookies to the cream cheese and blend well until thoroughly combined.
- Form the mixture into 1-inch balls.
- Place the formed balls onto the prepared parchment-lined sheet.
- Place the sheet with the truffles into the freezer for 30 minutes to firm up.
- Heat the white dipping chocolate by microwaving for 1 minute.
- Stir the chocolate thoroughly.
- Repeat microwaving in 30-second intervals, stirring after each, until the chocolate is completely melted and smooth.
- Using a fork, dip each truffle ball into the melted white chocolate to completely coat it.
- Shake off any excess chocolate.
- Return the coated truffle to the parchment-lined tray.
- Transfer any unused melted white chocolate to a piping bag or a zippered plastic bag.
- Clip a tiny tip off the corner of the bag.
- Drizzle the white chocolate over each coated truffle in a back-and-forth motion to create bandage-like wraps.
- Using red or black gel icing, place two small dots on each truffle for eyes.
Notes
Ensure cream cheese is softened for a smooth mixture.
Chill truffles thoroughly before dipping to prevent crumbling.
Melt white chocolate in short bursts to avoid seizing.
Use a fork for dipping to allow excess chocolate to drip off easily.